Agent Installation |
Overview
A workflow's multi-machine capability is made possible in part by remote agents that communicate with the server component. Normally, agents are deployed onto remote computers, however, deployment may not be an option in certain scenarios. For instance, agent deployments may not be permissible due to heightened network security or lack of permission. Also, some may prefer the method of installing agents manually on each computer. In these situations, the addition of agents can be achieved through the Automate Enterprise setup process. This method requires a copy of the Automate Enterprise installation file to be downloaded or copied onto the computers where agents will be installed.
Instructions
Automate Enterprise is made up of three main components, the server, agent and development tools (comprised of Server Management Console, Workflow Designer and Task Builder). Each component can be installed on the same computer or installed independently on separate computers (as long as they are capable of communicating with each other by way of TCP/IP). This article supplies step by step instructions regarding installation of only the agent component. Screen shots are included to aid in distinguishing each step.
1. Welcome
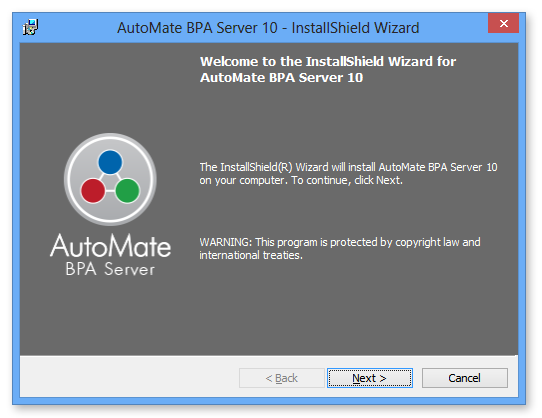
When you begin the installation of Automate Enterprise, the first window that appears is the Welcome screen (shown above). At this point, it is recommended that you close all Windows programs before continuing with the installation. This and all screens going forward will contain a Back button that allows you to revert back to any previous screen, a Next button to advance to the next screen or a Cancel button to cancel the installation process altogether.
Click Next to continue.
2. License Agreement
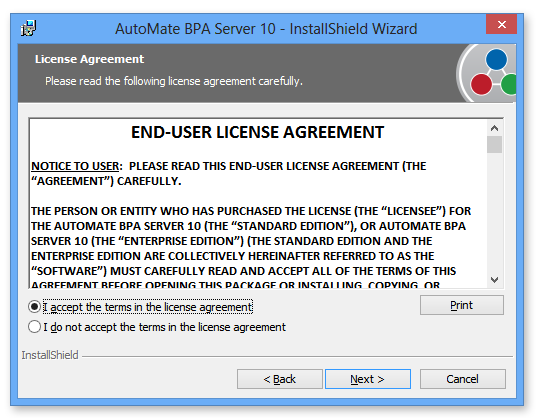
The License Agreement (shown above) appears next. It is important that you read the End User License Agreement (EULA) thoroughly in its entirety. If you wish to retain a hard-copy of the EULA, select Print. Toggle the option that states I accept the terms in the license agreement in order to continue. Selecting the latter option will automatically end the installation.
Click Next to proceed.
3. Read Me
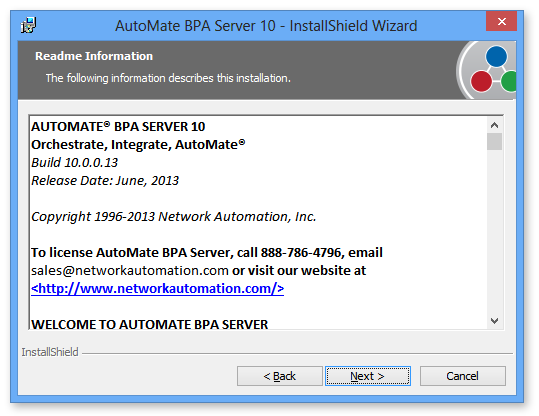
The ReadmeInformation(shown above) describes a variety of facts and figures related to the current installation, including product name, current version, release date, getting started guide, special notes, and company/contact information. More importantly, it mentions new features and enhancements added to this particular release of the product, addresses fixes made to any issues that were introduced in a previous release and lists important known problems (if any). This information is updated whenever a new release is available to the public.
Click Next to continue.
4. Setup Options

The Automate Enterprise Setup screen (shown above) enables selection of the type of setup process. The available options are:
- Express Setup - Installs all components locally with default configuration values. Selecting this option skips customization steps, thus, speeds up the setup process.
-
Advanced Setup - Enables customizations to be applied, including which components to install, the directory in which to install them, the default database, ports, etc. Select this option for this installation scenario.
After selection, Click Next to continue.
5. Custom Setup
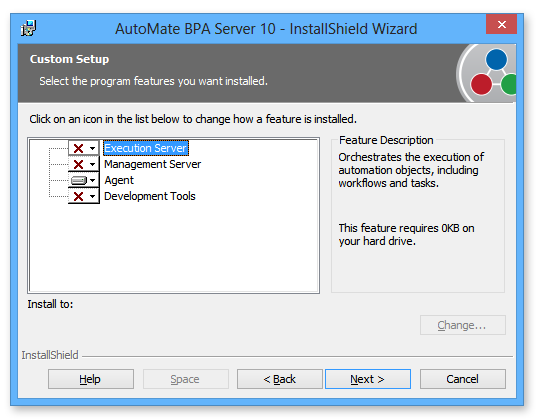
The Custom Setup screen lets you dictate which components are to be installed and where to install them on the local computer. By default, installation is enabled for all components on the local computer. In order to disable installation of a specific component, left-click the icon next to the desired components and select the option This feature will not be available. A red "X" will appear next to the component signifying that it is omitted from being installed. Since this scenario installas only the agent component, all others must be disabled (as shown above).
The default installation directory varies, based on the version of Automate Enterprise you are installing:
-
32-bit: C:\Program Files (x86)\Automate Enterprise 11
-
64-bit: C:\Program Files\Automate Enterprise 11
To view total disk space required to install the selected components, click Space. If a volume is highlighted, this indicates that there is not enough disk space available to install the selected components.
After selection of the components to install, click Next to proceed.
6. Agent Configuration
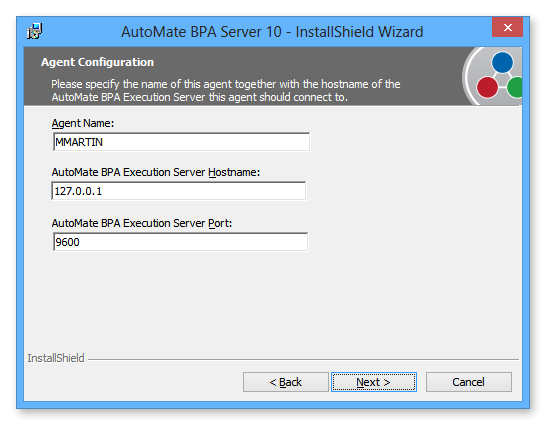
The Agent Configuration window (shown above) requires supplementary information in order for this Agent installation to properly communicate with the Server. The available parameters are:
-
Agent Name - Specifies the name of this agent component to install. The default agent name is the name of the local computer.
-
Automate Enterprise Execution Server Hostname - The name of IP address of the computer where the Automate Enterprise execution server component is installed.
-
Automate Enterprise Execution Server Port - The port used to communicate with the execution server component.
Click Next to proceed.
7. Agent Registration
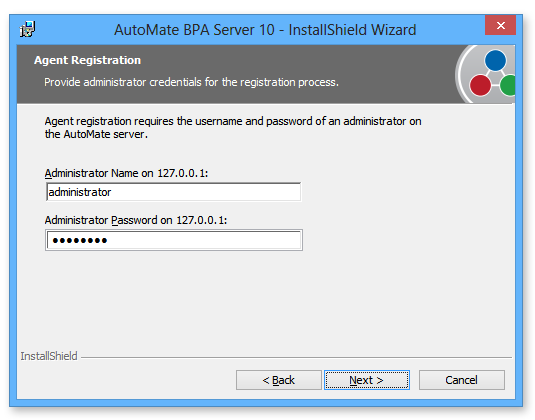
The Agent Registration screen (shown above) enables entry of the username and password of an administrator account on the Automate server component.
Click Next to continue.
8. Ready to Install the Program
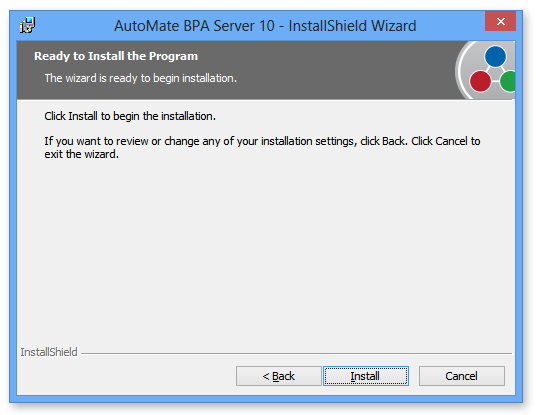
A window titled Ready to Install the Program(shown above) comes next. If you need to modify or confirm any information previously entered, this is your last chance to click the Back button.
If everything is in order, click Install to start the installation.
9. Installing Automate Enterprise
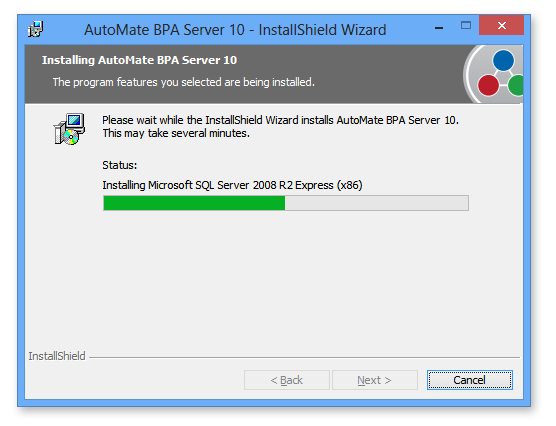
A window titled Installing Automate Enterprise 10(shown above) displays the progress of the current installation.
10. Completion
Upon completion, an InstallShield Wizard Completed window is displayed (shown above). This signifies the completion of the installation process.
Click Finish to exit the Wizard.