Dialog Designer |
Overview
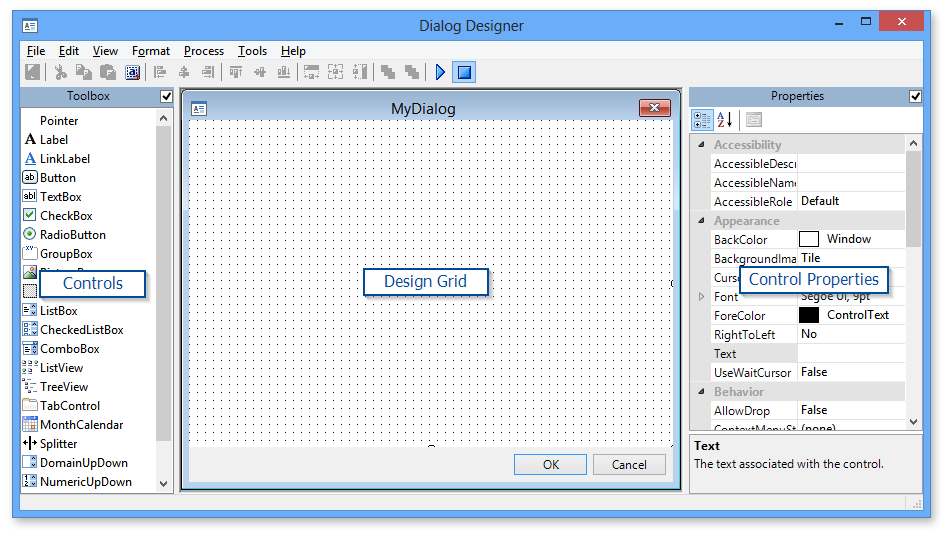
Dialog Designer is an IDE packaged with the Custom dialog activity. It provides developers a graphical interface to easily design custom dialogs to be used within a task and helps to create a more effective, user-friendly environment, tailored to their specific needs.
With Dialog Designer, you can create your own input forms, organize related tools in separate windows, add buttons directly to a view or layout and link what's displayed in a dialog directly to your data. It encompasses a modern dockable interface design similar to Visual Studio or Eclipse and supports a large number of controls. Each control has properties that you can view or edit from within the property grid, including control name, position, size and behavior. Controls also have events you can bind to your own script functions.
During construction, custom dialog definition is stored into an XML file. When you save the dialog, the Dialog Designer creates another XML file containing all the commands needed to create the dialog and all of its controls. When you are finished designing your custom dialog, the generated XML files are ready to be included into any task.
 Dialog
Designer Interface
Dialog
Designer Interface
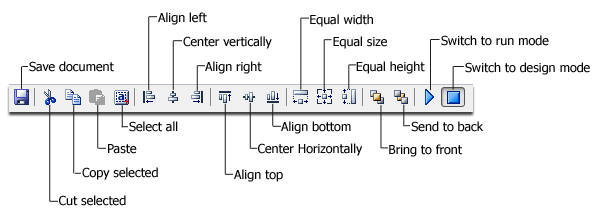
Toolbar
Buttons
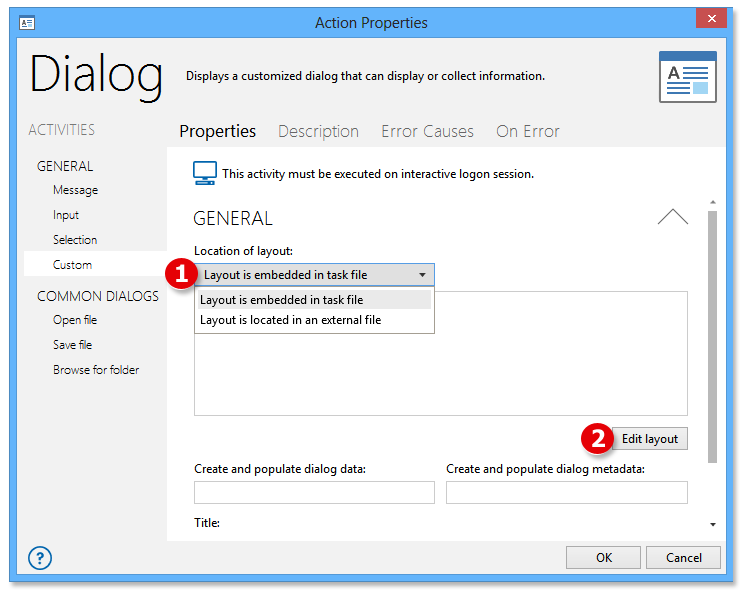
Creating/Editing
a Custom Dialog
Available
Controls


