Importing Tasks Into Task Administrator |
You can import task files containing a .AML (Automate Markup Language) extension into Task Administrator by way of drag and drop, or a standard Import option. This adds the imported tasks into the specified folder in Task Administrator and places a copy of the .aml file associated to each task in the default managed tasks folder. When a managed task is imported, triggers, task steps, logon settings and other task properties are included as well. When an unmanaged task is imported, it automatically becomes a managed task. For more on managed and unmanaged tasks, see Managed vs. Unmanaged Tasks.
To Import Tasks Using Drag and Drop
- From the Task Administrator's Navigation bar, press the Tasks button and navigate to the folder in which to import tasks. If the folder does not exist, right-click the parent folder or an empty area anywhere inside the main panel and select New> Folder.
- Rename the newly created folder to the desired name and double-click to open it.
- Use Windows Explorer to navigate to the AML files you wish to import.
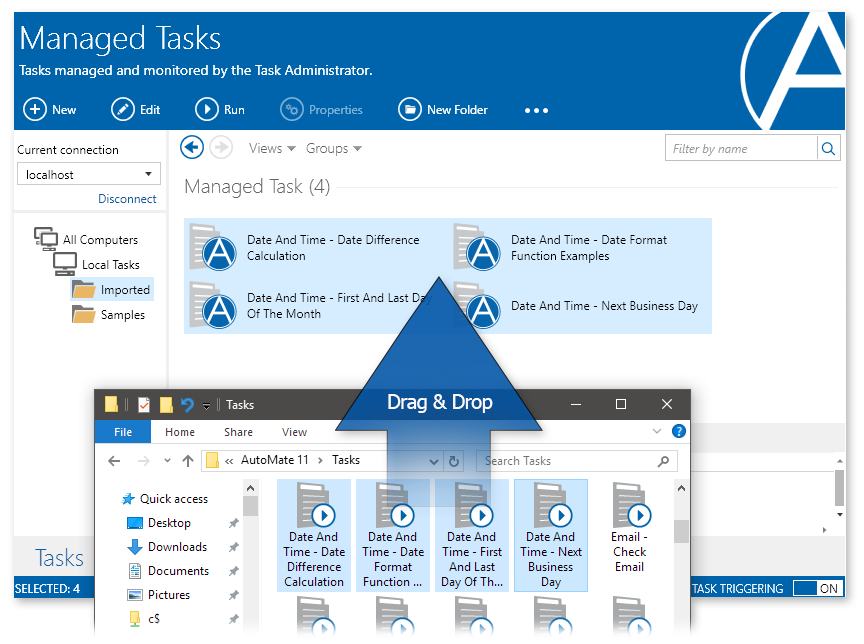
- Drag the selected AML files from its original location and drop them into the Task Administrator's main panel (as shown below). A new icon will appear in the main panel representing each imported task.
To Import Tasks Using the Import Option
- From the Task Administrator's Navigation bar, press the Tasks button and navigate to the folder in which to import tasks.
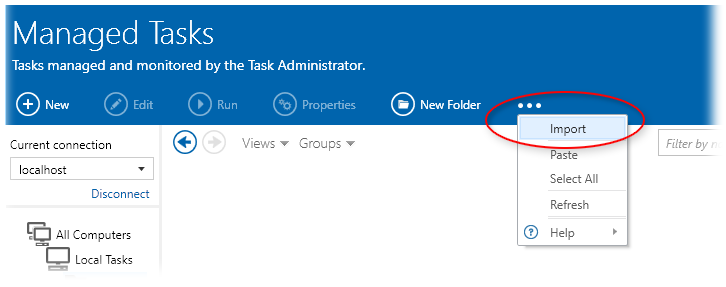
- Click More Options from the top panel and select Import (as shown below) or right-click anywhere inside the main panel and select Import from the menu that appears.
- A dialog titled Import opens, as shown below. Navigate to the directory where the Automate Task (.AML) files you wish to import are located.
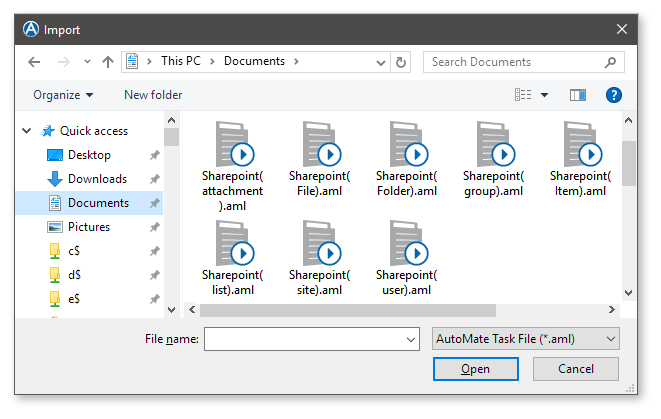
- Select the desired AML files to import and click Open. To select more than one file, hold down CTRL during selection.
- Task Administrator's main panel becomes populated with the newly imported tasks.