Setting Triggers
Overview
A trigger is used to run a task automatically based on a schedule, a key press combination, or occurrence of a specific event or condition. You can set triggers for a task when you first create it by way of the Add Managed Task Wizard or you can add them to an existing task. Triggers become active as soon as they are created.
To access the trigger properties of a given task, from Task Administrator Tasks section, right-click the desired task and click Edit Triggers from the displayed shortcut menu.

To set a trigger for a managed task:
- From the Triggers properties of a task, select Add. The Add a Trigger page is displayed, showing all available trigger types (as shown above).
- Select the type of trigger you want to add and click OK (or double-click the trigger). The properties of the selected trigger is then displayed.
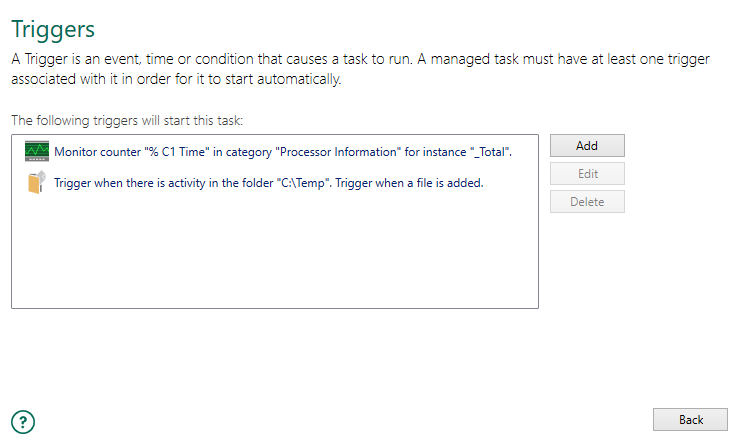
- Enter required properties and click OK to save changes. The newly-created trigger is added to the list of attached triggers for the task (as shown below).
To edit an existing trigger:
- Select the trigger from the list that you want to modify and click Edit (or double-click the trigger). This opens the trigger editor where you can modify its properties.
- Edit required properties and click OK .
To delete one or more existing triggers:
- Select the triggers from the list that you want to delete. To select more than one trigger, hold down Ctrl on your keyboard during selection.
-
Click Delete. The selected triggers are removed from the list permanently.