Sharing Views
Unless otherwise specified, user views can only be used and accessed by the user that created the view.
User created views can be shared between other groups or individual users in an organization to ensure that the correct personnel have full sight of the security events for which they have responsibility.
Sharing rights to a user view can be granted at the time of creation or by editing the required view.

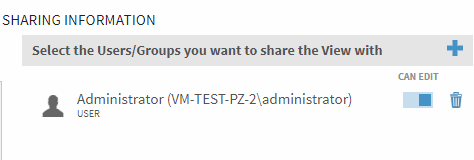
- From within the User View panel, scroll down to Sharing Information. The user that defined the view is currently displayed.
- Click the
 Add icon to open the Share with... panel
 - Select the users and groups within this panel that you want to have access to this view. If required , use the vertical scroll bar to display further options that are not visible on the initial view. Multiple selections can be made by holding down the CTRL key and clicking on each required view.
- Click OK to add the selected users and groups to the Sharing Information panel.
Granting Editing Rights
When a group or user is granted sharing rights to an existing view, they only have the ability to use that view. It is not possible to edit the view for their own purposes.
If you want certain groups or users to be able to edit a user view you can grant them editing rights in the Sharing Information panel.
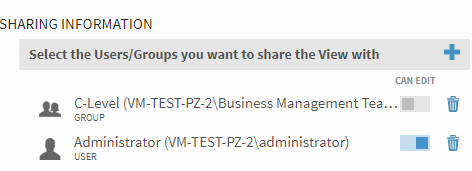
Against the user or group to which you want to assign editing rights, click the toggle switch so that it moves to the right and turns blue. This indicates that it is active for editing purposes. In the screen shot below, only the Administrator has editing rights for this view.

Removing editing rights from a group or user is the reverse procedure of granting rights.