WebApps Browser Attack and Penetration
If you opted to search for Cross Site Scripting vulnerabilities in the WebApps Attack and Penetration step, then you can run the WebApps Browser Attack and Penetration step to exploit any vulnerable web pages. This RPT step will send to your list of recipients an email with a link that will simulate a XSS attack.
Use the following steps to run the WebApps XSS Attack and Penetration wizard:
-
Click the WebApps Browser Attack and Penetration step to begin. The Wizard will open.
Click the Next button.
-
On the XSS Agent Selection dialog, click the ellipsis (
 ) button to Select an XSS Agent to leverage.
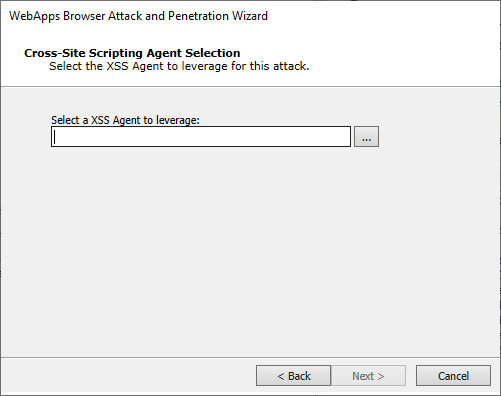
-
The Entities Selection window opens. Navigate to the XSS folder under Vulnerable pages, then locate and select an XSS Agent.
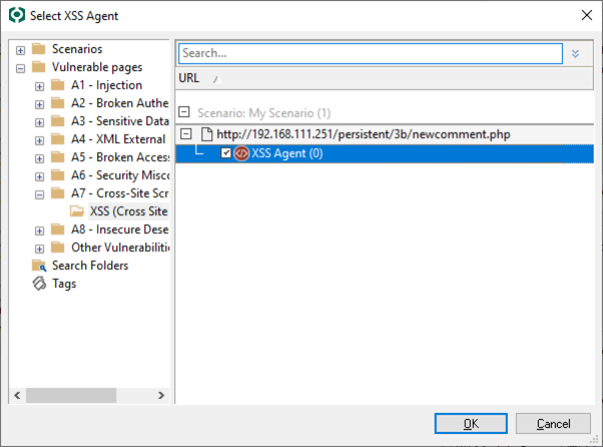
Click the OK button to return to the wizard form.
-
On the Email Target Selection dialog, use the From: button to select an email address from the entity database that will serve as the sender of the test email. Use the To: button to select email address(es) from the entity database that will serve as recipients of the test email.
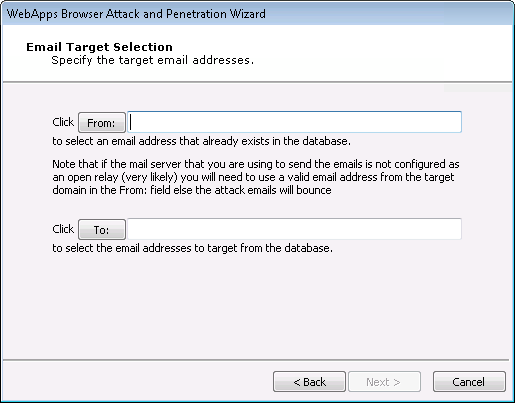
Click the Next button.
-
Use the Change button to modify the template of the email that will be sent to target users. Then set the Email Subject so that it entices users to open and take action in the email.
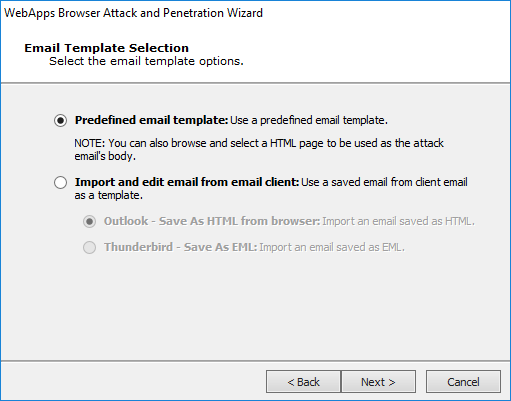
Then click the Next button.
-
Core Impact ships with several email templates that are located in
%ProgramData%\IMPACT\components\modules\classic\install\templates. On the End User Experience dialog you can customize these templates to maximize the chance that your users will take action in the email. Ensure that the email template and email Email Subject are set appropriately for your test. Click the ellipsis button to select a new template, or to modify the one that is selected.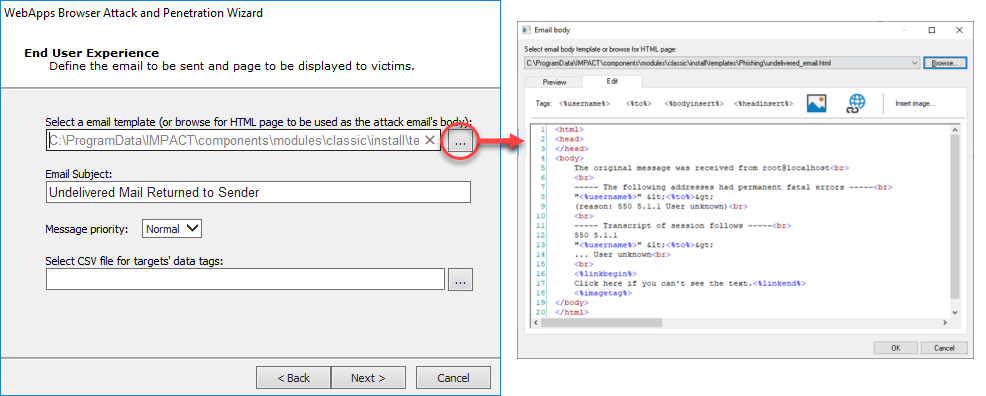
Select CSV file for targets' data tags: By default, the email templates only include a handful of basic tags. If you'd like to add more tags to the email, you can import the tags and their values using a .csv file. The .csv file must be formatted in the following way:
- Row 1: the names of the tag fields. The first tag name must be 'target'
- Rows 2 - x: the values of the tags. The 'target' value must be the email address of the target
Below is an example of how the .csv may appear:
target, nickname, company, position john.doe@example.com, Johnny, JD Corp, VP of Customer Support az@core.sec, Azzo, JD Corp, Secretary After importing the .csv file, you can edit the template and reference content from the .csv file by using the custom tag:
<%csv:[field_name]%>. For example,<%csv:nickname%>or<%csv:position%>.Press the Next button.
-
Email Sending Settings
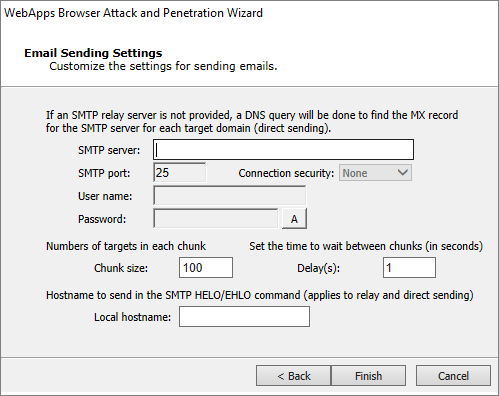
Enter the SMTP Server and SMTP Port for your email SMTP server. Optionally, choose STARTTLS as the Connection security and then enter the Username and Password for your SMTP server.
If you want to limit the number of emails that are sent at one moment, set a Chunk Size. This value will determine the maximum number of emails that will be sent at one time.
Enter the Delay (in seconds) that you want Core Impact to wait in between sending chunks of email in this attack.
Set a Local Hostname if the fully qualified domain name (FQDN) of the machine where Core Impact is running doesn't work with the SMTP server (for example, messages are ignored).
The WebApps Browser Attack and Penetration step will commence. You will be able to see module progress in the Executed Modules panel and specific output in the Module Log panel. Note that a Web Server module will also start. This web server will deliver the simulated attack to the users when they click the link in the email they received.