Importing and Exporting Workspaces
Core Impact allows you to move Workspaces from one database file to another. This functionality is useful when you wish to share workspace information among several different users, or for purposes of data backup.
You can import Workspaces into and export Workspaces out of any Core Impact database file. A single database file can hold multiple Workspaces at the same time. Before importing or exporting Workspaces, close any active workspace to ensure that the database is not being updated. Import/Export features are disabled when there is an active workspace open in the console.
The Import/Export Wizard guides you through the process of importing or exporting Workspaces from different database formats. To use the Wizard, first ensure that all Workspaces are closed, and then follow one of the procedures below.
The following are SQLServer-related Import/Export restrictions:
- Not Allowed: A workspace exported from Impact on an instance of SQLServer Standard/Enterprise cannot be imported into Impact on an instance of SQLServer Express.
- Allowed: A workspace exported from Impact on an instance of SQLServer Express. can be imported into Impact on an instance of SQLServer Standard/Enterprise.
Import a Workspace
- If you have a workspace opened, close it by navigating to File -> Close Workspace.
- Navigate to File > Import/Export Workspaces from Core Impact main menu. When the Import/Export Workspace Wizard appears, click Next.
-
Using the drop-down menu, select the Data source type of the import file as either Microsoft Access or Microsoft SQL Server.
Click the ellipsis button (
 ) then navigate to and select the source file.
 In the File Explorer, click the Open button to return to the Import Wizard.
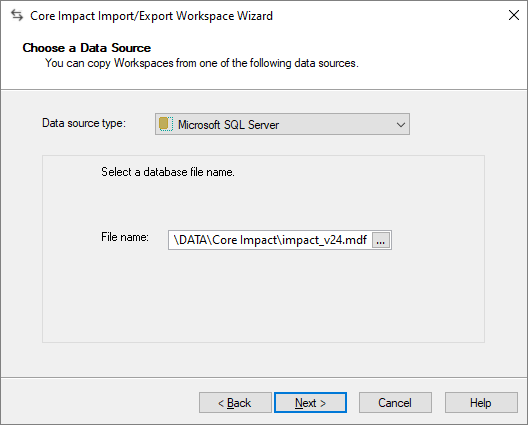
- Click Next.
-
Select a workspace from the next dialogue box. This will be the workspace into which the external file will be imported.
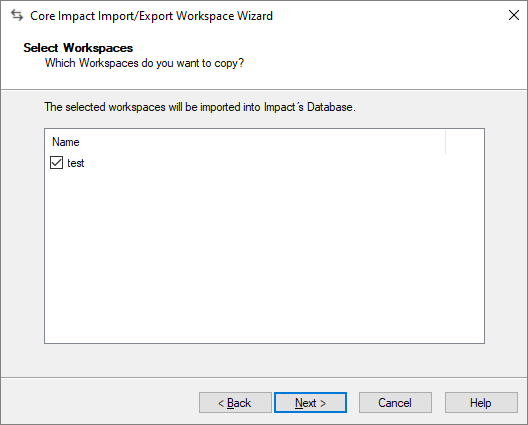
- Click the Next button.
-
From the drop-down menu, select the destination of the import. The default option will be Impact's Database.
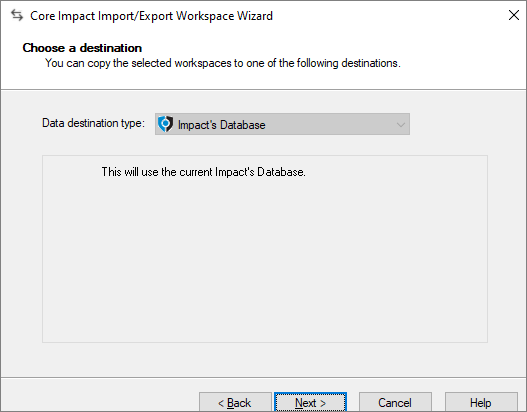
-
Click the Next button.
-
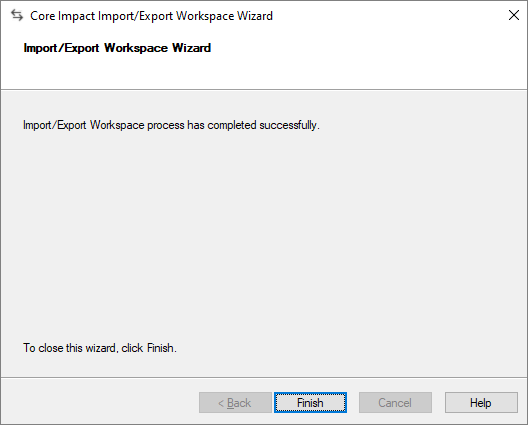
Click the Finish button once the Import operation is completed.

Export a Workspace
- If you have a workspace opened, close it by navigating to File -> Close Workspace.
- Navigate to Tools -> Import/Export Workspaces from Core Impact's main menu. When the Import/Export Workspace Wizard appears, click Next.
-
To export a workspace from your Core Impact installation, select Impact's Database as the Data source type.
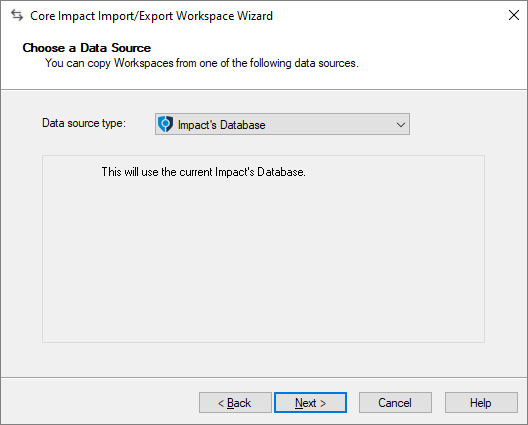
-
Click the Next button.
-
Select the workspace that you wish to export from the Select a Workspace list.
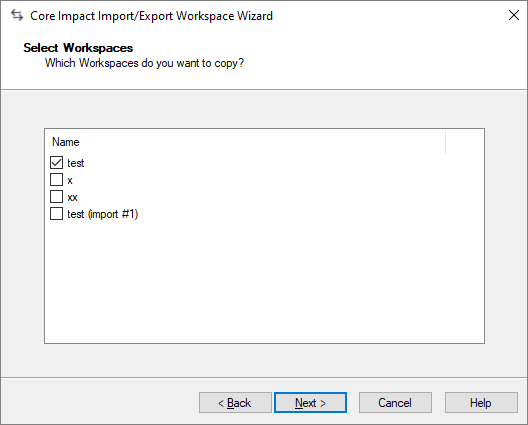
-
Click the Next button.
-
Using the drop-down menu, select the Data destination type for the workspace as Microsoft SQL Server.
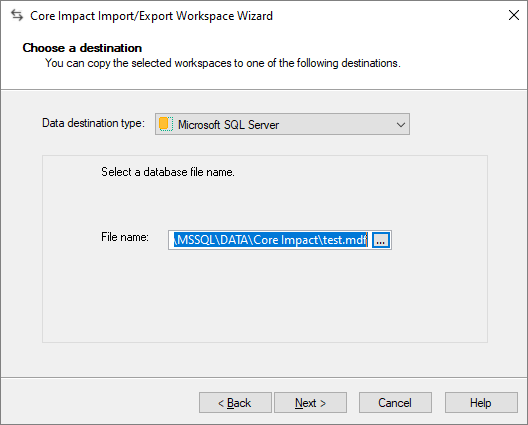
-
Then click the ellipsis button (
) to define the destination source file for the export. -
Click the Next button.
-
Click the Finish button once the Export operation is completed.