Attivo BOTsink Physical Appliance
To integrate with Attivo BOTsink Physical Appliance perform the following (see below for detailed instructions):
- Generate a API Key
- Configure Attivo BOTsink
- Download the Frontline-BOTsink connector virtual image
- Deploy the Frontline-BOTsink connector on your network
- Configure the Integration
- Example Usage
Requirements
- Attivo BOTsink version 4.1 or higher (physical version of the appliance)
- Frontline-BOTsink connector Virtual Image
- Ability to deploy Frontline-BOTsink connector
- Fortra VM API Key
Generate a Fortra VM API Key
-
Log in to Fortra VM.
-
In the site heater, select your name and choose My profile.
-
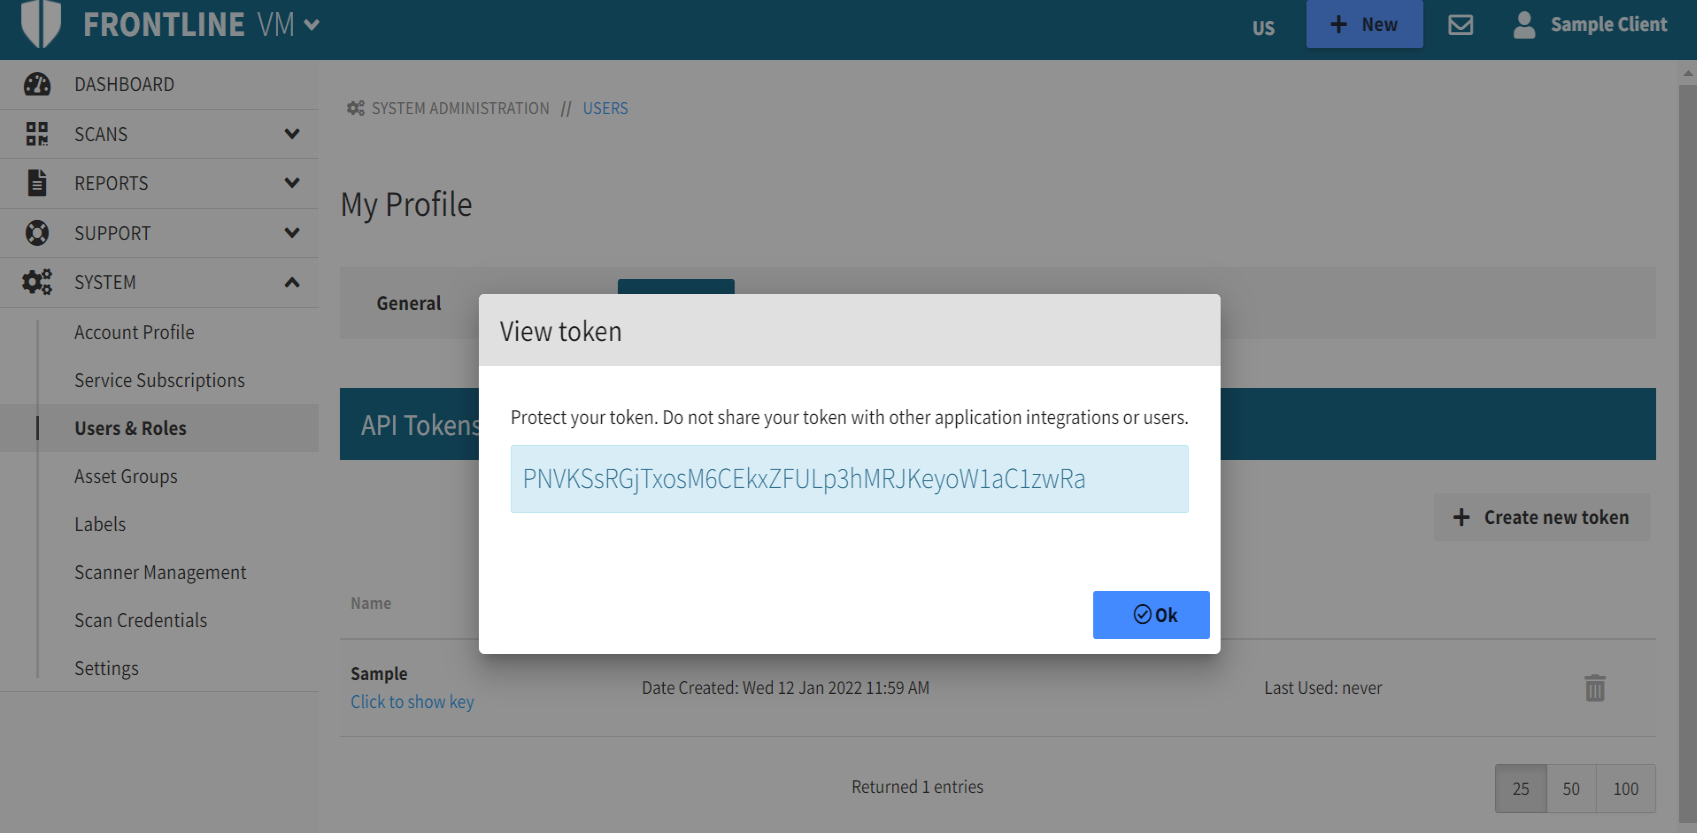
On the API Tokens tab, select Create new token.
-
In the Add New Token dialog, type the token name and select OK.
-
Below your token name, selecting Click to show key displays your API Key.
Configure Attivo BOTsink
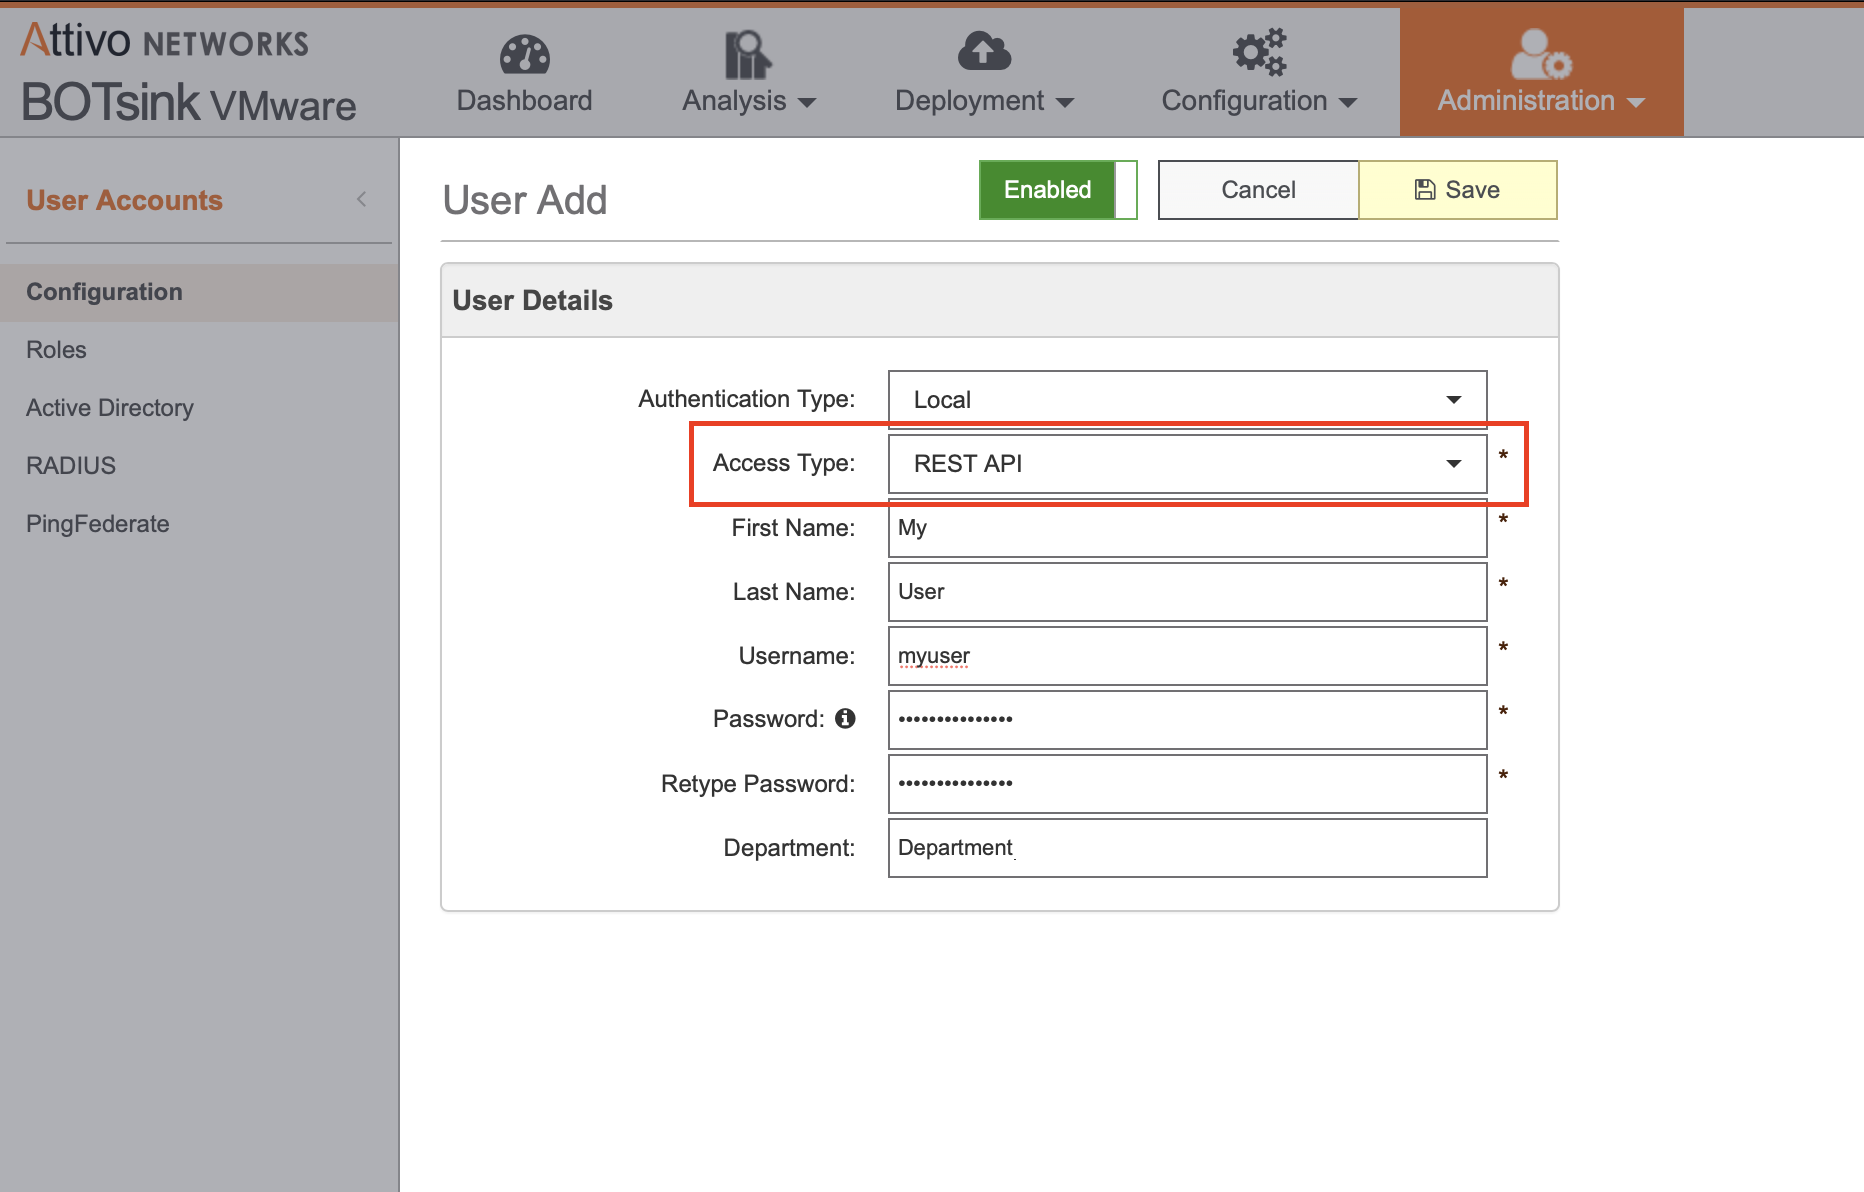
Create a user with REST API access type
- Navigate to Administration> User Accounts > Configuration.
- Click Add.
- Fill out the User Details information. Ensure that Access Type is set to REST API and Save.
Download the Frontline-BOTsink connector
The Frontline-BOTsink connector OVA can be downloaded here:
Deploy the Frontline-BOTsink connector on your network
- Connect the virtual image to your network, where it can reach your BOTsink instance.
sshto the Frontline-BOTsink connector virtual machine with the following default credentials. - Next, run the command
sudo -ito gain root access.- Before launching the connector, set the CONNECTOR_IP environment variable with the deployed virtual image’s IP address.
- To ensure an encrypted connection, add your SSL certs to the machine, and set the following environment variables:
export PATH_TO_CERT=”/path/to/your/certfile”
export PATH_TO_KEY=“/path/to/your/keyfile”
export CONNECTOR_IP="1.1.1.1:8000" - Return to the projects root directory:
cd/home/attivo/ - Finally, run the start-up script via the following command:
./startup.sh
user: fvm-connector
password: Vu!nr3duCe7325
E.g.:
ssh fvm-connector@<ip_address>
Once you have gained access to the machine, it is recommended you change the default user’s password. Run the passwd command, and follow the instructions.
TIP: You can generate your own self-signed cert and key with the following command:openssl req -x509 -newkey rsa:4096 -nodes -out cert.pem -keyout key.pem -days 365
Configure the Integration
The web interface has a default user with the following credentials:
admin

Botsink123
- Change the default password. This project is built on Django, which comes with an Admin Interface.
- To access it, open up a browser (that can reach the Connector machine) and type the following url, replacing the <ip_address> with your Connector’s IP:
- Log in with the default credentials.
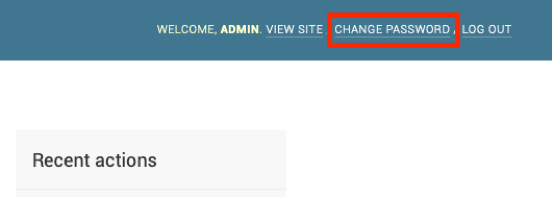
- To change the password, click CHANGE PASSWORD in the top right.
- Follow the instructions given on the screen.
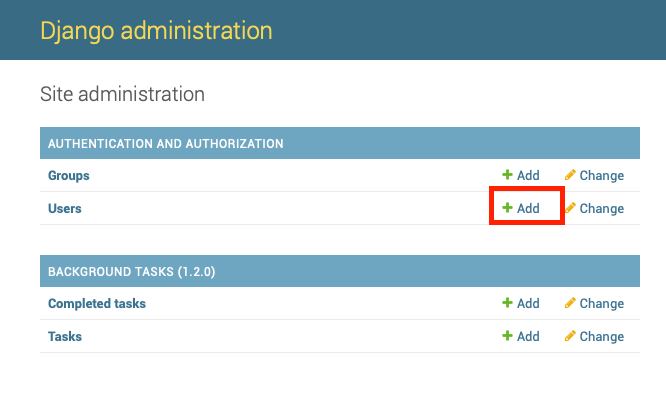
- If you would like to add other users, navigate to Home and click the + Add symbol next to Users.
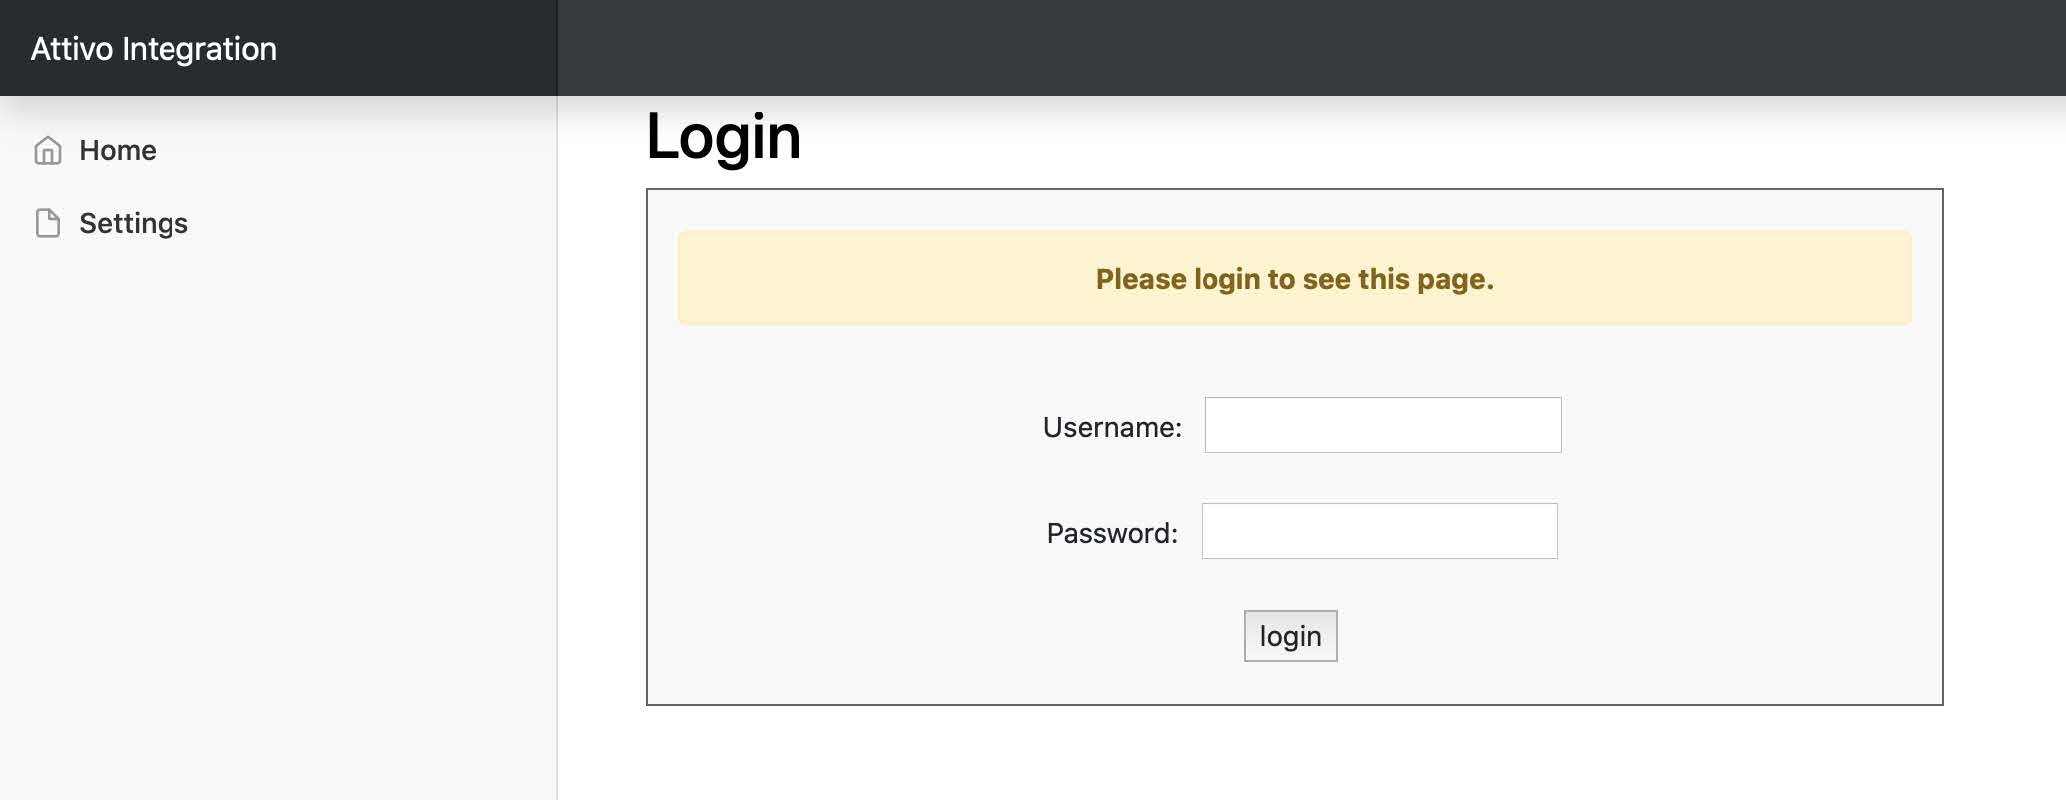
- Once you have finished creating your user(s) navigate to the main site via the following URL:
- After logging into the Frontline-BOTsink connector’s web interface, navigate to Settings > Configure Settings.
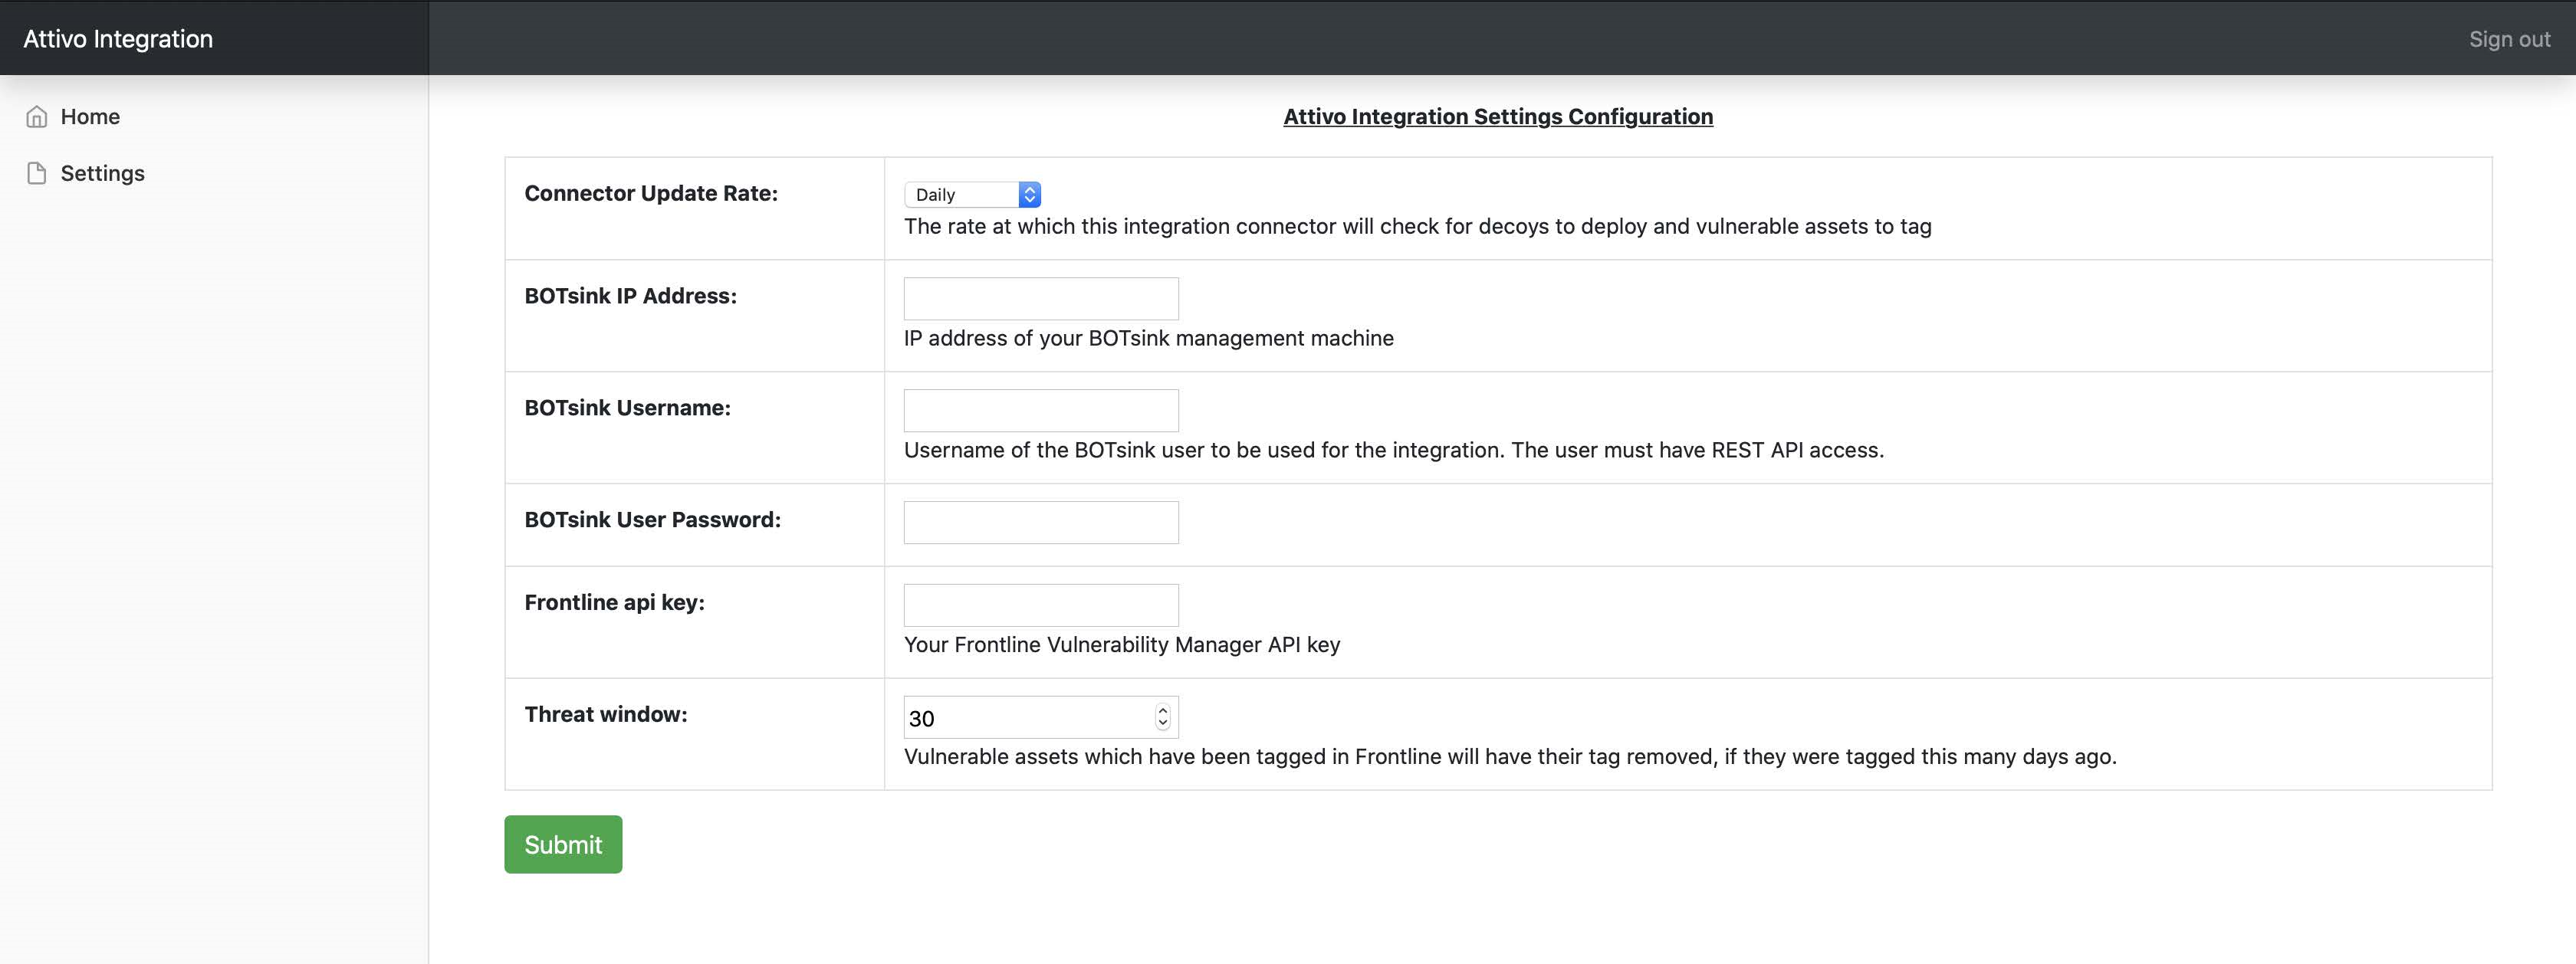
- Here, you can configure the following settings:
- Connector Update Rate: The rate at which this integration connector will check for decoys to deploy, and vulnerable assets to tag.
- BOTsink IP Address: IP address of your BOTsink management machine.
- BOTsink Username: Username of the BOTsink user to be used for the integration. The user must have REST API access.
- BOTsink User Password: Password for the above user.
- API Key: Your Frontline API Key.
- Threat Window: Number of days in which vulnerable assets tagged in Fortra VM will have their tag removed.
- Once you have filled out your settings, press Submit. You will be taken to a page to review your settings.
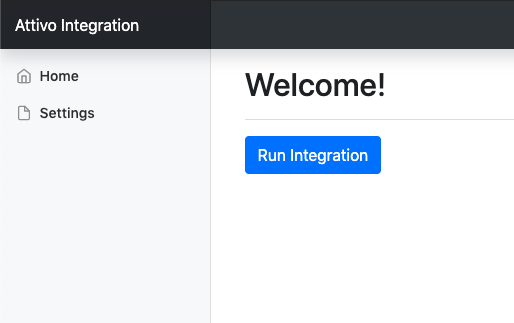
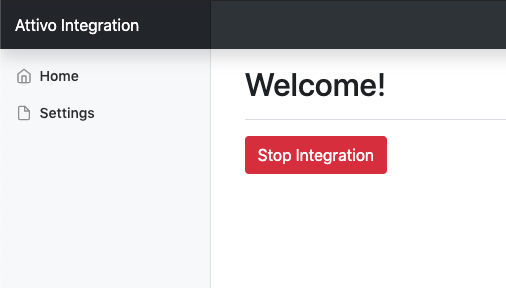
- Navigate to Home to return to the dashboard. You will see that you now have the option to run the integration.
- Press Run Integration to start the integration based on your newly configured settings.
- To stop running the integration, simply press Stop Integration.
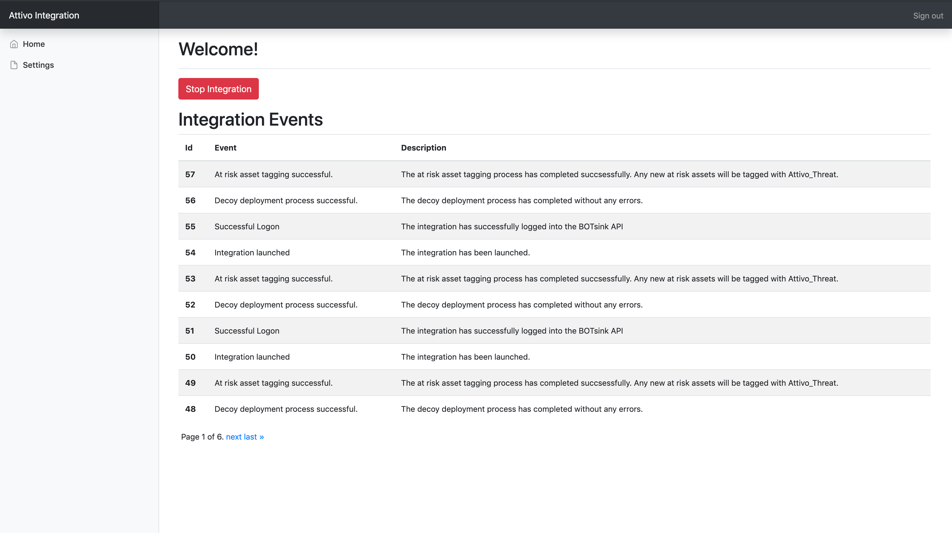
- As the integration runs, it will generate “Integration Events”. You can view these on the home page to monitor the integration’s status.
https://<ip_addres>:8000/admin/
https://127.0.0.1:8000/attivo/
Example
- In Fortra VM, select an asset that you would like to protect with a BOTsink decoy.
- Tag the asset with
Attivo_protect.

The next time the Integration Connector updates, it will deploy a decoy. You should see a Monitoring Rule in BOTsink:
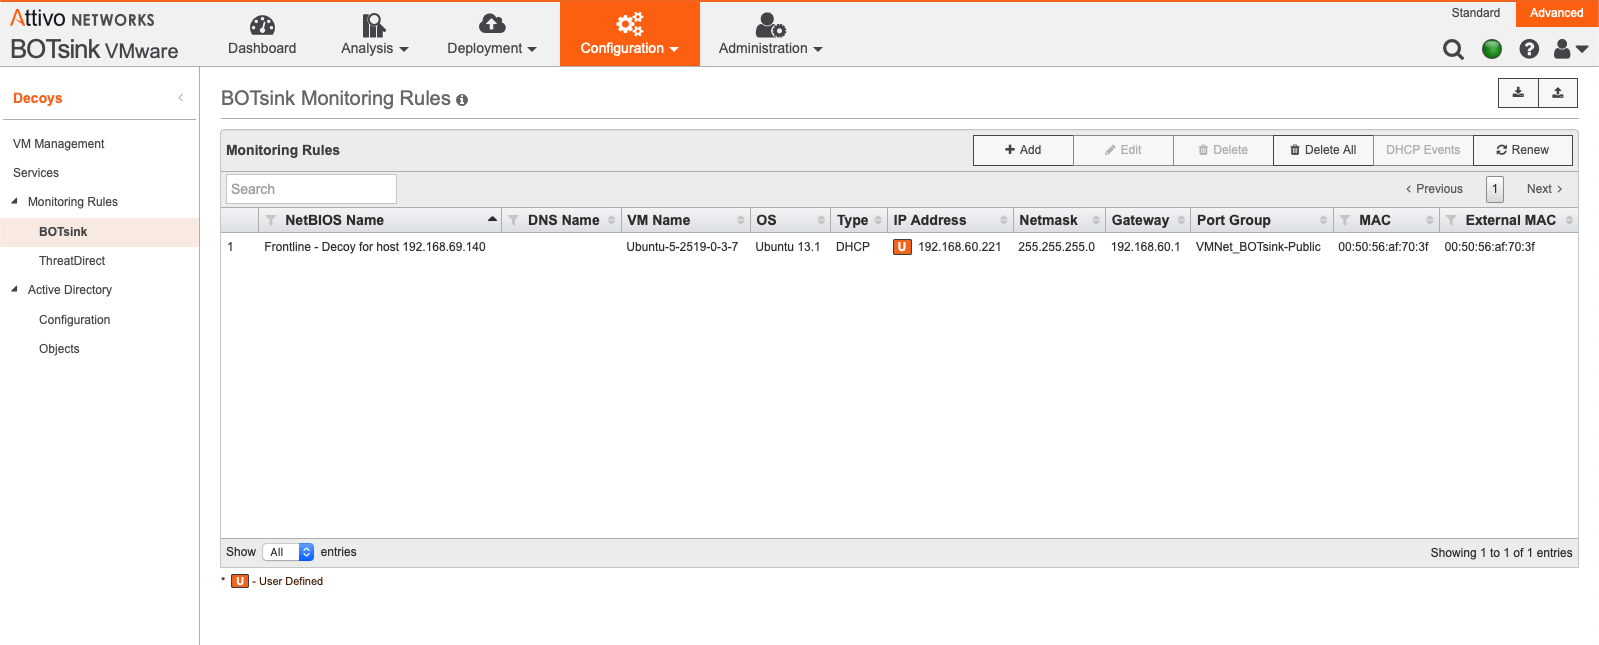
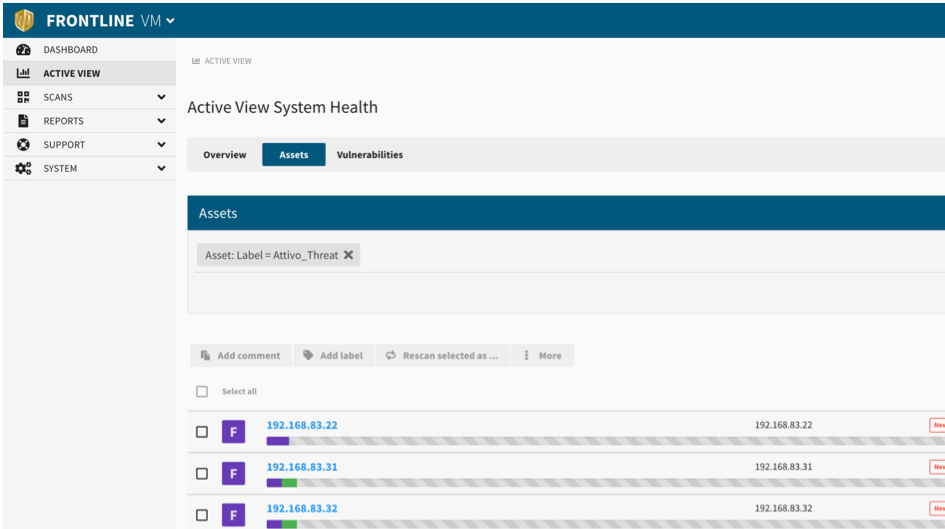
Every time the integration connector updates, it checks events in BOTsink to see if any subnets on your network may be vulnerable to attack. If one (or more) are found, assets on that subnet will be tagged in Fortra VM with the following tag: Attivo_Threat.
You can filter your assets by tag to see which of your assets may be at risk to attack: