FortiSIEM
FortiSIEM is a Security Information and Event Management (SIEM) solution which brings together visibility, correlation, automated response, and remediation in a single, scalable solution.
For this integration with FortiSIEM the connector communicates with Fortra VM over the REST API, and pulls Vulnerability and Asset information. The connector formats a set of CEF syslog messages from the pulled FVM data, and forwards these messages to the FortiSIEM collector / agent. FortiSIEM then parses this data which is then inserted into the SIEM.
Requirements
-
FVM API Key
- FortiSIEM Connector
- FortiSIEM Collector / Agent IP Address
Related Documents:
-
Fortra VM Documentation
Generate a Fortra VM API Key
-
Log in to Fortra VM.
-
In the site heater, select your name and choose My profile.
-
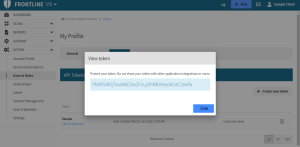
On the API Tokens tab, select Create new token.
-
In the Add New Token dialog, type the token name and select OK.
-
Below your token name, selecting Click to show key displays your API Key.
Integration Architecture and Functional Overview
The diagram shows a traditional client data center, with a FortiSIEM system, along with some network hosts, as well as a FVM scanner located within the traditional client data center and which scans the network host endpoints. This scan information is brought back into the Fortra VM within the Fortra Vulnerability Management system. There is a Integration Connector which performs most of the heavy lifting for the integration, and allows you to specify API authentication, as well as key configuration specification information for filtering what assets and vulnerabilities are pulled into the SIEM.

Initial Login
The common integration connector is packaged within an OVA and allows you to install the common connector on your network. The common connector presents a secure web interface that you access using a web browser. When you access the web interface, you are prompted to supply login credentials for the connector itself. The connector comes with a default account which is set but which you must change after first login.
-
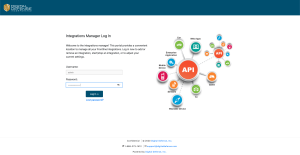
Navigate to https://<ip_address>:8000/connectors where <ip_address> is the ip address in which the connector was installed.
-
Log into the connector by entering the credentials provided by the Technology team.
-
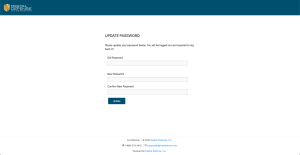
Enter the initial password used to log into the connector, then enter a new password. Confirm this new password in the last input box. Please remember this password as it will be used to log into this connector from now on.
Upon initial login, you will be asked to reset and update your password for security purposes.
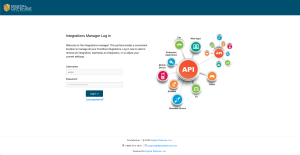
Once the password has been successfully updated, you will be asked to log in one last time using the new password.
Log in using the just updated password.
Dashboard, Account Settings, and Creating a FortiSIEM Integration Profile
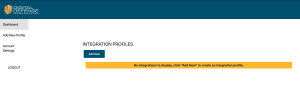
After log in you will see the Common Integrations Connector Dashboard. Here you can view a list of current integration profiles. There is also a side navigation menu where you can add a new integration profile, configure your account settings, or log out of the integration connector console.
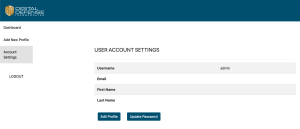
Within account settings, you can update their information such as Username, Email, First/Lastname, and even update your password.
-
From the navigation pane select Add New Profile, or select the Add New button in the middle of the screen in order to add a profile for one of the supported integrations.
-
On the next screen, select from a list of supported integrations. As noted above, at this time, the only supported integrations is the FortiSIEM integration. Therefore, the drop-down list only provides you with one integration option.
-
Select the FortiSIEM integration from the list, and choose Next.
-
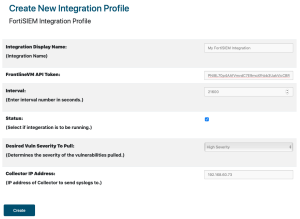
Give the integration a Display Name.
-
Enter a valid API token.
-
Give the integration an interval value in seconds. This value determines how often to run the integration (query to pull new Fortra VM data and send that data to FortiSIEM).
-
Select Status to enable the integration to run once the integration profile is created. If you do not select and enable status to run, you have the option to begin the integration from thedashboard page.
-
Select a desired minimum severity level of vulnerabilities to pull. This will pull all vulnerabilities labled to have a severity equal to or higher than the severity chosen.
-
Finally, enter the IP address of the FortiSIEM collector or agent you would like to forward CEF syslog message to.
-
Once finished, select Create to create the integration profile.
The next screen displays the configuration options for the FortiSIEM integration.
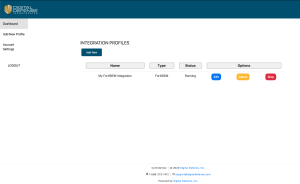
After creating a new integration profile, the profile will now be visible and listed within the dashboard page and shown running if the status was selected when creating the profile. From the dashboard you are able to edit, delete or stop the integration.
