OKTA®
The goal of the integration between OKTA and Fortra VM is to allow single sign-on (SSO) capabilities using OKTA as the third party authentication service.
To integrate with OKTA, do the following:
- Configure SSO in Fortra VM.
- Create a SAML 2.0 integration application on your OKTA account.
- Complete configuration of your Fortra VM account using the information provided by OKTA.
- Add users to your SAML 2.0 integration application.
Configure SSO in Fortra VM
The following instructions describe how to configure SSO in Fortra VM. You will need information from this configuration to create a SAML 2.0 integration application on your OKTA account.
- Log in to Fortra VM.
- From the navigation menu, select Account > Settings.
-
Select the Single Sign-on tab. You are now on the Single Sign-on Configuration page.
NOTE: If you do not see the Single sign-on tab, it has not been enabled. Contact Fortra Support for assistance.- In the Name box, enter a name for the configuration (for example, companynameOKTASSO).
-
In the Sub domain box, enter a subdomain name with no spaces, such as your company name. This will generate the SSO URL and Metadata URL on the right side of the screen. You will need this information to create the SAML 2.0 integration application on your OKTA account.
-
Leave the Single Sign-on Configuration page in Fortra VM open and continue to Create a SAML 2.0 Integration Application.
Create a SAML 2.0 Integration Application
The following instructions describe how to create your OKTA SAML 2.0 integration application for use with Fortra VM Single Sign-on. You will need information from this set up to complete the configuration process in Fortra VM.
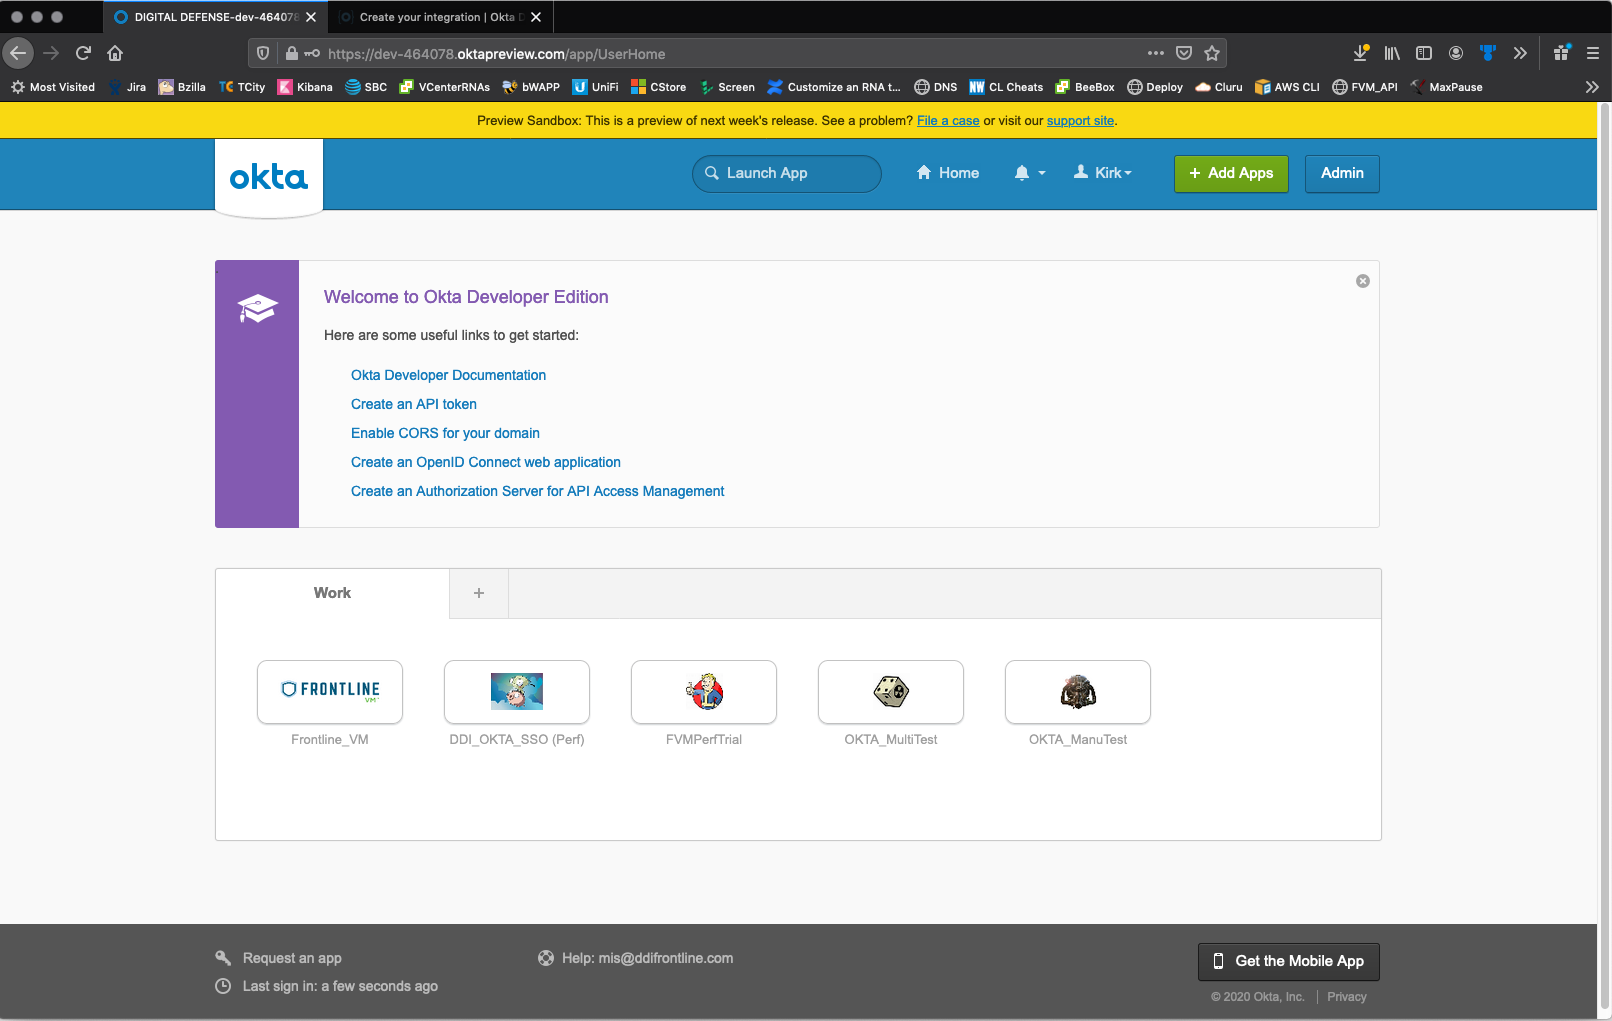
With the Single Sign-on Configuration page still open in Fortra VM, open a new browser tab or window, and then log in to your company’s OKTA account (usually yourcompanyname.OKTA.com).
-
Select the Admin button to the top right to reach the Dashboard page.
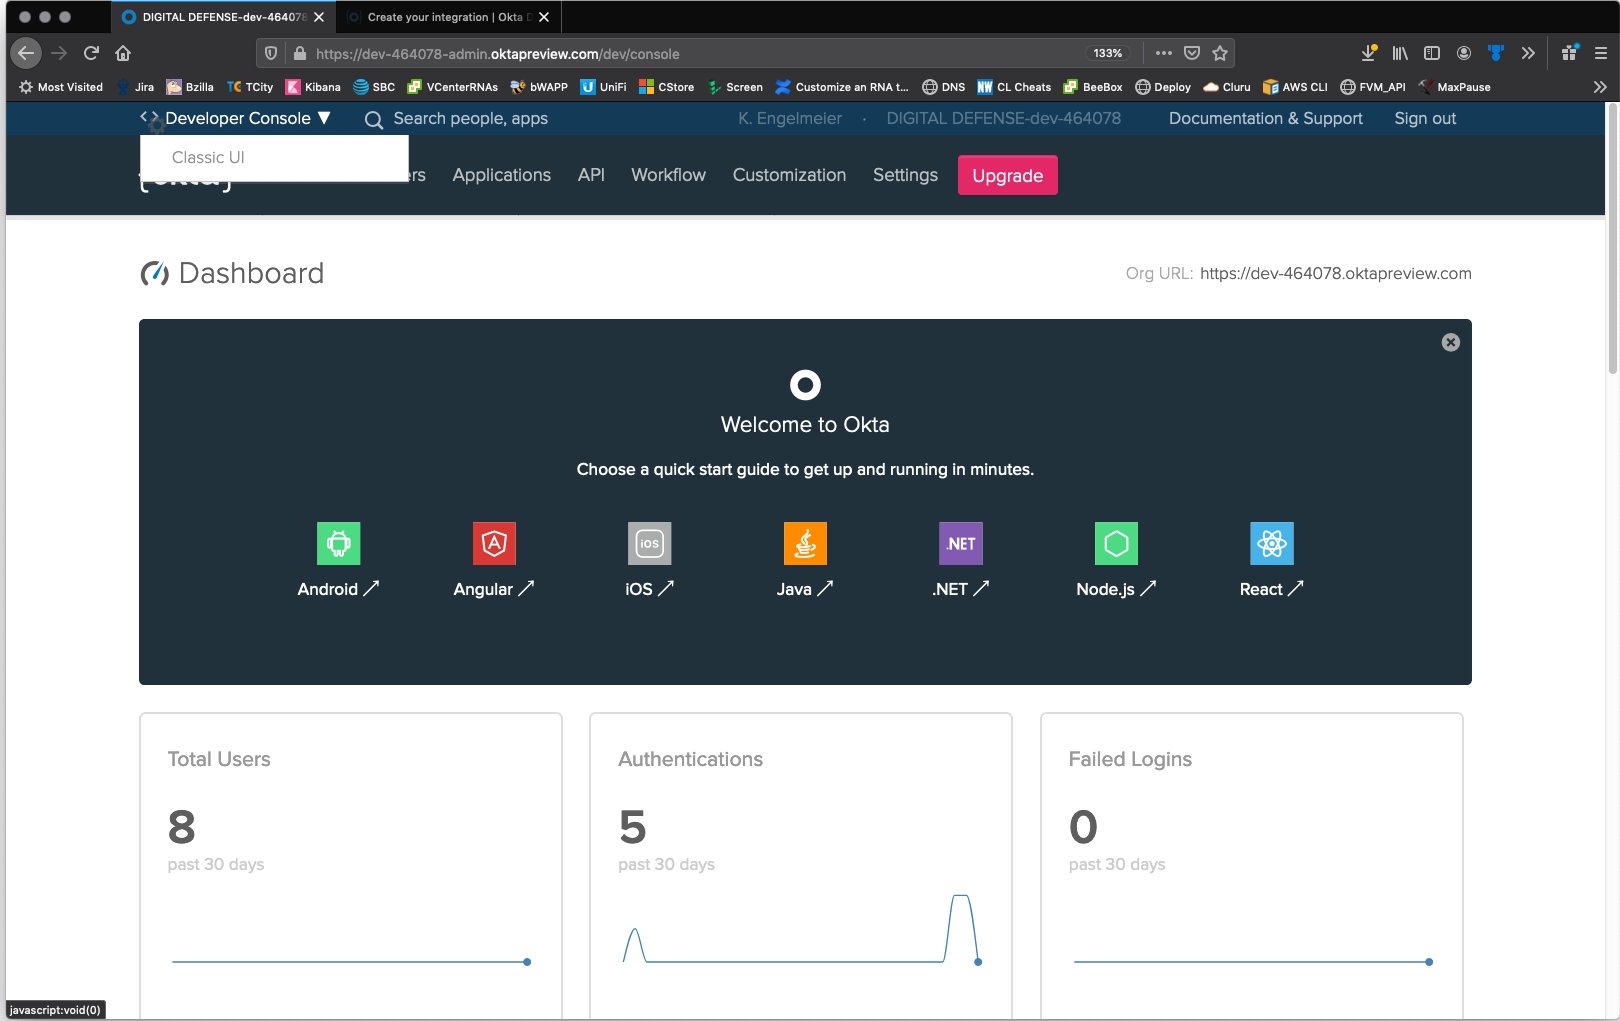
-
In the upper-left corner, select Developer Console > Classic UI.
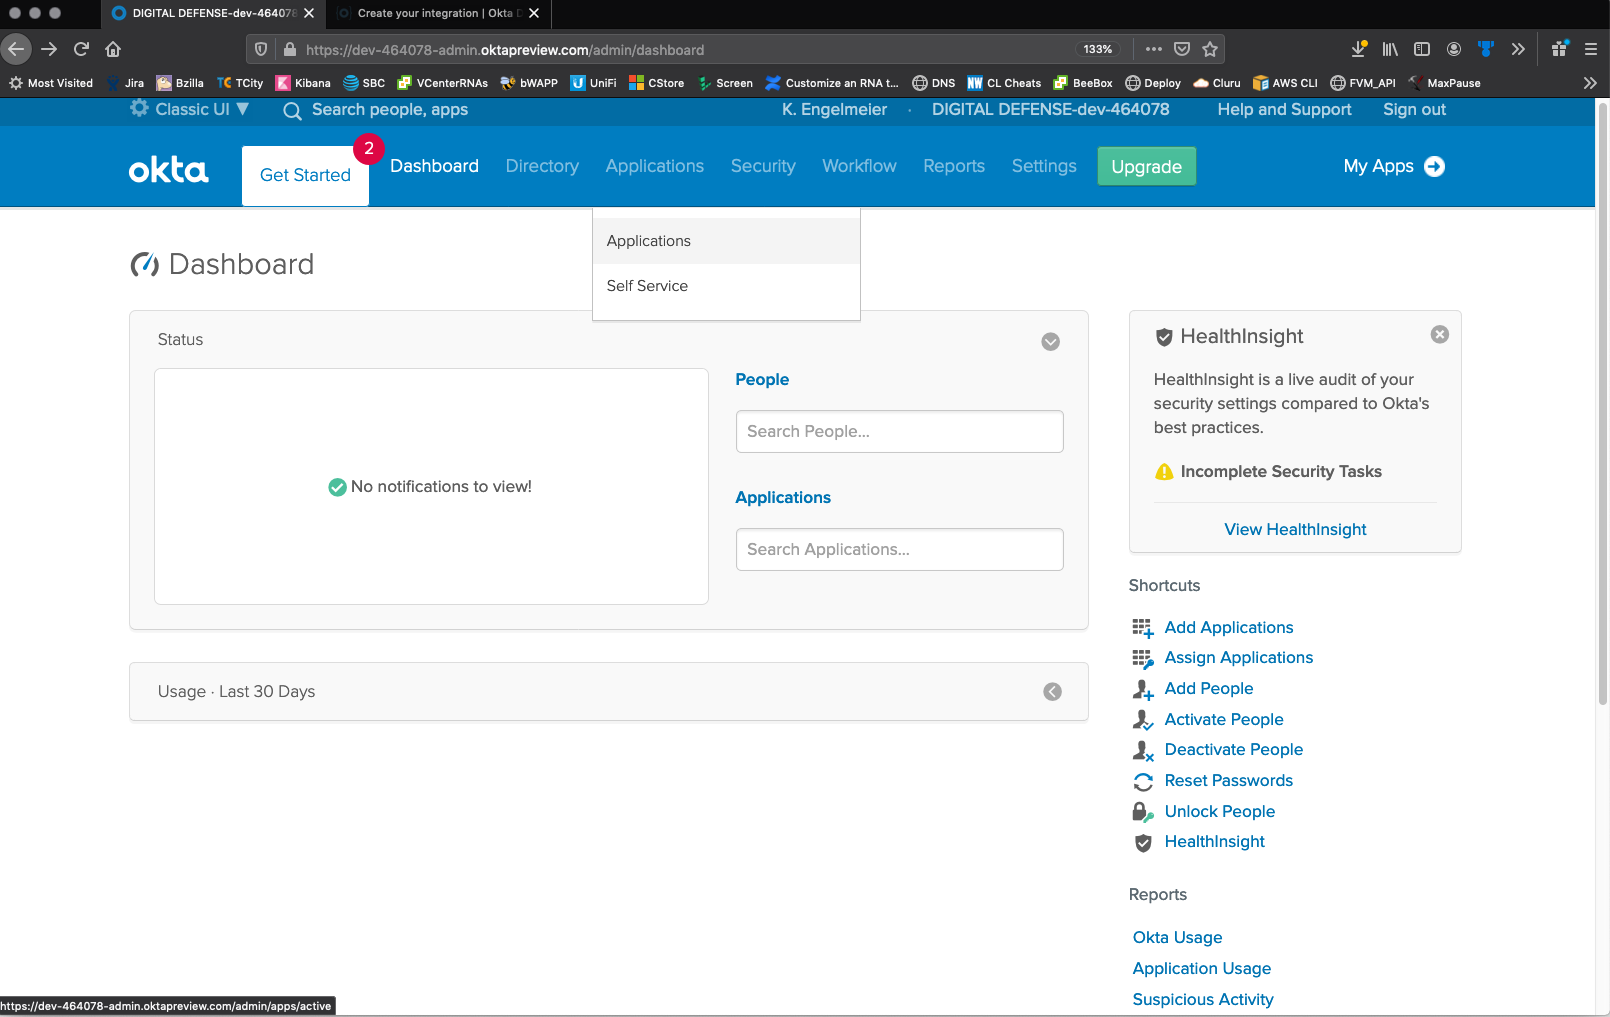
-
From the upper menu bar, select Applications > Applications.
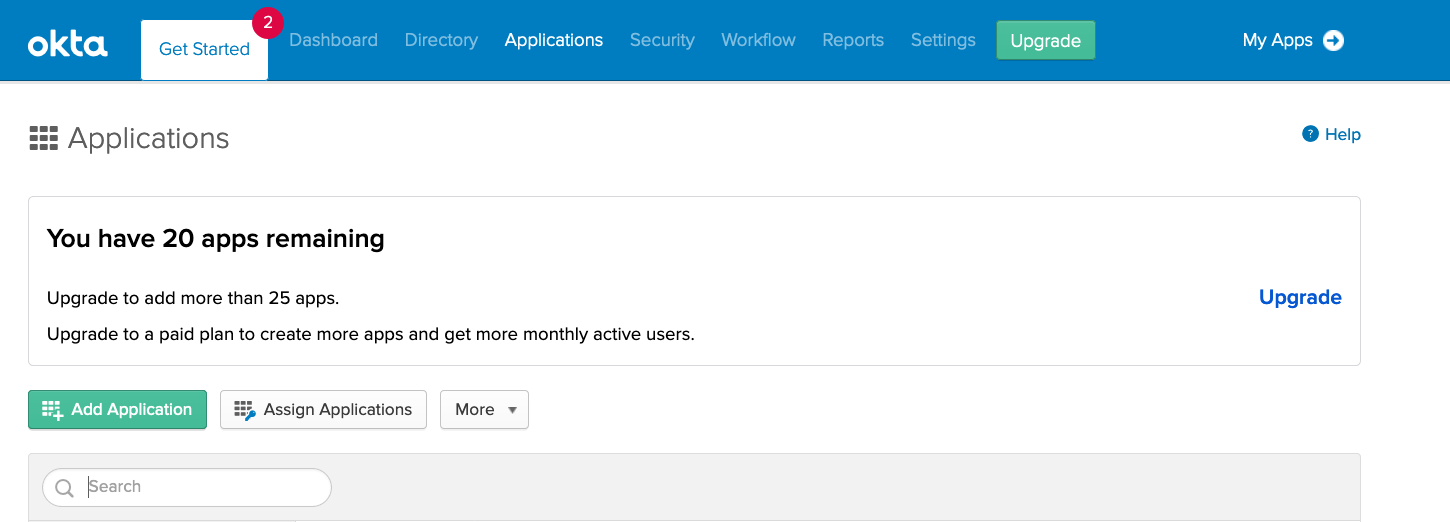
-
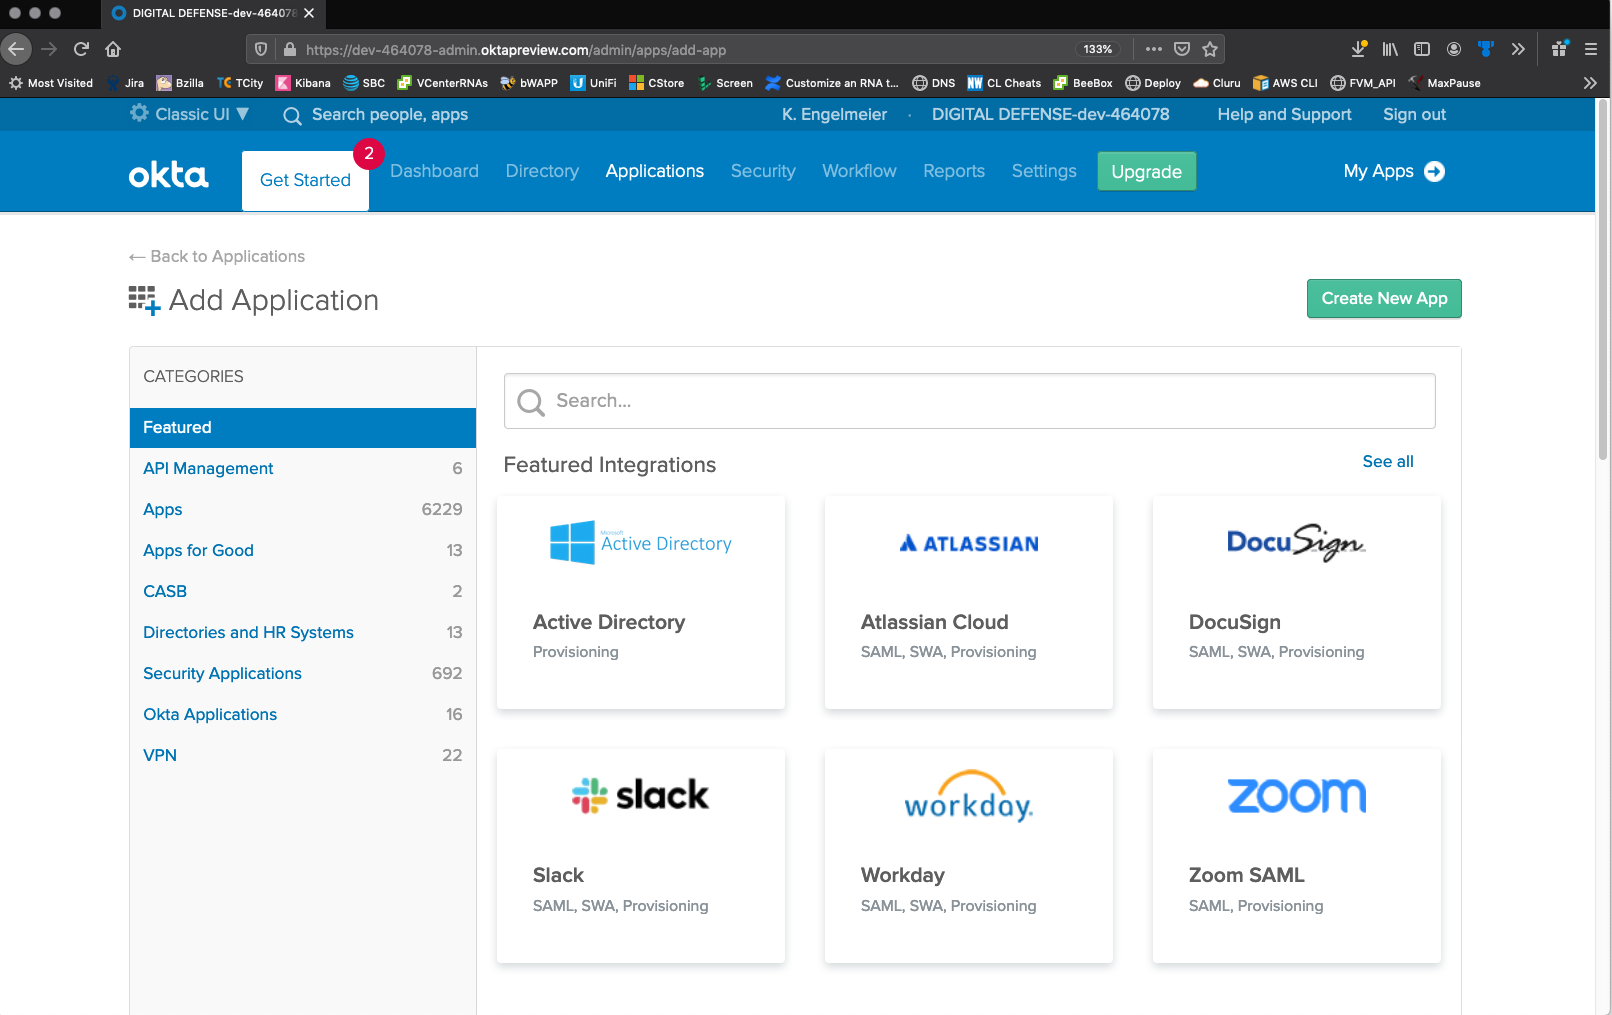
On the Applications page, select Add Application. The Add Application page opens.
-
Select Create New App.
-
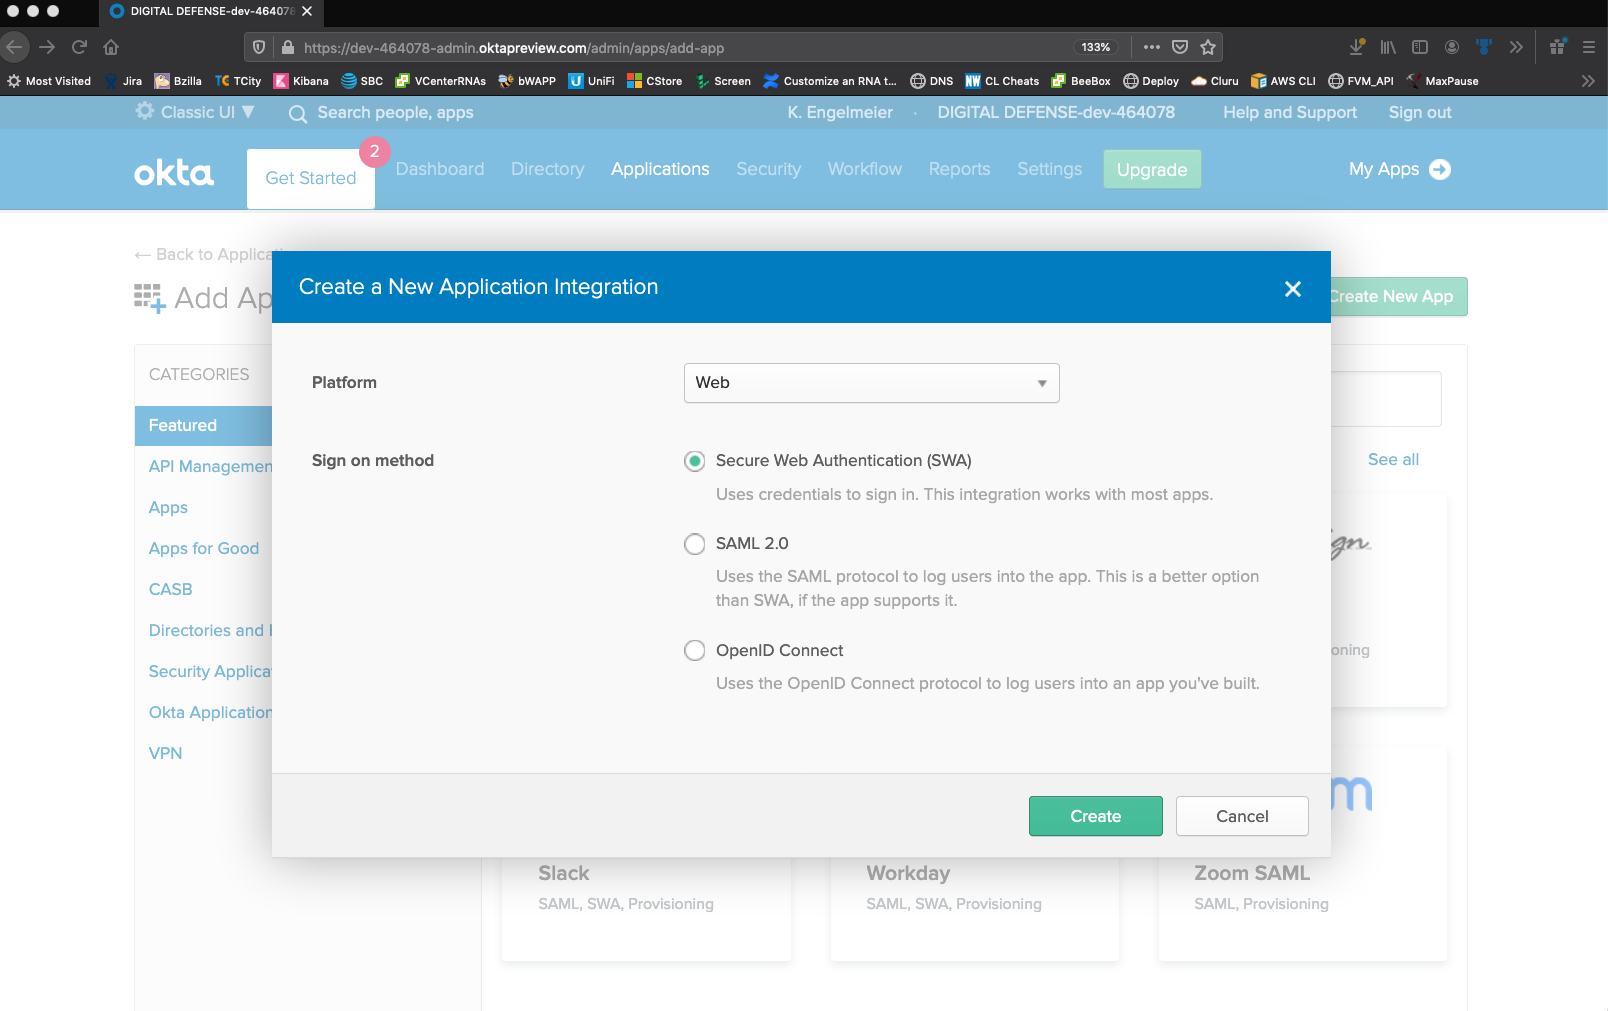
On the Add Application Integration dialog, do the following:
-
For Platform, select Web.
-
For Sign on method, select SAML 2.0.
-
Select Create.
-
-
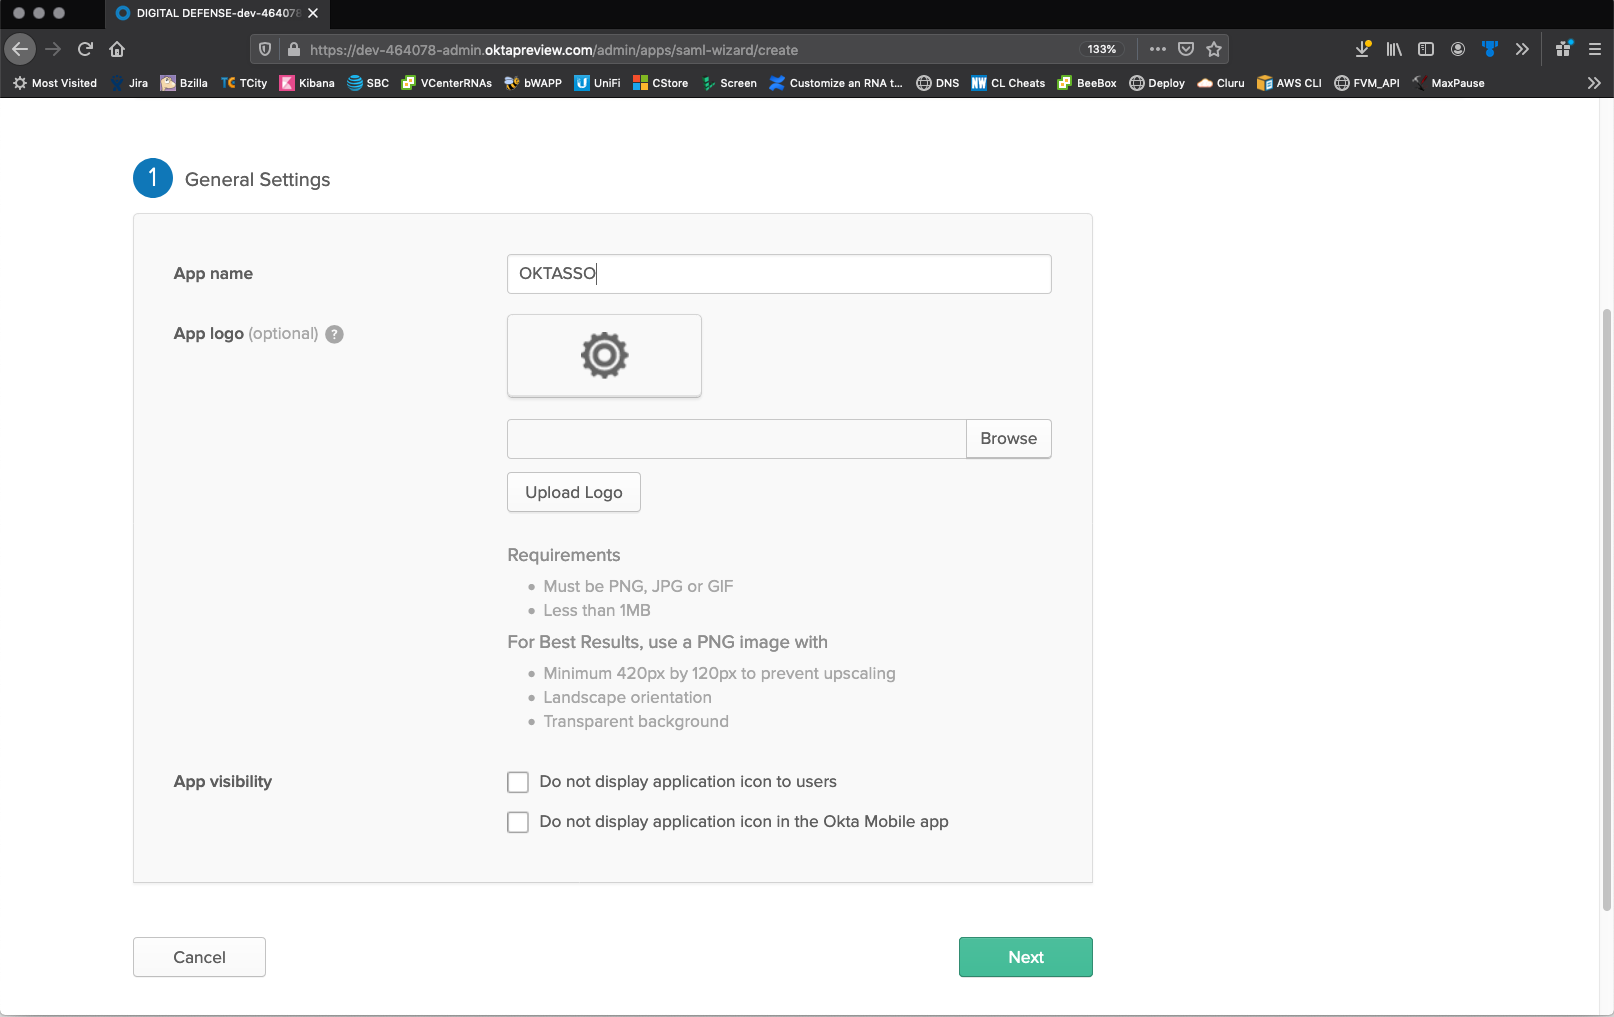
On the General Settings tab of the Create SAML Integration page, do the following:
- In the App Name box, enter a name of your choice, such as Fortra VM SSO.
-
Leave the default selections for App Logo and App visibility, or supply a logo and toggle app visibility.
-
Select Next.
-
On the Configure SAML tab of the Create SAML Integration page, do the following:
-
From the Fortra VM Single Sign-on Configuration page you left open in step 4 of Configure SSO in Fortra VM, do the following:
-
Copy the Fortra VM Single Sign-on URL value, and then paste it into the OKTA Single sign on URL box.
-
Copy the Fortra VM Metadata URL value, and then paste it into the OKTA Audience URI (SP Entity ID) box.
-
- Leave the Use this for Recipient URL and Destination URL checkbox selected.
- Leave the Allow this app to request other SSO URLs checkbox unselected.
- Leave the Default Relay State box empty.
- For Name ID format, select Email Address.
- For Application Username, select OKTA username.
- Leave the remaining options blank.
-
Select Next.

-
-
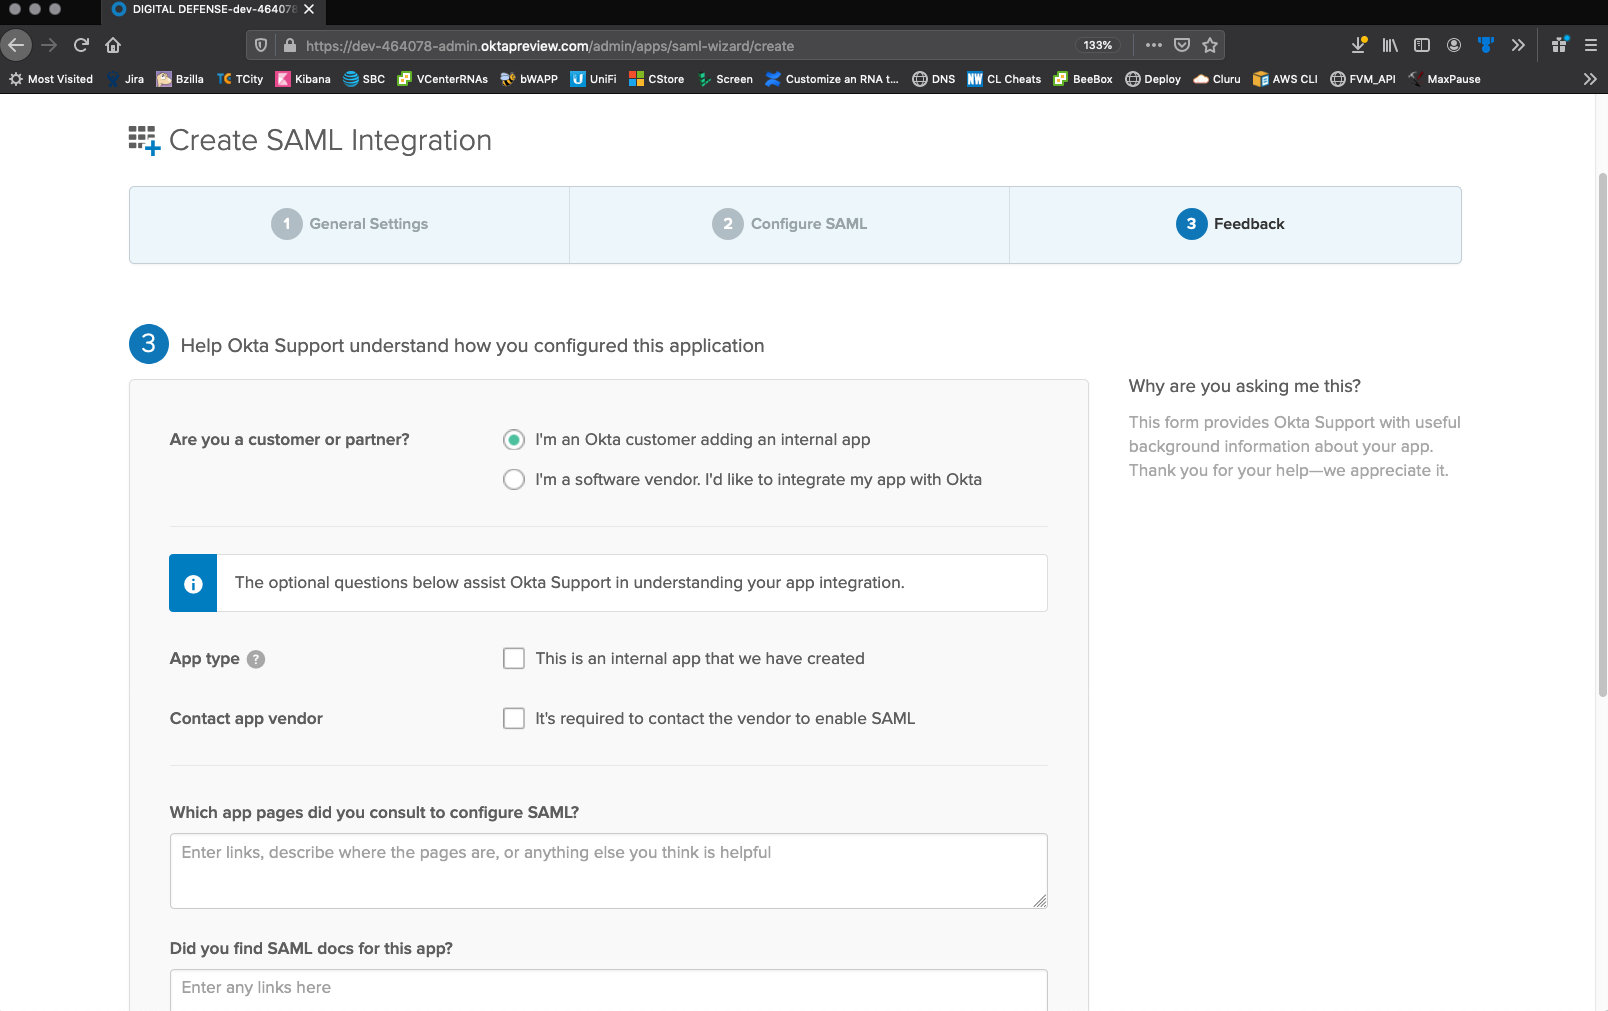
On the Feedback tab of the Create SAML Integration page, do the following:
- Select I’m an Okta customer adding an internal app.
- Leave the remaining fields blank.
-
Select Finish.
-
On your new application’s Sign On Settings page, select View Setup Instructions.
-
The How to Configure SAML 2.0 page will open in a new browser window. Leave this window open and continue to Complete Fortra VM SSO Configuration.

Complete Fortra VM SSO Configuration
The following instructions describe how to copy the OKTA server information and token-signing certificate to Fortra VM.
-
From the OKTA How to Configure SAML 2.0 window you left open in step 11 of Create a SAML 2.0 Integration Application, copy the following values to the Fortra VM Configure Single Sign-on page:
-
Copy the OKTA Identity Provider Single Sign-On URL value, and then paste it into the Fortra VM Log in URL and Log out URL box.
-
Copy the OKTA Identity Provider Issue value, and then paste it into the Fortra VM Trust Identify URL box.
-
Copy the OKTA X.509 Certificate value, and then paste it into the Fortra VM Certificate box.
-
-
On the Fortra VM Configure Single Sign-on page, select Save.
-
From the left navigation menu, select Account > Users.
-
From the users list, select the user account that will utilize SSO.
-
On the General tab, under User Information, toggle Use single sign-on to ON, and then select Save. Repeat for each user account that will be utilizing SSO. Fortra VM is now configured for OKTA integration.
-
Close Fortra VM and proceed to Add Users to the SAML 2.0 Integration App.
Add Users to the SAML 2.0 Integration App
The following instructions describe how to add users to your SAML 2.0 integration application so they may access Fortra VM via their OKTA SSO account.
If you have not already done so, log in to your company’s OKTA account (usually <companyname>.OKTA.com).
- From the top-right of the page, select the Admin button to access the Dashboard page.
- From the top navigation menu, select Applications.
- Select the SAML 2.0 application you just created to open the application settings.
- Select the Assignments tab.
From here, you can assign individual users or groups to the SAML 2.0 application. Once assigned, OKTA is now configured to allow authentication to your company’s assigned Fortra VM sub-domain using your OKTA credentials.