ServiceNow®
To import your Fortra VM vulnerability data into ServiceNow, do the following:
- Generate a Fortra VM API Key.
- Add the Fortra VM Sync application to your ServiceNow instance.
- Connect your ServiceNow instance to Fortra VM.
Generate a Fortra VM API Key
-
Log in to Fortra VM.
-
From the , select Account > My Profile.
-
On the API Tokens tab, select + Create new token.
-
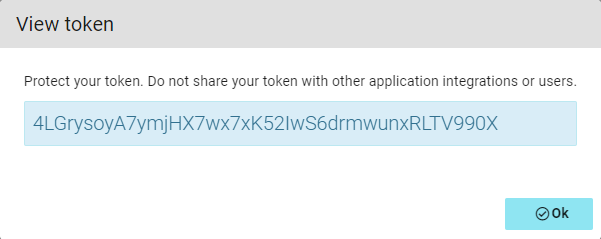
In the Add New Token dialog, enter the token name and then select OK.
-
Below your token name, selecting Click to show key displays your API Key.
 and resulting check-mark to confirm.
Add Fortra VM Sync App to ServiceNow Instance
Go to the ServiceNow Store and search for Fortra Fortra VM, then download the Fortra VM Sync application and add it to your ServiceNow instance.
Connect ServiceNow Instance to Fortra VM
To connect your ServiceNow instance to Fortra VM, do the following:
- From the navigation menu, select FVM Sync, then select Configure.
- Create a new record.
- In the API Token box, insert the API Key you generated.
- Select the search icon under Custom Script Vulnerability Filter to create a new filter.
- Select FVM Verify API Token at the top or bottom of the screen.
User Groups in ServiceNow
To create a user group in ServiceNow:
- Select User Administration, then select Groups.
- Select New.
- Enter the following field values:
Field Value Name Fortra VM Sync Description Users of the Fortra VM Sync application - Right-click the form header and select Save. The system displays the Roles and Group Members related lists.
- From the Roles related list, select Edit. If you have a custom role and users associated with that role, proceed to the next step.NOTE: If there are no custom roles, you will need to create them. To create custom roles, view the ServiceNow Product Documentation.
- Add the roles required to use the Fortra VM Sync application.
- To add individual group members, select Group Members and then select Edit.
- Add the group members required to use the Fortra VM Sync application. You now have the ability to enable access control on the Fortra VM Sync application with ServiceNow.
Explore Vulnerability Information
The Imported Vulnerabilities table shows the vulnerabilities imported from Fortra VM. The table is updated daily when the integration runs.
Automate Ticket Creation and Other Actions
There are two main hooks for triggering automation when vulnerabilities are added to your system.
- The first is a table transform map called Found Vulnerabilities Import and its associated Import Set table imp_vulnerability_instance. Integrating through the import set gives you the ability to differentiate between new vulnerabilities and updates to existing ones.
- The second is triggered by adding business rules to the FVM Vulnerability Instance table. Business rules in this table have access to Vulnerability Dictionary information, such as vulnerability details and recommended solutions.
For more information about ServiceNow Sec Ops, see ServiceNow® Sec Ops Integration.