Set Up An Azure Scanner
In addition to scanning both external and internal networks, Fortra VM is also capable of scanning Microsoft Azure: Virtual Private Network virtual machines through our Fortra Azure Scanning Appliance.
To set up your Azure scanner, do the following:
- Obtain a Fortra VM Scanning Appliance.
-
Access the Azure Marketplace.
Obtain a Fortra VM Scanning Appliance
-
Open Fortra VM.
-
From the navigation menu, select Scan Settings > Scanners.
-
Select the Appliance Tokens tab.
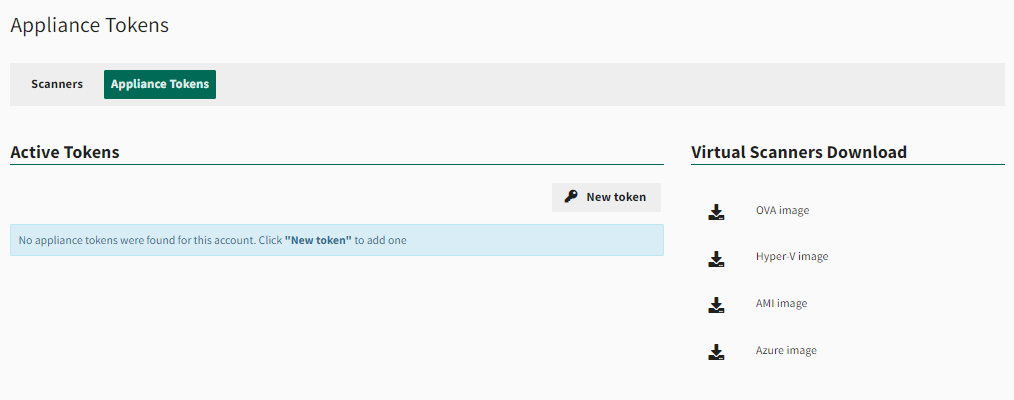
- Under Virtual Scanners Download , select Azure image.
- Save the VHDX or OVA file to your local drive.
Access Azure Marketplace
-
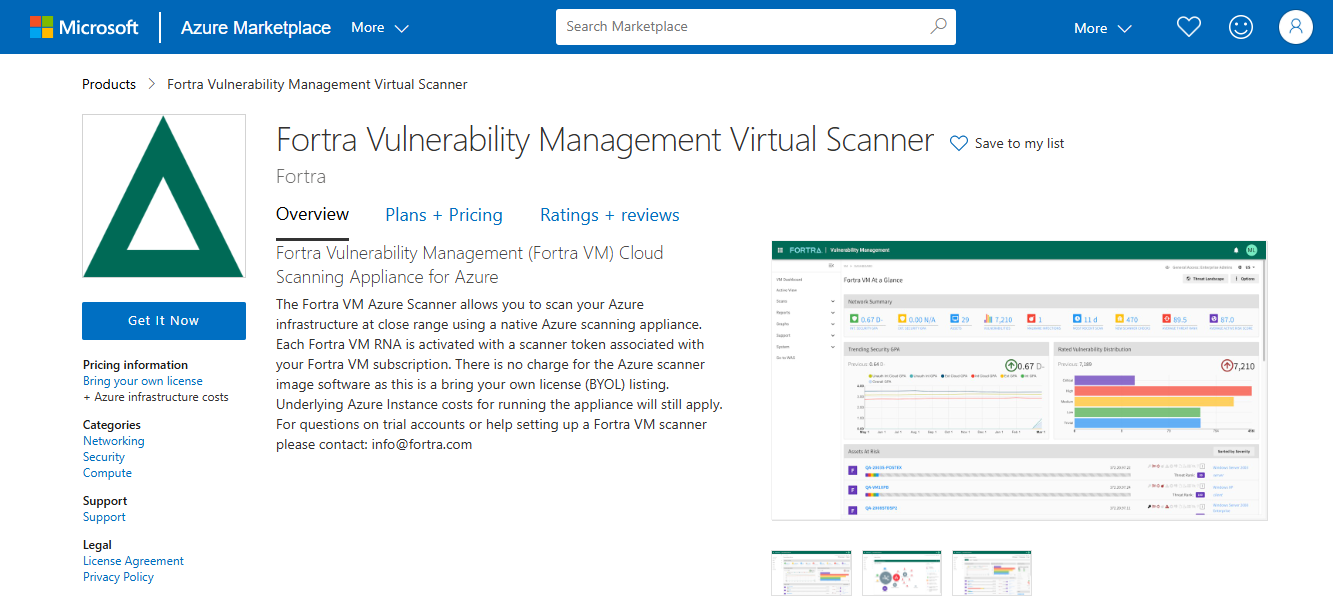
Go to the Fortra VM Cloud Scanning Appliance for Azure page of the Azure Marketplace.
-
Once on the page, select Get It Now.
-
On the Azure Portal - Fortra VM Virtual Scanner Page, select Create.
-
Enter the following scanner Information:
-
Name - AzureScanner (append number or string if desired)
-
Username - ubuntu
-
SSH Public Key - Enter your SSH public key here
NOTE: Set the Virtual Network to the same virtual network that the machines you wish to scan are on. -
On the Monitoring tab, select Boot Diagnostics > Disable.
-
-
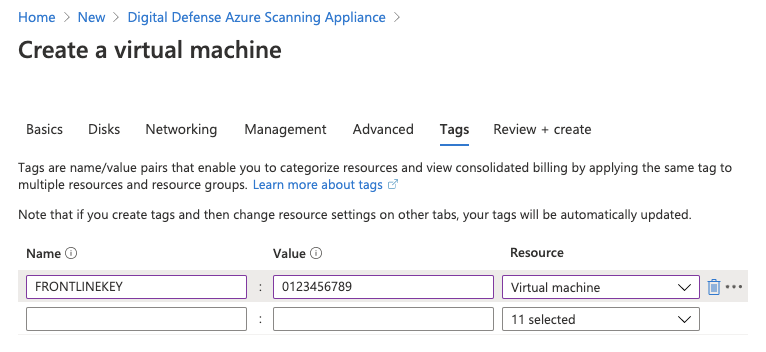
Go to the Tags section and add the following values:
- Name - FRONTLINEKEY
- Value - Your Appliance Activation Key here
-
Resource - Virtual Machine
- Select Review + Create.
- Allow validation to complete, then select Create.
You may now log in to Fortra VM and use your newly activated Azure scanner to scan other peer machines in your Azure Virtual Network. Ensure that the firewall rules for any machines scanned allow access from the Azure scanner virtual machines instance if you wish to fully audit these services.