![]()
![]()
To use a certificate that you are using in IIS 5 you must:
Add a Certificate snap-in to your Microsoft Management Console (as described below)
Export the certificate from IIS 5 (as described below)
Import the certificate into EFT Server
To add the certificate snap-in
On the computer containing the certificate you want, click Start > Run, then type mmc to open the Microsoft Management Console.
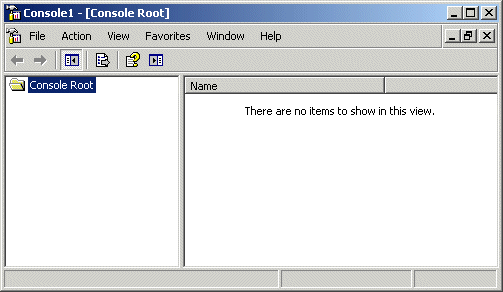
On the Console menu, click File > Add/Remove Snap-in. The Add/Remove Snap-in dialog box appears.
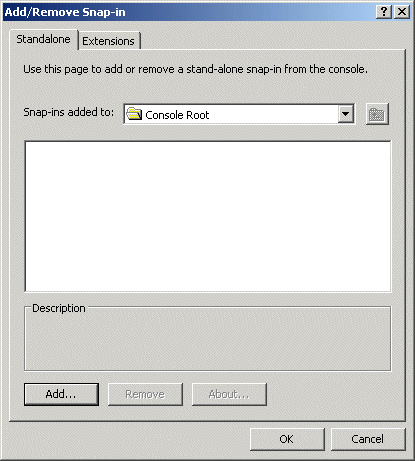
Click Add. The Add Standalone Snap-in dialog box appears.
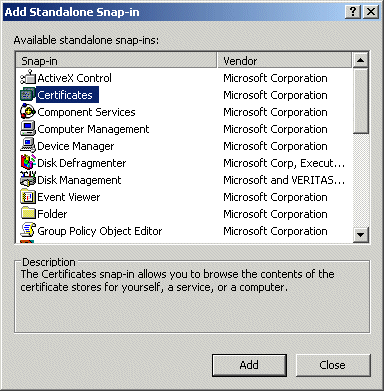
In the Available standalone snap-ins list, click Certificates, then click Add. The Certificates snap-in dialog box appears.
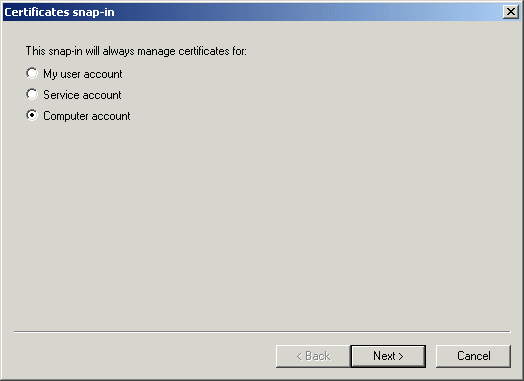
Click Computer account, then click Next. The Select Computer dialog box appears.
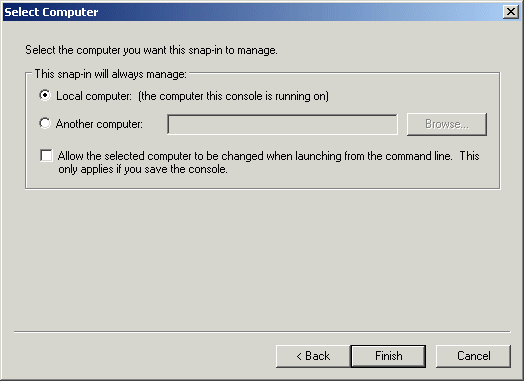
Click Local computer, then click Finish.
Close the Add Standalone Snap-in dialog box. Certificates is added to the Add/Remove Snap-in dialog box.
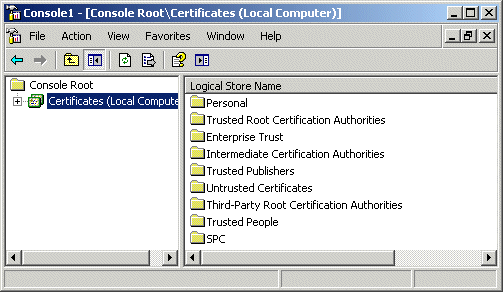
Click OK on the Add/Remove Snap-in dialog box. A Certificates node is added to the Console.
To export the certificate from IIS 5
In the Microsoft Management Console expand Certificates.
Click the Personal folder and then the certificate you want to export.
On the Action menu, click All Tasks > Export.
Click Next.
Click Yes, export the private key, then click Next.
Click Personal Information Exchange - PKCS #12 (.PFX) and then click Next.
Provide the password you used when you created the certificate and click Next. This will create a .pfx file.
To import the certificate into EFT Server/Site, refer to the topics below.
Enabling FTPS and HTTPS (SSL) at the Site Level
Exporting a Certificate from the Trusted Certificate Database