
You can use Designer to move, change, or delete the existing steps of a Workflow. Steps of a Workflow can be disabled or enabled so that you can use or test different versions of the same Workflow. The Enable icon on the toolbar acts as a toggle to enable and disable the selected Workflow step. When a step is disabled, it is treated as a comment and ignored when the Workflow runs.
To edit a Workflow
In EFT Administrator, connect to EFT Server and click the Server tab.
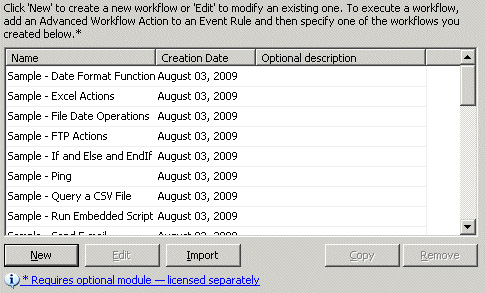
In the left pane, click the Advanced Workflows node. The Advanced Workflow pane appears.

In the right pane, select a Workflow, then click Edit. The Designer appears.
Do one or more of the following:
To change the properties of a step
In the Steps pane of the Designer window, double-click the step you want to change.
Enter your changes in the properties dialog box, and click OK.
To delete a step
In the Steps pane of the Designer window, select
the step and click the Delete icon
 .
.
To move one or more steps up or down in the step sequence
In the Steps pane of the Designer window, select the step or steps you want to move. (To select a block of steps use SHIFT+click.)
Click the Move
Up  or Move Down
  icon on the toolbar or click Cut
 ,
then click the step where you want to place the cut step, and click Paste
  . The step will be placed above the selected
step.
To undo a change
Click Undo
 .
You can do undo multiple times.
To redo a change after undo
Click Redo
 .
.
To disable or enable a Workflow step
In the Steps pane of the Designer window, select the step you want to disable or enable.
Click the Enable
icon  on the toolbar.
Click Update And Close to save the changes.