Attachments
Attachments allow files of any type to be embedded within a task so that third-party elements can be incorporated for greater portability. At runtime, attachments are automatically "unwrapped" to a local directory where they can be accessed by the task.
Using Attachments
Once an attachment is added to a task, it can be accessed in any task step by using %AMAttachment.Name% where [Name] is the name of the attachment specified in the Name parameter of the Attachment dialog. AMAttachment.Name is essentially used as a placeholder for the attachment file during runtime.
Multiple files of any type and size can be attached to a task, however, be aware that the size of the task file expands with the size and number of attachments, which may affect performance. Multiple or large sized attachments used in a single task may slow down task execution.
Adding Attachments
Attachments are added and managed via the Task Builder's Attachments Debug Panel. This section displays any files that are currently attached to the task along with their original location.
To attach a file to a task:
-
Right-click anywhere inside the Attachments debug panel and select Addfrom the context menu (displayed below).
-
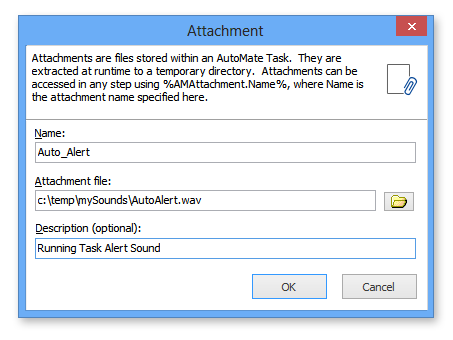
Enter the following information:
-
Name - The name of the attachment (this is what you will use as a placeholder for the file).
-
Attachment file - The full path and filename of the attachment file. Use the folder icon to browse to the file you wish to attach.
-
Description - An optional description of the attachment.
-
-
Upon completion, click OK. The new attachment and its properties are displayed in the Attachments Debug panel.