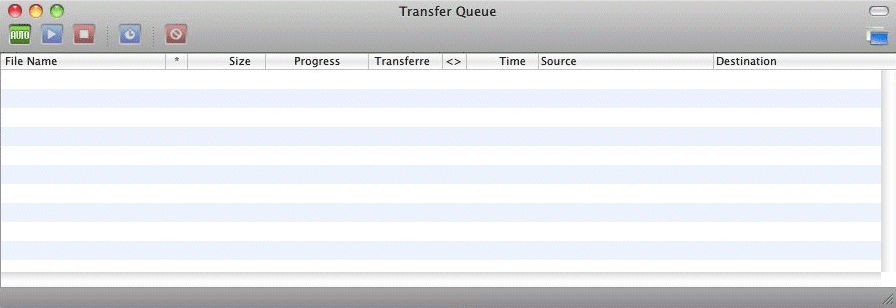
Manage your file transfers using the transfer queue. You can drag files to the Transfer Queue and then manually transfer them or configure the Transfer Queue to automatically transfer the file.

To add items to the transfer queue
Click View > Transfer Queue.
Connect to your FTP site.
Click the files to transfer, then drag the files into the Transfer Queue.
To remove items from the transfer queue
Click View > Transfer Queue.
In the queue pane, click the items to remove.
On the transfer queue toolbar, click Delete ![]() .
.
To stop and resume transfers in the transfer queue
Click View > Transfer Queue.
In the queue pane, click the items to stop (pause).
Click Stop ![]() to pause the selected item(s).
to pause the selected item(s).
To resume a transfer where you left off, select the item to resume, then click Start ![]() .
.
To automatically transfer items added to the transfer queue
Click View > Transfer Queue.
To toggle Auto Transfer on and off, in the transfer queue toolbar click Auto.
|
State |
Icon |
Meaning |
|
Waiting |
|
Status of newly added items |
|
Connecting |
|
Logging in or navigating folders |
|
Connection Postponed |
|
Server rejected connection for various reasons. The transfer queue will retry the connection |
|
Transferring |
|
Transfer in progress |
|
Transfer Postponed |
|
Transfer failed. Wait a while and try again |
|
Stopped |
|
Transfer has been stopped by the user. To restart the transfer, click Start. |
|
Finished |
|
Transfer completed successfully |
|
Error |
|
Transfer failed, fatal error (server/network down, etc.) |
|
Calculating |
|
Calculating folder size prior to download |
Auto toggles the transfer queue mode between Auto Start and Manual Start. When in Auto Start, any item added to the queue will begin to transfer immediately. When in Manual Start, items added to the queue must be started manually by clicking Start.
Start starts transferring selected item(s) manually. You can start transferring item(s) manually in the following states: WAITING, STOPPED, ERROR, CONNECTION POSTPONED, TRANSFER POSTPONED, or FINISHED.
Stop stops (pauses) selected transfers currently in progress.
Delete deletes selected item(s) from the transfer queue pane. If the item is TRANSFERRING, it will be stopped, removed from the queue, and the connection closed.
Stay on Top causes the transfer queue pane to stay on top of any other open panes.