Using an ODBC Data Source for User Authentication
EFT allows you to use any ODBC-compatible database as a source for user authentication. You may add and remove users and set certain permissions using your existing database utility or in the administration interface. EFT uses ADO to communicate with the authentication databases using "generic" SQL statements.
You do NOT have to use DSN for ODBC authentication. Refer to Using a DSN-Less Connection with ODBC Authentication for details.
To use an external ODBC data source you must:
-
Create tables in an ODBC data source
-
Establish a System Data Source Name (DSN) in the ODBC Source administration tool
-
Install Microsoft Data Access Components (MDAC) 2.6 or higher
-
(SQL Server only) The DSNs must be configured to use SQL Server authentication if EFT is running as Local System
-
(SQL Server only) SQL Server Native Client Driver must be used for IPv6 connectivity.
Establishing a System Data Source Name (DSN)
After you have created your database, you must associate it with your system by establishing a Data Source Name (DSN). A DSN is a data structure that contains the information about a database that an Open Database Connectivity (ODBC) driver needs to connect to it, such as the name, directory, and driver of the database, and the ID and password of the user.
To use a DSN-less connection with ODBC authentication, refer to Using a DSN-Less Connection with ODBC Authentication.
To establish a system DSN
-
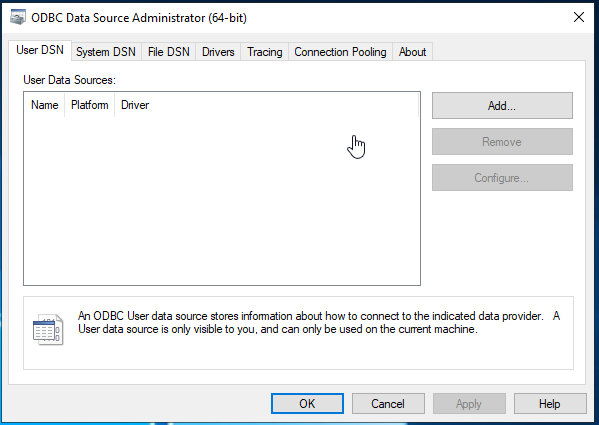
In Windows, click Control Panel, administrative Tools >Data Sources (ODBC). The ODBC Data Source Administrator appears.
-
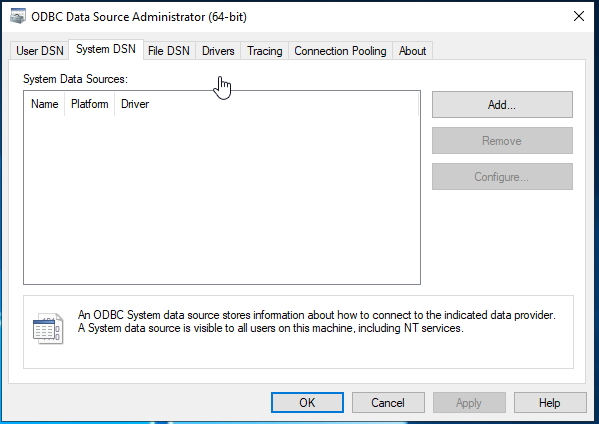
Click the System DSN tab.
-
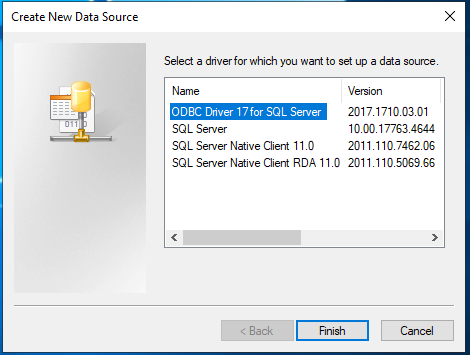
Click Add. The Create New Data Source dialog box appears.
-
Click the database driver that corresponds with the database type to which you are connecting, and then click Finish.
-
In the dialog box that appears (differs depending on driver selected), type the Data Source Name and Description. The default DSN is EFT.
-
Click Select to specify the database file to use, and then click OK.
-
Click OK to close all of the dialog boxes and save the changes.