Request Files
In the Web Transfer Client, a user can request files from another user, if Workspaces is enabled to send files.
To request files
-
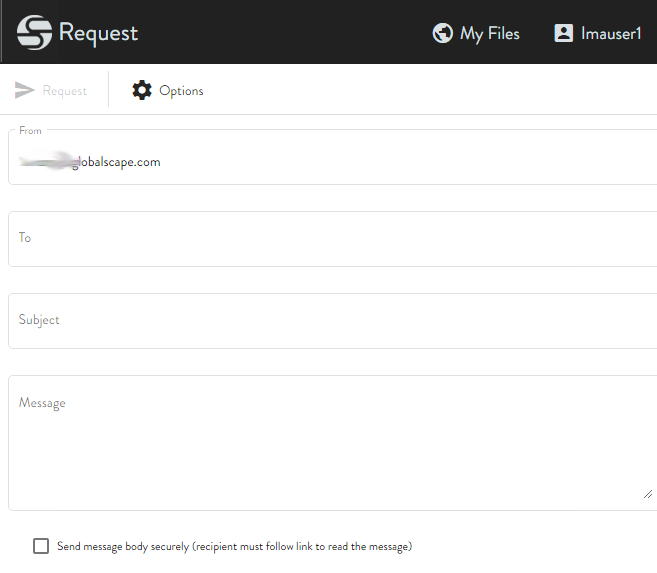
Click the Request Files icon. The Request Files window appears, and the From address is completed for you.
-
Provide the To address, Subject, and Message.
-
To send the request securely, select the Send message body securely check box. In this case, the recipient will have to click a link to read the message, instead of the message being displayed in the email.
-
Click Options.
-
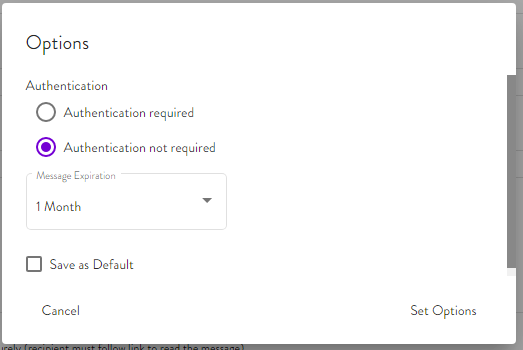
Under Authentication, specify whether you want the recipient to log in to download the file. If you click Authentication not required, you also have the option to select Unauthenticated users can respond to the email. When the check box is not selected, an unauthenticated user can download the file, but cannot respond in the portal.
-
Under Message Expiration, specify how soon the message is to expire: 1 day, 1 week, 1 month, or immediately. (See note below about expiring immediately.)
-
Select the Save as Default check box if you want to save these options for future file sends.
-
Click Set Options to save your settings.
-
Click Apply to accept Request Options.
-
Click Send Request.
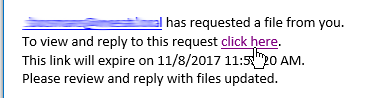
The recipient will receive an email similar to the one below. The last line is the Subject line of the request email.
-
The recipient should click the "click here" link to open the Reply portal in which the recipient can attach the requested files to send to the requestor.
-
The recipients can view their received messages by clicking Received Messages in the left pane.
If the message is set to immediately expire, do not leave the page or click refresh without responding or attaching the requested files. If a recipient clicks on the link and then clicks refresh, all the fields go blank. If the user clicks the link in the request file email again, then they are presented with a "404 object not found" error and you will have to inform the requestor to send their request again (or send the files via other means).