Importing and Exporting Advanced Workflows
When moving an installation of EFT from staging to production, the biggest issue is moving the Event Rules. You can export the Workflows for source control, "diff" reports, interaction with support, manual editing, migrations, and so on.
You can export all of the workflows ...
To export Advanced Workflows
-
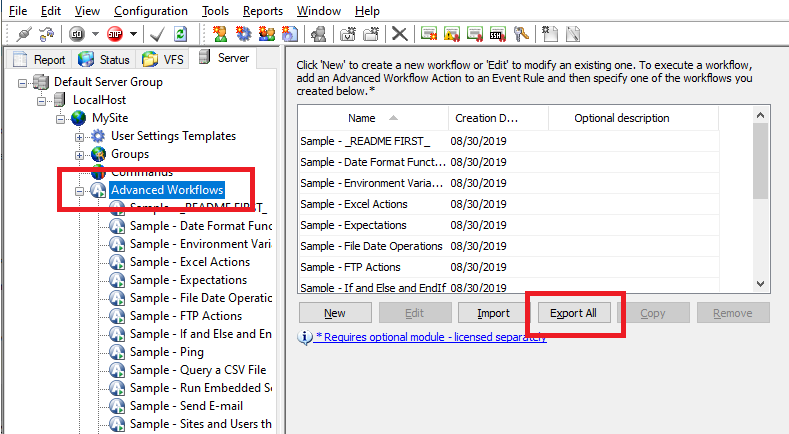
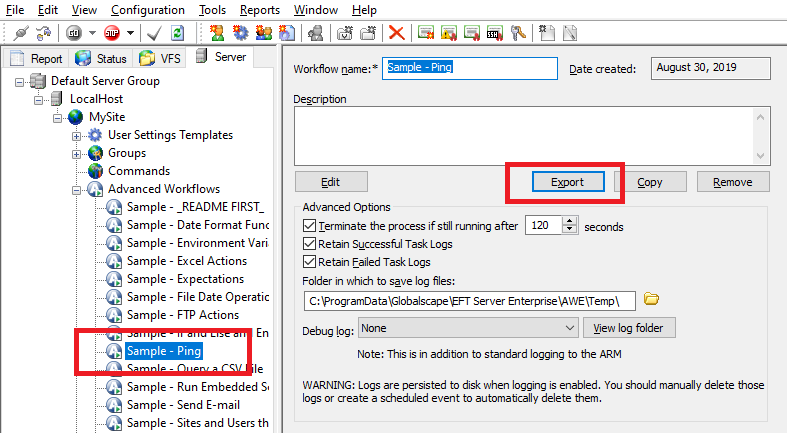
Click the Advanced Workflows node or the specific workflow that you want to export, then click Export. The Browse for Folder dialog box appears.
-
Browse for or create the folder in which you want to save the exported files, click OK. The AML files are saved in the specified folder.
To import Advanced Workflows
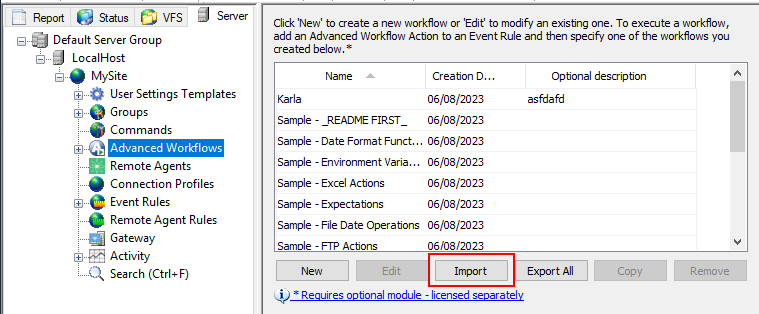
- Click the Advanced Workflows node.
- In the panel to the right of the tree, under the Description box, click Import.
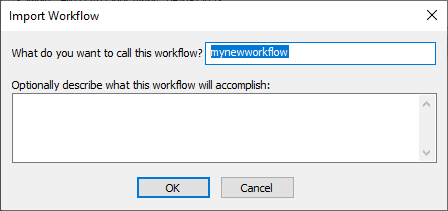
- In the Open dialog box, browse for the AML file that you want to import, then click Open.The Import Workflow dialog box appears.
- The name of the file that you imported appears in the What do you want to call this workflow? box. You can keep that name or change it.
- (Optional) Provide a description of the workflow, then click OK.
- The imported workflow appears under the Advanced Workflows node.