
For information about Globalscape, visit www.globalscape.com. |
|
|
For information about Globalscape, visit www.globalscape.com. |
|
The Default Container is created during installation. The procedures below describe how to create, rename, and delete Containers. To link or unlink resources from Containers, refer to Link or Unlink Resources.
To create a Container
Login in to EFT Web Admin.
Click Admin, then click Containers. The Containers page appears.
![]()
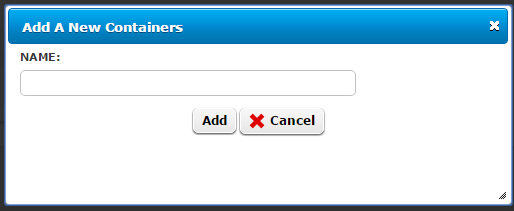
Click Add. The Add New Container dialog box appears.
 .
.
Provide a name for the Container, then click Add.
The new Container name appears in the list of Containers, and a success message appears at the top.
Login in to EFT Web Admin.
Click Admin, then click Containers. The Containers page appears.
Click an Container in the list, then click Delete. A warning message appears.
Click Yes to delete the Container. The Container is removed from the list.
Login in to EFT Web Admin.
Click Admin, then click Containers. The Containers page appears.
Click an Container in the list, then click Rename. The Rename Containers dialog box appears.
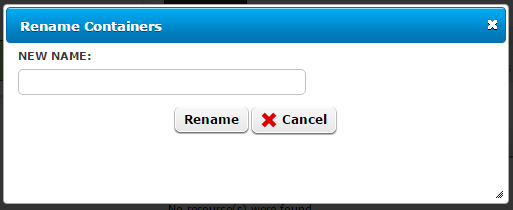
In the New Name box, type the new name, then click Rename. A success message appears at the top.
|
This online help file is for EFT WebAdmin. For other help documentation, please refer to http://help.globalscape.com/help/index.html. (If the Index and Contents are hidden, click Show Contents pane in the top left corner of this topic.) |
