JAMS is very extensible and can be customized and integrated into your own applications. This is also true of connecting to JAMS over the web. This guide will demonstrate how to connect to a JAMS server and submit jobs via a web page.
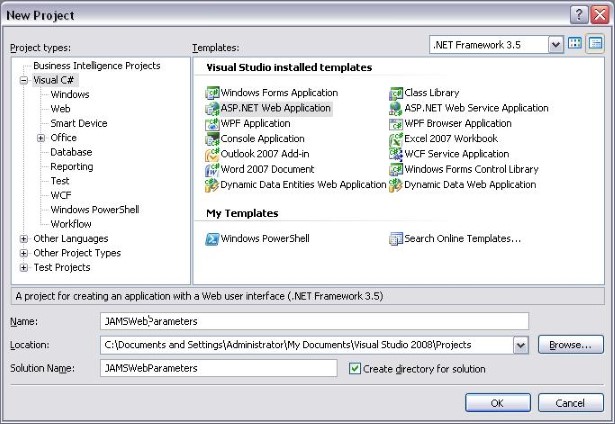
For this example, you will create a new ASP.NET Web Application and name it JAMSWebParameters.

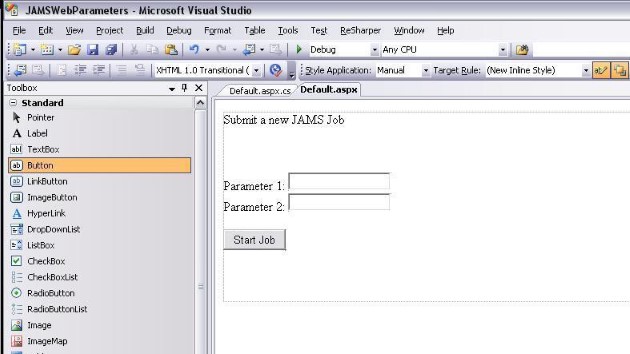
After creating a new project, open the web designer for Default.aspx. Add a couple of text boxes to the page and a button. These will be used to accept input from the user for job parameters, and start the new Job instance.

Double click the button to move to the code behind the Web page and add a new button click event. You will then write some code which interacts with the JAMS system. Before doing so, add a reference to JAMSShr.dll. Right click on the References folder in the Solution Explorer window, choose Add Reference, and then select the browse tab. The dll can be found at Program Files\MVPSI\JAMS\Client\JAMSShr.dll
Now that the reference has been added to the JAMS dll, you can start writing code which accesses the JAMS scheduler. The code to submit a Job and set parameter values is found below:
C#
| Submit Job |
Copy Code
|
|---|---|
protected void Button1_Click(object sender, EventArgs e) { //Accesses the JAMS server running on the local machine MVPSI.JAMS.Server server = MVPSI.JAMS.Server.GetServer("localhost"); //Load the job you will be submitting Submit.Info si; Submit.Load(out si, "ReportProjectedSchedule", server, Submit.Type.Job); //Set the parameters which the job needs //Some of these will be obtained from the textboxes on the webpage si.Parameters["Server"].ParamValue = server.Name; si.Parameters["StartDate"].ParamValue = DateTime.Today; si.Parameters["EndDate"].ParamValue = DateTime.Today.AddDays(1); si.Reports["ProjectedSchedule"].PrintQueue = TextBox1.Text; si.Reports["ProjectedSchedule"].PrintForm = TextBox2.Text; //Submit the job si.Submit(); } |
|
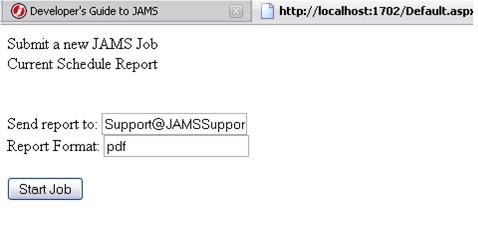
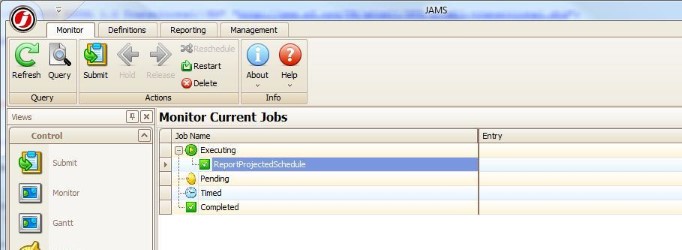
Build and run the application. When the web page is displayed, you can enter the required information in the textboxes and click the submit button. This will submit a new Job instance in the scheduler on the local machine.


This simple concept can be taken much further to fully leverage the programmability of the JAMS system. All of the functionality of the client GUI is available to the developer. Using the API, a developer can display information about any JAMS object, such as Jobs, Sequences, Folders, Variables, and Triggers. It is also possible to edit the definitions of any of these objects, if necessary. Below are some code snippets which demonstrate how to retrieve a listing of Jobs from a JAMS server, and how to change values in a Job definition.
C#
| Retrieve a list of Jobs |
Copy Code
|
|---|---|
protected void Page_Load(object sender, EventArgs e) { Server server = new MVPSI.JAMS.Server("localhost"); //The find method requires query information to find the jobs you are looking for JobList joblist = JobList.Find("*","*", server); //The list can now be bound to a web control datasource DataList1.DataSource = joblist; DataList1.DataBind(); } |
|
C#
| Change the definition of a Job |
Copy Code
|
|---|---|
protected void Page_Load(object sender, EventArgs e) { if (!IsPostBack) { //Connect to a server Server server = new MVPSI.JAMS.Server("localhost"); //Get the job named DefragDisk Job job = new Job(); Job.Load(out job, 9, server); TextBox1.Text = job.JobName; } } protected void Button1_Click1(object sender, EventArgs e) { //Connect to a server Server server = new MVPSI.JAMS.Server("localhost"); //Get the job named DefragDisk Job job = new Job(); Job.Load(out job, 9, server); //Start an Edit and set the new name job.BeginEdit(); job.JobName = TextBox1.Text; //Submit the update to the server job.Update(server); } |
|