Creating New Report Templates and Customizing Existing Reports
You can modify existing reports or build reports from scratch using the report designer. Both options are described in more detail in the following subsections.
Once a new or customized report is created you can save the report definition to the JAMS system or your local machine. Either way, the report can be loaded later or viewed manually or automatically as part of any JAMS Job.
Creating a New Report Template from Scratch
- From the JAMS Shortcuts menu, click Report Designer.
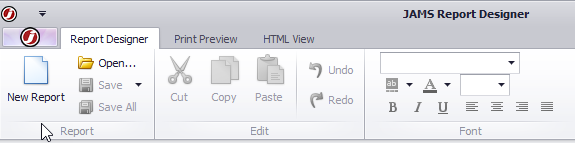
- Click New Report from the Report Designer tab.
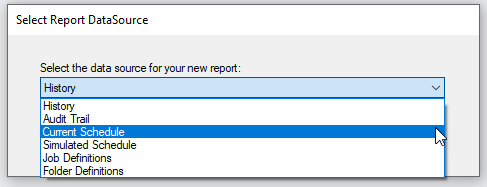
- From the Select Report DataSource dialog, select a data source.
- Click OK. Each data source comes with pre-defined parameters with values that can be changed to produce a different report output.
- Drag and drop control objects, such as a field, label, table and shape, from the Tool Box to one of the Report Layout “bands” ( top margin, detail and bottom margin).
- Right-click a “band” to view its context menu. The context menu lets you modify, reorder, and define each “band” from its Properties panel.
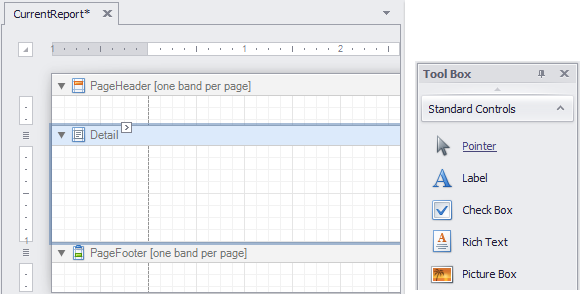
- The Report Explorer panel displays the current report structure using a tree format.

- Use the following sections to make additional updates to the report:
- The Field List panel displays a listing of the report’s data sources, allowing you to add new bound controls and binding existing controls. To add a new bound report control, click on the desired item in the Field List window and then drag and drop the item onto a report band on the report layout panel.NOTE: You can also right-click a Field List item and drag and drop it onto the report's Layout Panel. This action opens its context menu. From the menu list, select the field type desired.
- The Property Grid panel provides a variety of options for formatting existing field controls.
- The Group and Sort panel lets you create and define grouping fields instead of manually inserting Group Header and Footer bands.
- Additional formatting tools are available on the Report Designer Ribbon Bar.
- The Field List panel displays a listing of the report’s data sources, allowing you to add new bound controls and binding existing controls. To add a new bound report control, click on the desired item in the Field List window and then drag and drop the item onto a report band on the report layout panel.
- To output a partial or complete report, click the Print Preview or the HTML View tabs.
- From the Ribbon Bar click Save or Save As to create a standalone report (.pmx) onto your local hard drive. All standalone report files can be accessed by clicking Open and selecting File from the Open JAMS Report dialog.
Customizing an Existing Report
The Report Designer also provides tools for modifying existing reports.
To access these tools:
- In the Report Designer, click Open.
- From the Open JAMS Report dialog, expand a category and select an existing report to modify.
- Click OK. The Report Designer Window opens with the report’s layout displayed in the report layout panel.
- Drag and drop a control object, such as a field, label, table, and shape, from the Tool Box to one of the Report Layout pane’s component “bands”.
- Refer to steps 4 - 10 in the previous subsection to complete the existing report design.