Installing JAMS
Follow the steps below to install JAMS on a Windows computer.
- Log on to Windows using an account with administrator privileges and the ability to create the JAMS Database in SQL Server. (Typically, using an account with dbcreator or sysadmin rights in SQL Server provides the necessary permissions.)
NOTE: Users must also be able to create a database on the database server. The default database server is the local machine.
- Right-click the SetupJAMS executable and select Run as Administrator to start the JAMS installer.
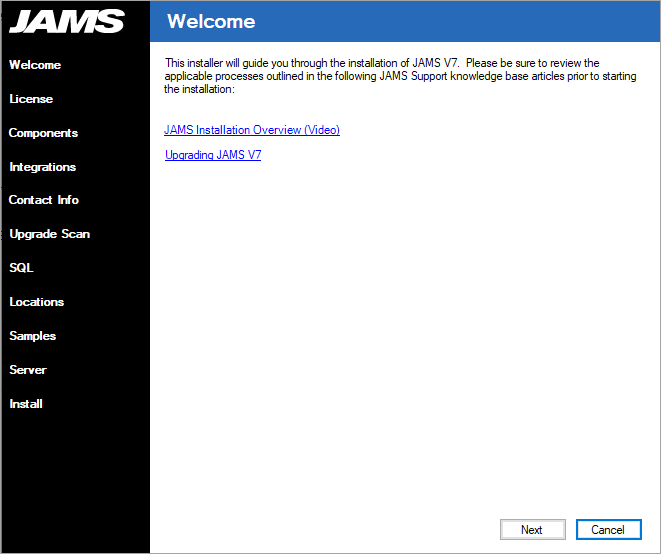
- On the Welcome page, verify this installation is the proper edition and version.
- Click Next.NOTE: You may see an error message on the Welcome screen that the certificate chain was issued by an authority that is not trusted. If this message appears, see Managing the JAMS Database for more information before continuing with the installation.
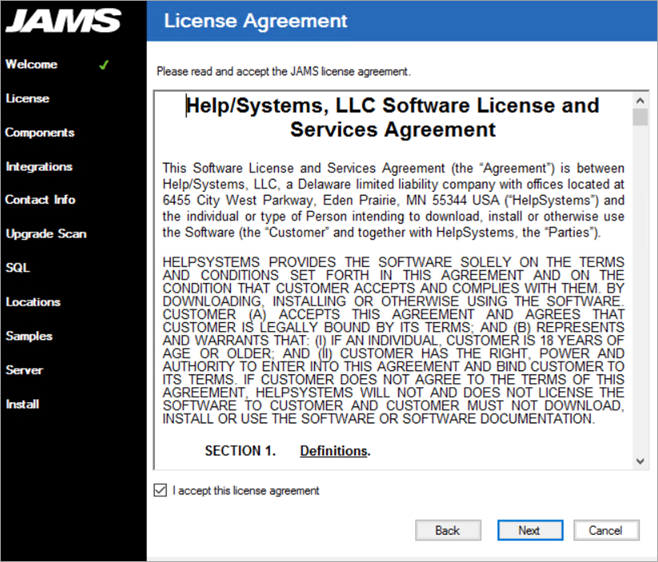
- On the License Agreement page, review the JAMS license agreement.
- Select the checkbox next to I accept this license agreement.
- Click Next.
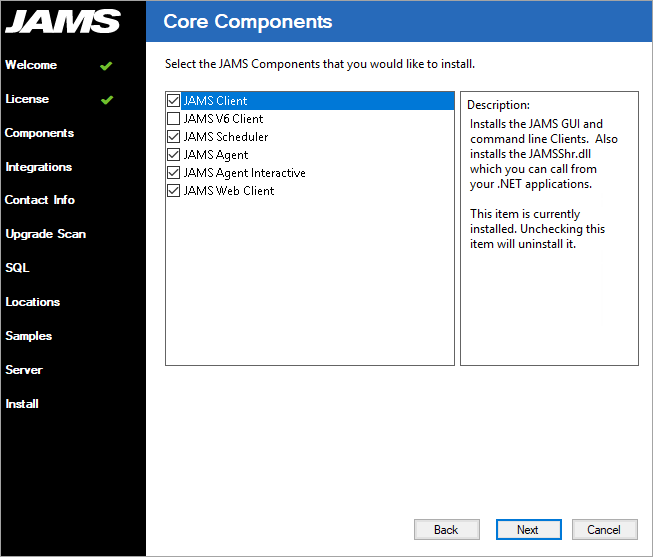
- On the Core Components page, select the JAMS Components to install. If this is a new installation where no JAMS Scheduler exists, the JAMS Client and JAMS Scheduler should be installed.
- Click Next.
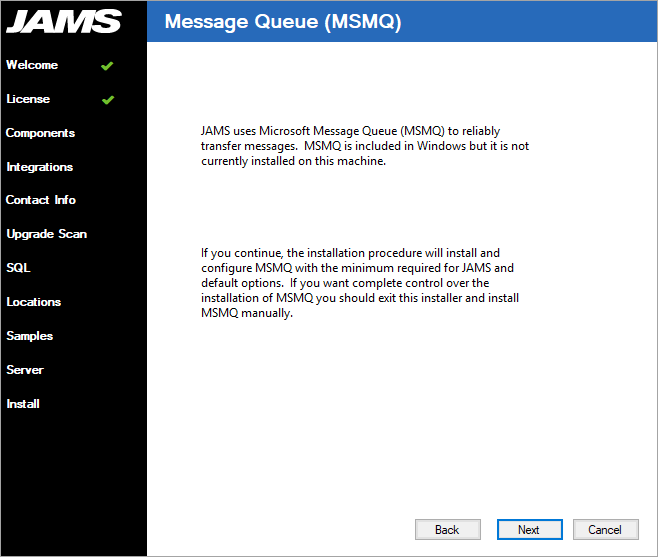
- On the Message Queue (MSMQ) page, view the message regarding installing MSMQ.
- Click Next.
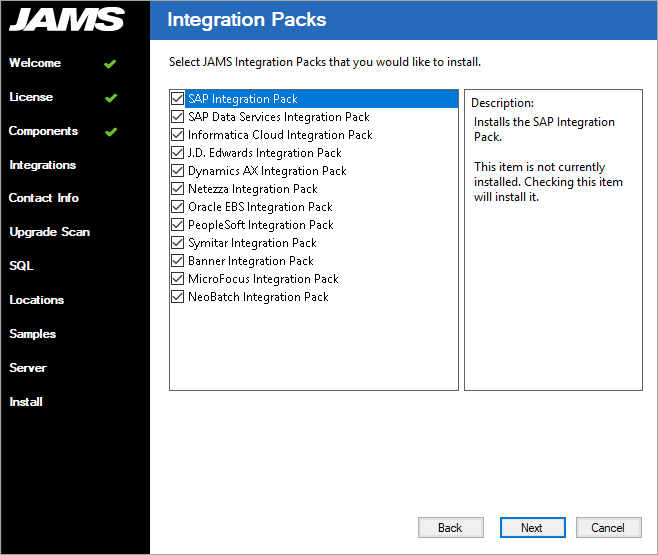
- On the Integration Packs page, select the packs to install, if needed. Note that Integration Packs are not required to install JAMS.
- Click Next.
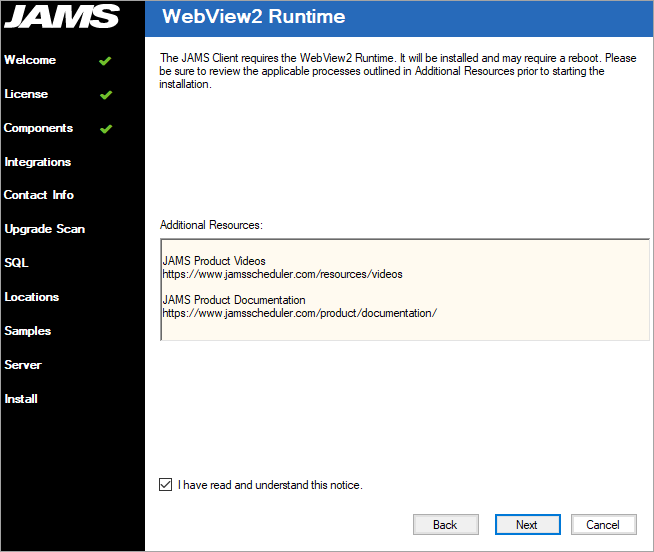
- If WebView2 is not installed and you are installing the JAMS Client, select the checkbox on the WebView2 Runtime page. See WebView2 Runtime for more information.
- Click Next.
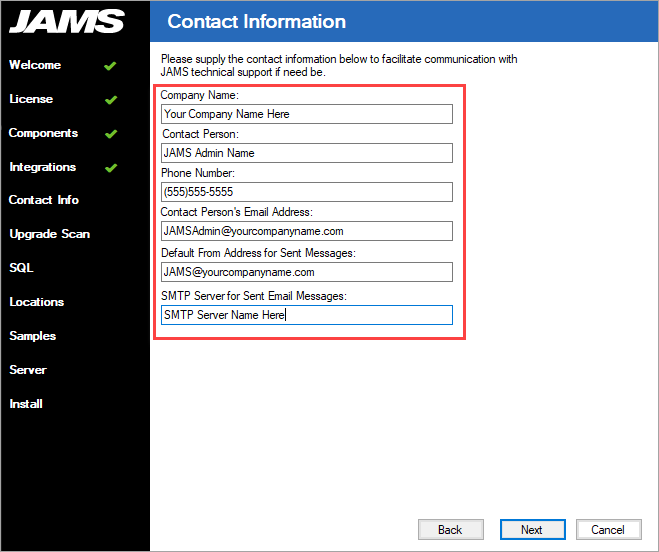
- On the Contact Information step, enter the information that will be used when working with Technical Support. Two new objects are created from the last two fields:
- Default_SMTP_Connection_Credential: This Credential stores the value of the “Default From Address for Sent Messages” field. It is also assigned as a mail credential in Default_SMTP_Connection.
- Default_SMTP_Connection: This Connection stores the value of the "SMTP Server for Sent Email Messages” field. It is also assigned to the Configuration Settings as a mail server.
Completing this page is optional but entering accurate information can help Technical Support improve its support capabilities. If you are unsure about the information, leave it blank and enter it at a later date.
- Click Next.
NOTE: The installer includes an Upgrade Scan page to review the installation prior to upgrading from a previous version of JAMS. For a new installation of JAMS, the installer skips this step and displays the SQL page.
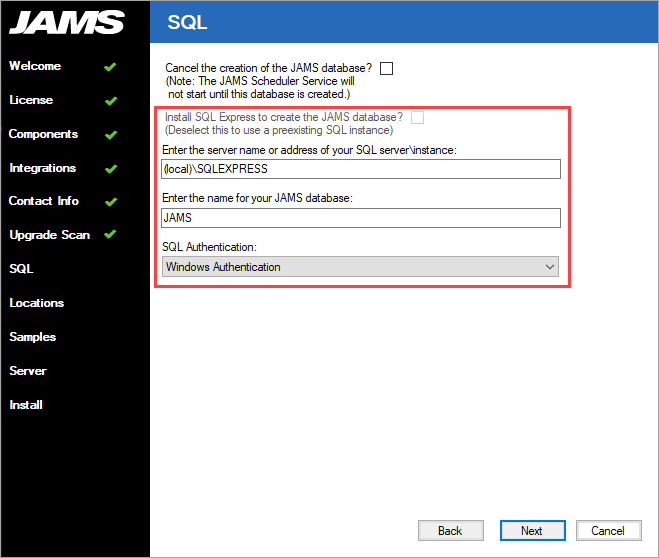
- On the SQL page, select or clear the check box to install SQL Express locally to create the JAMS Database. If another SQL Instance will be used, do not select the check box. (The check box is disabled if SQL Express is already installed.)
JAMS Services rely on a connection to SQL to start properly, and they will fail to start if a SQL connection to a valid JAMS database cannot be made. When installing or updating your SQL Instance, review the startup sequence of the MSSQL Services and ensure they are set to an appropriate startup type, such as Automatic.
NOTE: The JAMS Installer will create the database, unless specified otherwise. The Database should always be created by JAMS. If the Database was not created during the initial installation, you can manually start the JAMS Database Creation Wizard. See Creating the JAMS Database (If Not Selected During Install) for more information. - Enter the information to create the JAMS Database as well as the authentication method used to connect to it.
NOTE: Windows Authentication uses the Machine Account to connect to SQL Server after the initial install. The user performing the install needs to also have dbcreator rights for the JAMS Database to be created. The rights can be removed after the install is completed and the database is created.
If you select SQL Server Authentication, JAMS connects to SQL with these credentials. The credentials are saved in the Common.config file located at C:\Program Files\MVPSI\JAMS\Scheduler.
NOTE: (The credentials will be visible to anyone that has access to this file.) - Click Next.
 NOTE: The JAMS Scheduler Service will not start until the JAMS Database is created.NOTE: Users should NEVER attempt to manually create the JAMS Database.
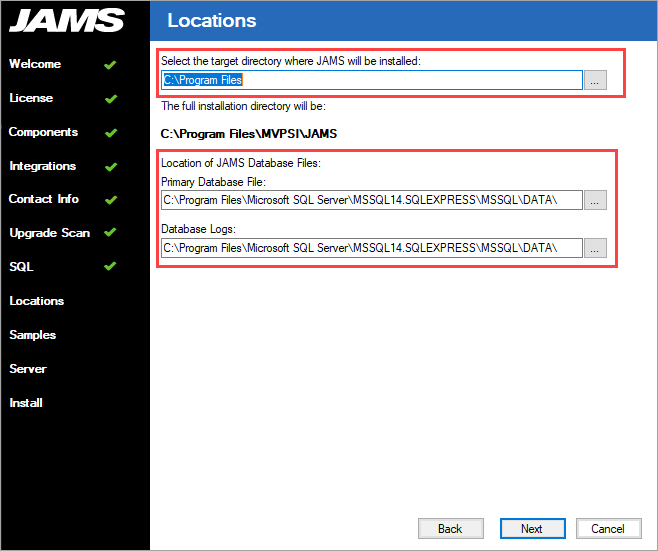
 - On the Locations page, accept or change the target directory where JAMS will be installed. The location for the JAMS Database files is a location on the SQL Server. If you change the location, verify the new location exists.
- Click Next.
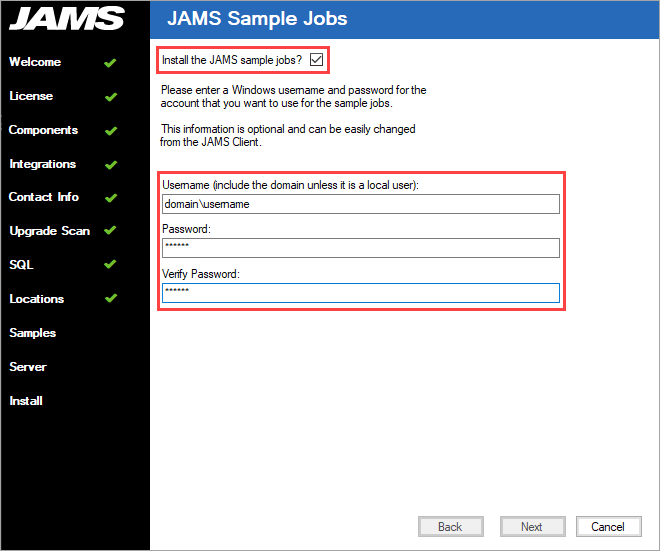
- On the JAMS Sample Jobs page, select or clear the check box to install sample jobs.
- If you select to install the sample jobs, define a JAMS user to run the sample jobs.
NOTE: To run jobs in JAMS, an Execute As user must be specified.
- Click Next.
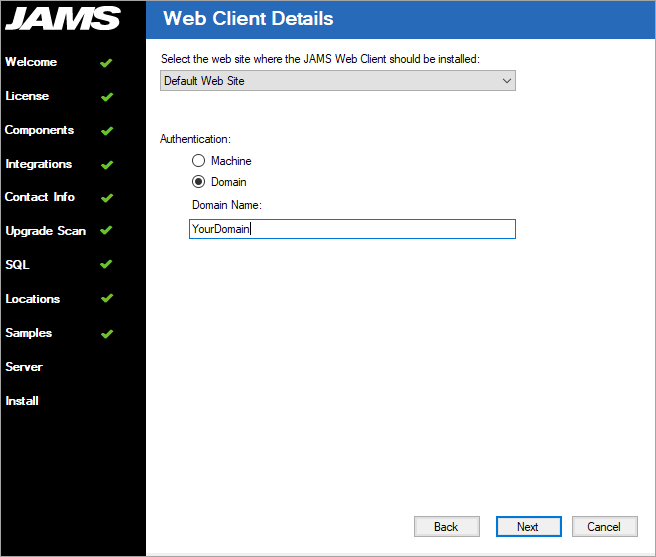
- On the Web Client Details page, select where the JAMS Web Client should be installed. (This page is displayed only if the JAMS Web Client was selected on the Core Components page.)
- Click Next. The installation begins.
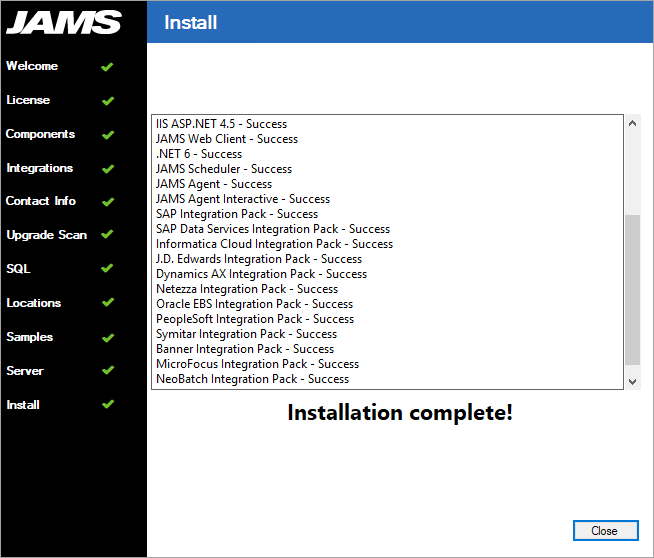
- View the progress of the installation. You may also see a progress bar displaying the SQL Express installation, if you selected to install it in a previous step.
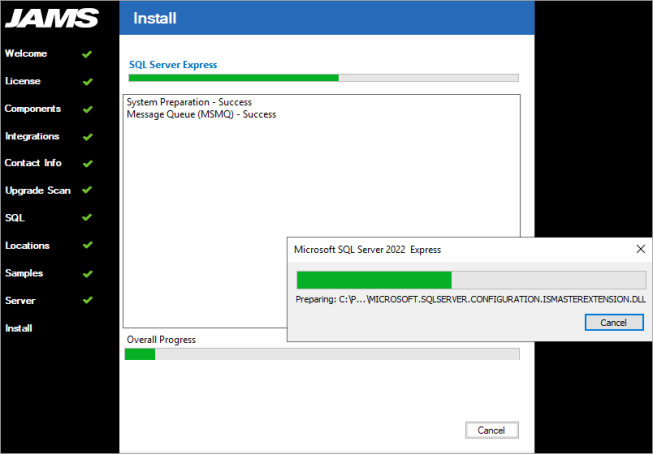
- On the Install page, click Close after the installation is completed.
Applying the JAMS License
JAMS licenses are sent out as XML files. To apply a JAMS license, copy the license key file(s) into the C:\Program Files\MVPSI\JAMS\Scheduler directory. No other actions should be necessary.
If a license is properly placed in the C:\Program Files\MVPSI\JAMS\Scheduler> directory and it is not recognized, the license file may be blocked by the File Blocking feature in Windows. To check the status and unblock files:
- Right-click the license file and select Properties.
- In the Properties dialog, ensure the General tab is selected.
- Check the lower right corner to see if an Unblock button is displayed. If it is displayed, the file is blocked. Otherwise, the file is not blocked.
- Click Unblock.
- Click OK or Apply to save the changes.
If the license file is not recognized and is not blocked, restart the JAMS Scheduler Service:
- Close the JAMS Client.
- Open Windows Services on the JAMS Server.
- Restart the JAMS Scheduler Service.
- Open the JAMS Client. The license should be recognized. If problems persist, contact Technical Support.
For more information about the JAMS license, see Licenses in JAMS.