Creating a Scheduled Job
Before starting this exercise, it is important to note that Jobs will appear in the Monitor for only 10 minutes after the Job has executed (run) independent of its status. We encourage you to work through uninterrupted to avoid repeating the exercise.
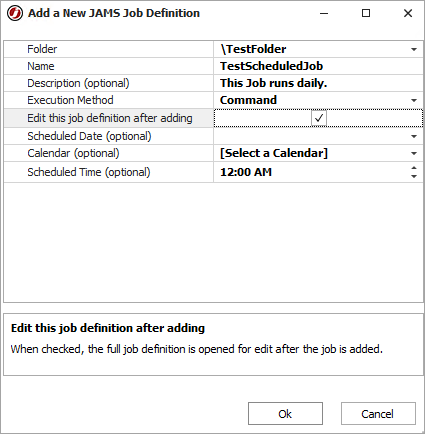
- In the Job Definitions tab, right-click TestFolder and select Add Job. The Add a New JAMS Job Definition screen is displayed.
- In the Folder field, ensure \TestFolder is displayed.
- In the Name field, enter a name, such as TestScheduledJob.
- In the Description field, enter a short description, such as This Job runs on a daily basis.
- In the Execution Method field, ensure Command is displayed.
- In the Edit this job definition after adding field, ensure the check box is selected.
- Click Ok. The Source tab for the Job is displayed.
- In the Source tab, enter Echo "Hello World!".
- Click the Schedule tab.
- Click +
- Select Run this job | on a schedule.
- In the Enabled field, ensure the checkbox is selected.
- In the Scheduled Date field, enter Daily.
- In the Scheduled Time field, enter a time one hour from now. For example, if the time is 11:30am, enter 12:30pm. If you are using a virtual machine, use the time on that machine as your reference.
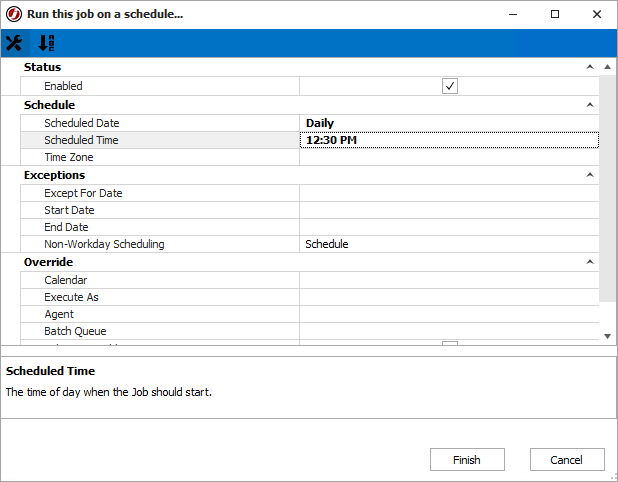
- Click Finish. This Schedule Item is listed under the "run this job... (1 enabled)" section on the Schedule tab.
- Click the Properties tab.
- In the Execute As field, select the Credential that you created (TestCredential).
- Click Save and Close. The TestScheduledJob is now available in the TestFolder.