Configuration Tasks
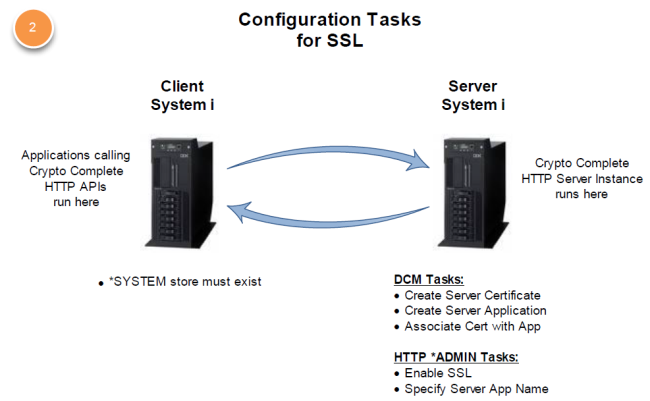
Configuration choices 2 and 3 in the previous diagram will result in the Secure Sockets Layer (SSL) to be used to encrypt the stream of data traveling between the application using Powertech Encryption for IBM i HTTP API’s and the Powertech Encryption for IBM i HTTP server instance.
There are configuration tasks that will need to be done on both IBM i systems in order for Secure HTTP to be enabled between Powertech Encryption for IBM i HTTP APIs on one IBM i (client) to the Powertech Encryption for IBM i HTTP Server instance on a second IBM i (server). Discussing two IBM i systems as client and server can be confusing. The following diagrams will help to clarify the tasks to be performed when configuring SSL for use with Powertech Encryption for IBM i.
The following diagram shows the Digital Certificate Manager tasks that need to be performed to begin using SSL. The HTTP *ADMIN task are covered in the Powertech Encryption for IBM i HTTP Guide.
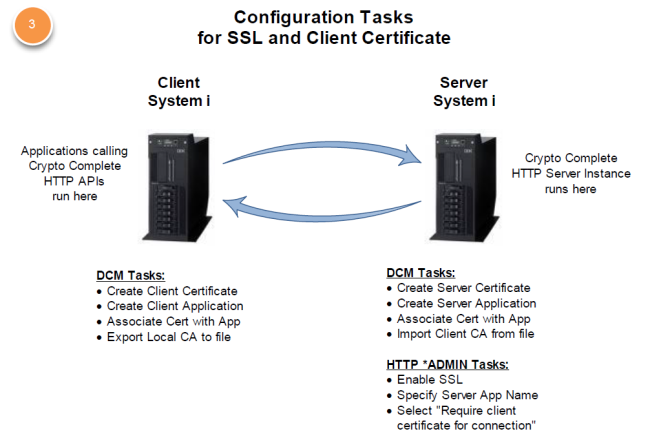
The following diagram shows more DCM tasks for requiring a client certificate.
The IBM i Administration web server instance must be running in order to work with the Digital Certificate Manager.
Use IBM Web Administration for i
The IBM Digital Certificate Manager (DCM) is a web-based application that is accessible from the Administration Server on System i. You can start the Administration Server from the server's function in iSeries Navigator or you can enter the following command:
Once the administration server is running, you open your browser and enter this URL:
You will be prompted for a user profile and password. The user profile used must have sufficient authority to use DCM.
Regardless of whether you will be using option 2 or 3, it is necessary to create a digital certificate and associate it with the Powertech Encryption for IBM i HTTP Server in order to use SSL. This section provides details on how to do this.
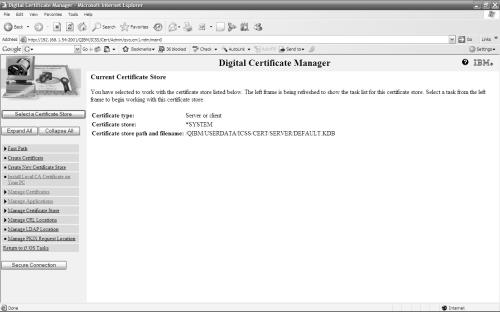
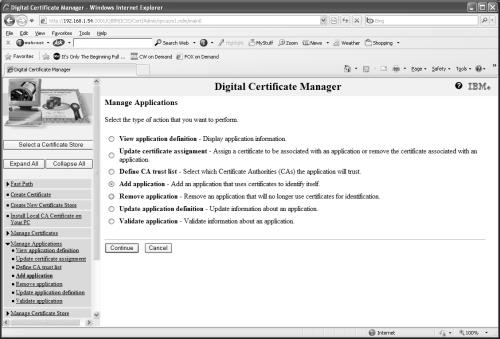
- Upon signing into the server IBM i Administration server, the main screen is shown:

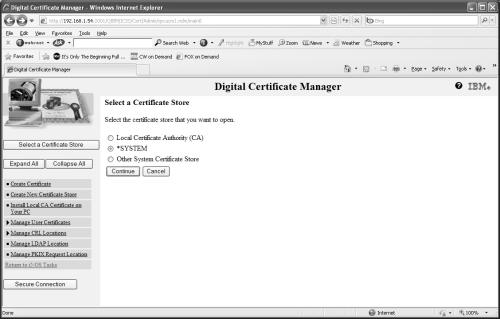
- Click Select a Certificate Store.
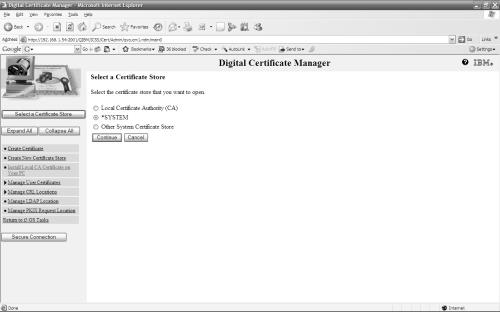
- Click on the *SYSTEM radio button, then click Continue.
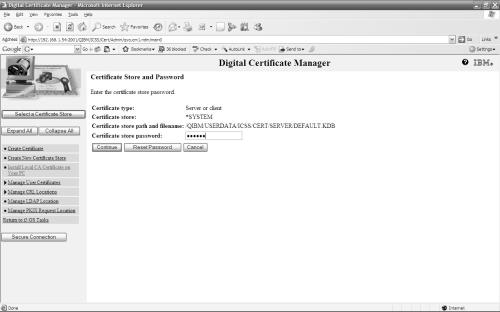
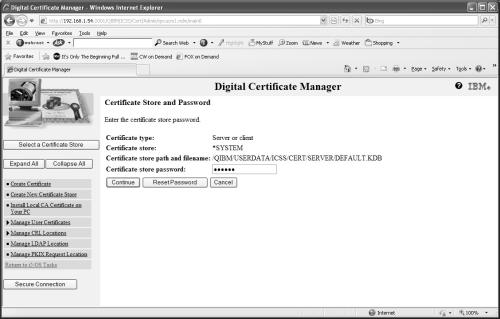
- Enter the Certificate Store password and click Continue. If you do not know the password check with your system administrator.
- To add an application, click on the Manage Applications link in the list on the left side of the screen to expand the list.
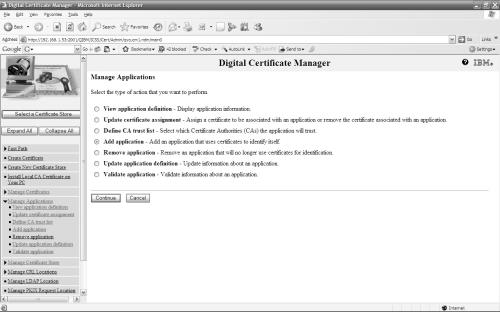
- Click on the Add application radio button in the center area of the screen and click Continue.
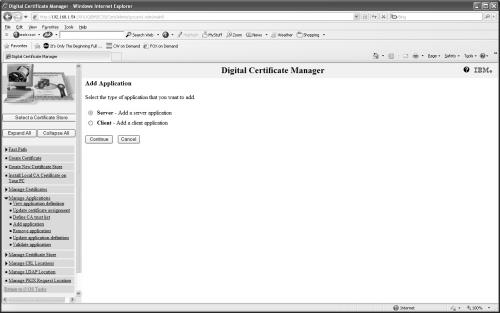
- Click on the Server radio button, then click Continue.
- Enter the values shown on the following screen:
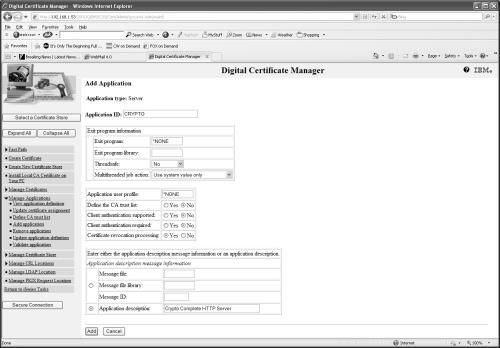
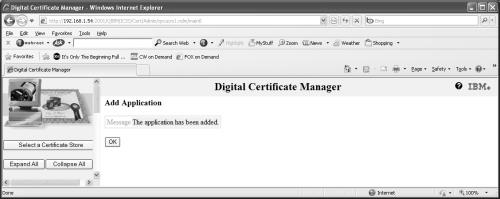
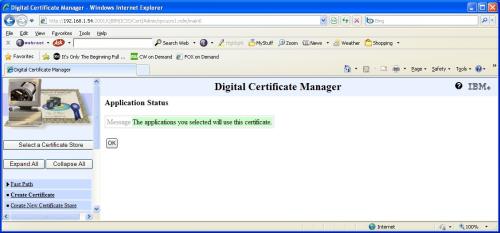
- Click Add to add the entry. You should see the following screen:
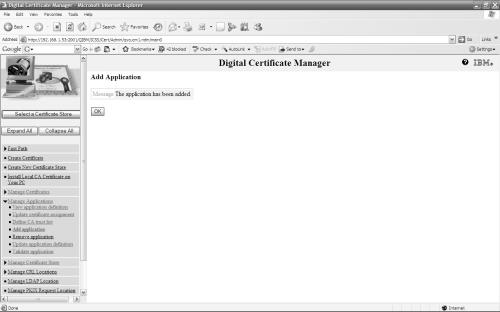
- Click OK. The application has been added.
- To create a server certificate, click on the Create Certificate link on the left side of the screen.
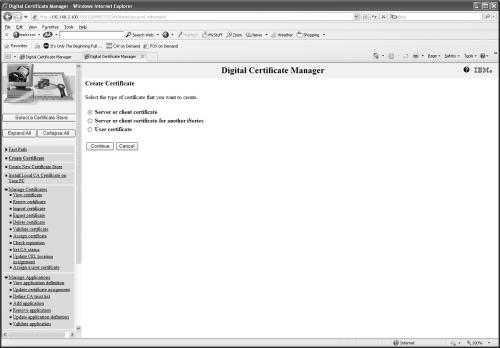
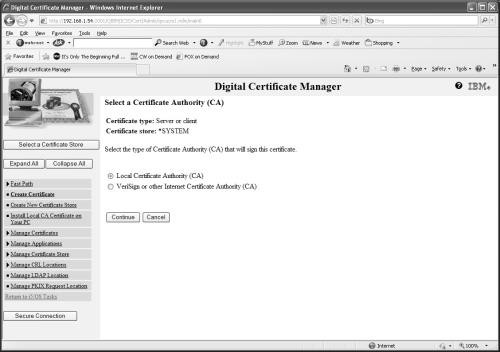
- Select the Server or client certificate radio button, then click Continue.
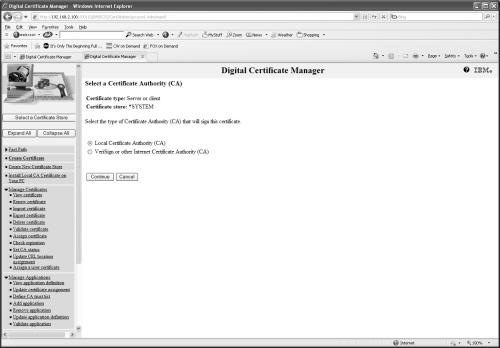
- Select the Local Certificate Authority (CA) radio button, then click Continue.

- Fill in values that are appropriate for your business as shown above, then click Continue.
- Once a certificate is created, the Digital Certificate Manager will display a list to allow you to select the applications to be associated with it.
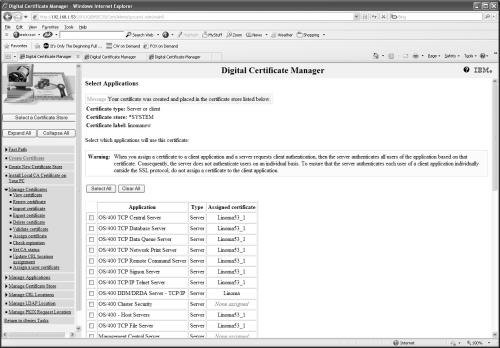
- Scroll down through the list of applications until you find the application created earlier (i.e. CRYPTO).
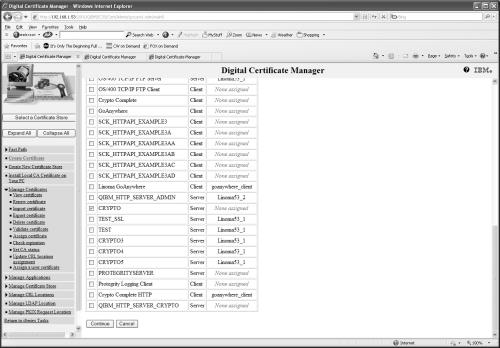
- Click on the check box to the left of CRYPTO to select it, then click on.
- Now the Server Certificate has been created and associated with the application created earlier.
- If configuration option 2 will be used, then the configuration tasks are complete. You are now ready to use the Powertech Encryption for IBM i HTTP APIs from the client System i. Do not specify an application ID when using the APIs with a Basic SSL configuration.
- If configuration option 3 will be used, continue with the following section.
- Upon signing into the client IBM i Administration server, the main screen is shown:

- Click Select a Certificate Store.
- Select the *SYSTEM radio button, then click Continue.
- Enter the *SYSTEM Certificate Store password and click Continue. If you do not know the password check with your system administrator.
- To add an application, click on the Manage Applications link in the list on the left side of the screen to expand the list.
- Click on the Add application radio button in the center area of the screen and click Continue.
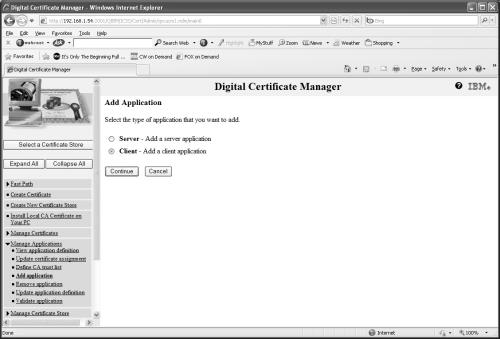
- Select the Client radio button, then click Continue.

- Enter a value for Application ID to be used on the Powertech Encryption for IBM i HTTP API calls. This value is how the RPGLE program will make use of the DCM configuration. Enter a description for the application. This is only used within DCM. Click Add.
- Select the Create Certificate link on the left side of the screen.
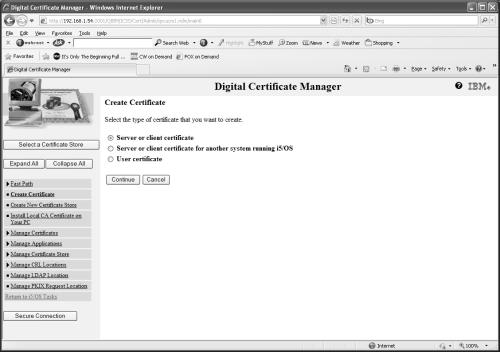
- Select the Server or client certificate radio button, the click Continue.
- Select the Local Certificate Authority (CA) radio button, then click Continue.
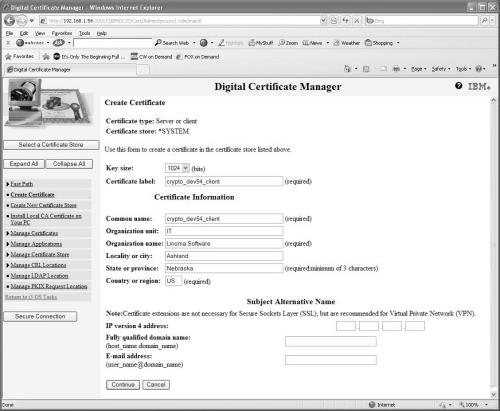
- Enter a label for the client certificate. We have used ‘crypto_dev54_client’ because it is descriptive. Enter values appropriate for your organization, then click Continue.
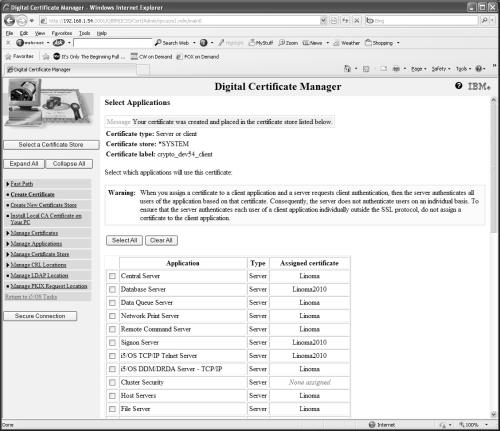
- When the certificate has been completed, Digital Certificate Manager provides an opportunity to select an application to associate the certificate to.
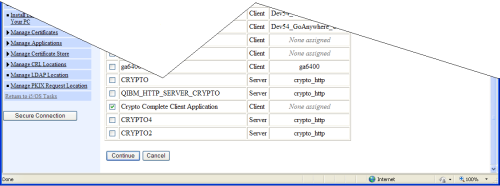
- Scroll down in the list and locate the client application that you created earlier, select it.
- Click Continue.
Next, we need to export the Local CA Certificate from the IBM i Client system and import it into the IBM i Server system.
- Upon signing into the client IBM i Administration server, the main screen is shown:
- Click Select a Certificate Store.
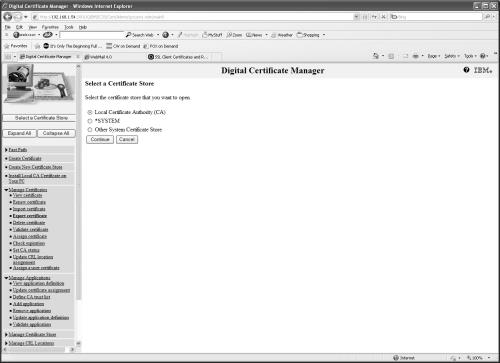
- Select the Local Certificate Authority (CA) radio button and click Continue.
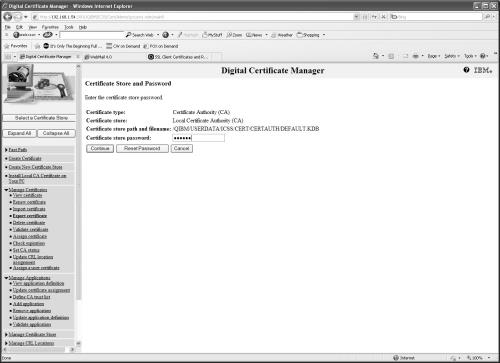
- Enter the Certificate Store password and click Continue. If you do not know the password check with your system administrator.
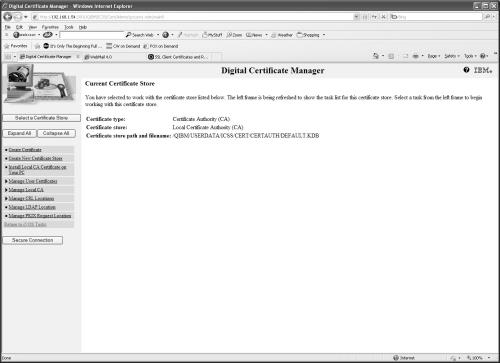
- Click on the Manage Local CA link at the left side of the screen.
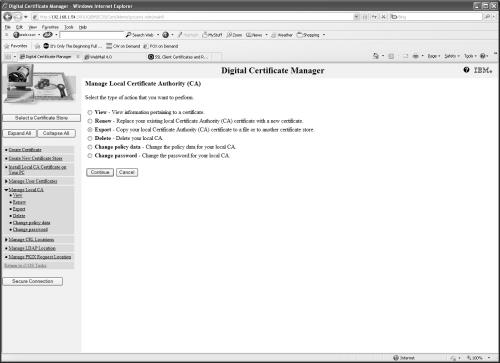
- Click on the Export radio button, then click Continue.
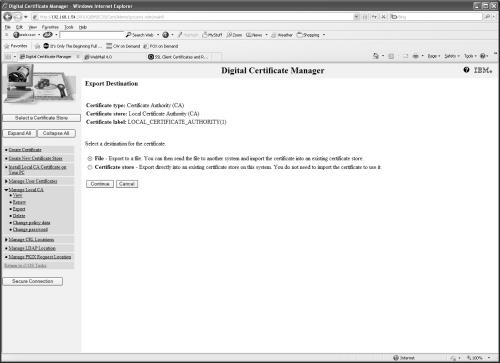
- Click on the File radio button, then click Continue.
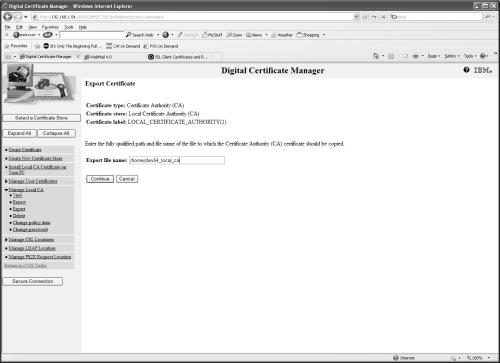
- Enter an IFS path and filename for the exported certificate, then click Continue. In our example, we use ‘/home/dev53_local_ca’.
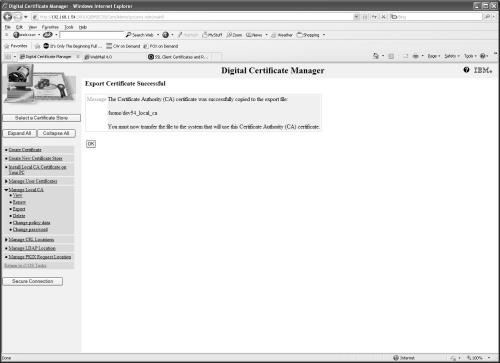
- Export of the client IBM i Local Certificate Authority (CA) successful!
The next task is to import client CA into server *SYSTEM store on the server System i. Upon signing into the server IBM i Administration server, the main screen is shown:
- Click Select a Certificate Store.
- Click on the *SYSTEM radio button, then click Continue.
- Enter the Certificate Store password and click Continue. If you do not know the password check with your system administrator.
- Click on the Manage Certificates link at the left side of the screen.
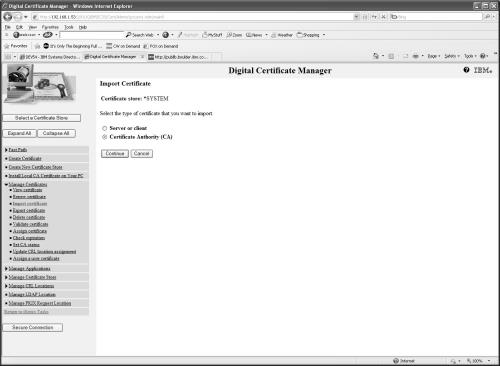
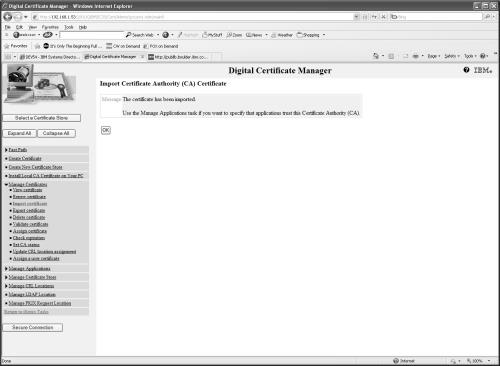
- Click on the Import Certificate link at the left side of the screen. Select the Certificate Authority (CA) radio button, then click Continue.
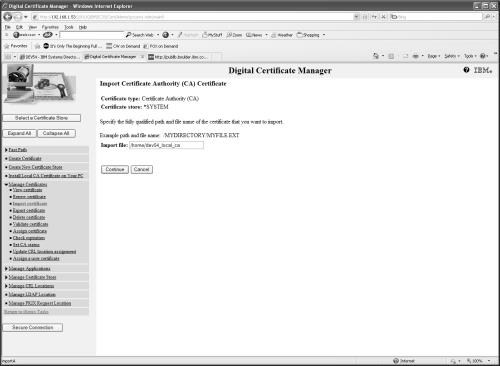
- Enter the IFS path and filename of the certificate to import that you FTP’d from the client System i, then click Continue. In our example, we use ‘/home/dev53_local_ca’ again.
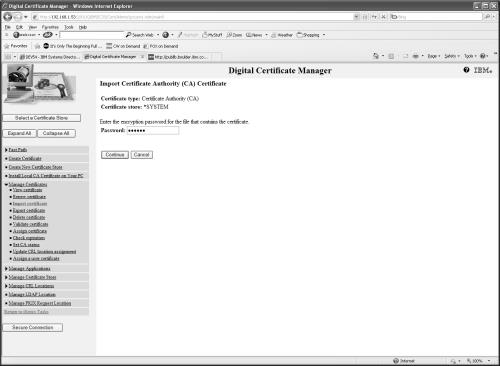
- Enter the encryption password that was specified during the export, then click Continue. If you do not know the password check with your system administrator.
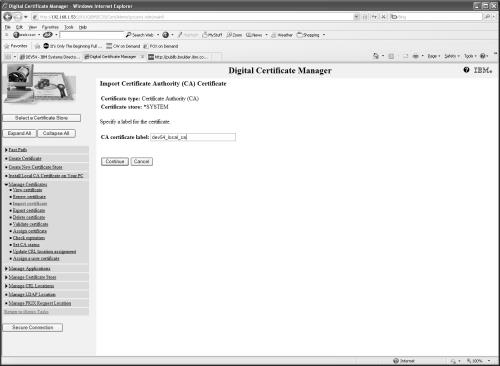
- Enter the name to be used to identify the imported client Local CA. We used ‘dev54_local_ca’ to identify the system that the certificate came from and to indicate that Default.PrintOnlyit was the Local Certificate Authority there. Click Continue.