Data Migration |
Data migration is the process of transferring or consolidating data from one Automate client to another. It is a key consideration mainly when upgrading to a newer version (for example, Automate 10 to Automate 11) or in certain situations, when transferring from one product line to another (for example, Automate to Automate Enterprise).
Migrating Tasks from a Previous AutomateVersion
Upgrading from a previous version of Automate (starting with Automate 7 onward) to a newer version is a simple procedure. The AML (Automate Markup Language) implementation in Automate is backward compatible allowing older tasks to run without modification in newer versions. This gives tasks that were, for example, constructed in Automate 8, the ability to execute in Automate 11 without the need to modify the underlying code. Newer versions of Automate are designed to run side-by-side with any previous version. This provides users the ability to migrate tasks painlessly and at his/her own pace. Tasks can be imported using Automate 11's Task Administrator or steps of a task can be imported using Task Builder. In addition, tasks can be imported by way of drag and drop or by use of the Import option.
To Migrate Tasks from a Previous Version of Automate
- Export the desired tasks from the older version of Automate.
- Import the AML files into Automate 11. For more details, see Importing Tasks.
- When all tasks are migrated and properly tested in Automate11, the older version of Automatecan then be uninstalled and the upgrade to Automate11 is complete.
Migrating Tasks from Automate Enterprise
Automate Enterprise repository objects (for example, tasks, workflows, events and conditions) are normally saved into an "Automate Package" file (.ampkg extension) which is a different file format than that of Automate's "Automate Markup Language" file (.aml extension). However, Automate Enterprise has the ability to save individual tasks into AML format as well. This can be done by way of the Task Builder.
To Migrate Tasks from Automate Enterprise to Automate
- From SMC or WFD, edit the task you wish to migrate by right-clicking the task and selecting Edit. This opens the Task Builder.
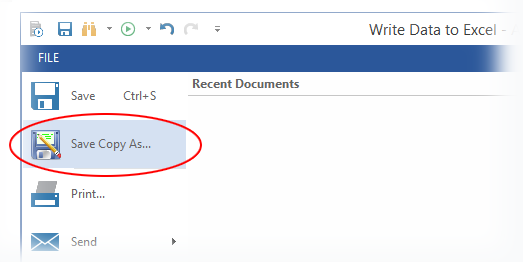
- Click File > Save Copy As and then select the location and file name of the .aml file.
The newly saved AML file can then be imported into any Automateclient.