A1:2021 Broken Access Control
Below we document the steps to test the OWASP A1:2021 Broken Access Control security risk only. Use this test to:
- Search, follow and identify:
- hidden pages
- backup/old pages
- robots.txt files
- Access admin, backup and old pages via authenticated and unauthenticated sessions
- Record multiple authentication profiles and identify pages having broken or lacking access control mechanisms.
Please note that you can combine tests and run more than one on a specific target or set of targets.
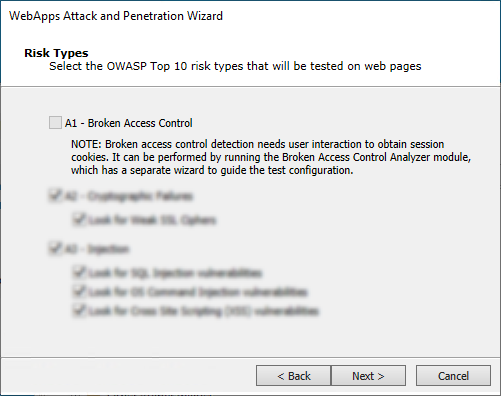
The output will be a delta report, showing how the access differs between the 2 user accounts. As is noted on the WebApps Attack and Penetration Wizard, the A1 - Broken Access Control risk is tested using the Broken Access Control Analyzer module.
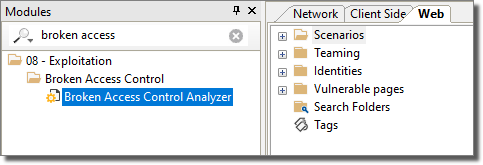
- To execute a test for Broken Access Control, open the Modules tab and make sure the Web entity database is active.
-
Navigate to or search for the Broken Access Control Analyzer module.
-
Double-click the module to start the wizard.
-
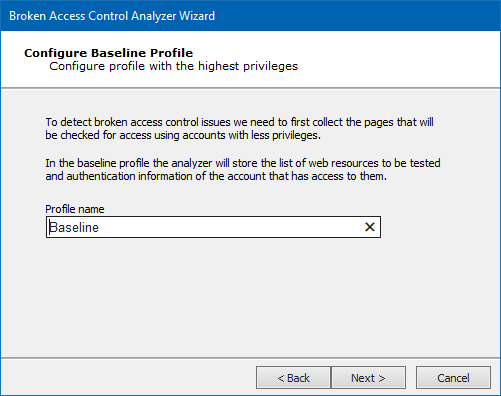
Enter the name of the baseline profile, or leave the default name, then click the Next button.
-
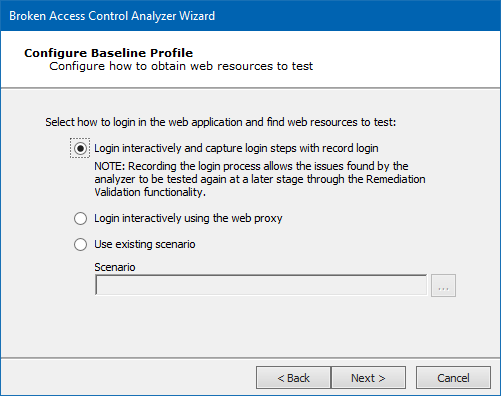
Configure how Core Impact can log in to your web application. With the first option, Core Impact will allow you to log in to your web application but it will record your steps so that it can perform them automatically at a later stage. Click the Next button.
-
When Core Impact is ready, it will instruct you to set up a proxy for your web browser and then log into your web application as a baseline user. Click the Next button.
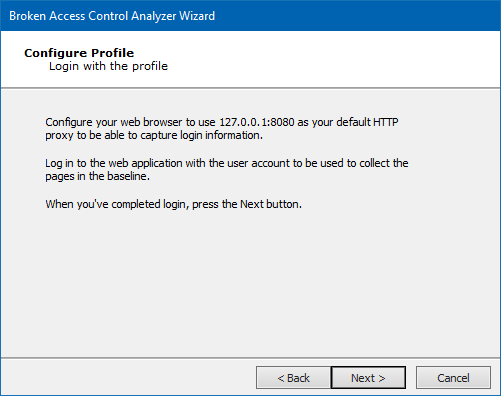
-
Optionally Restrict captured pages by domain if you want place limits on where in the web application that Core Impact can go. Click the Next button.
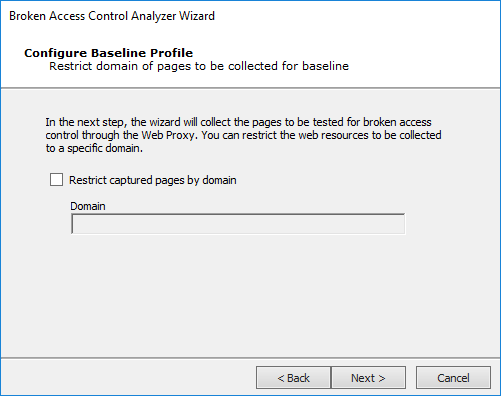
-
Using the web browser and previously-defined proxy, navigate to your web application and log in using the baseline credentials. Click the Next button.
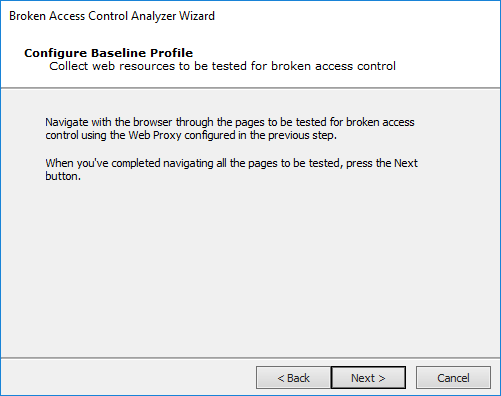
-
Core Impact will present you with a list of pages found. Select which one(s) you want to test for broken access control. Click the Next button.
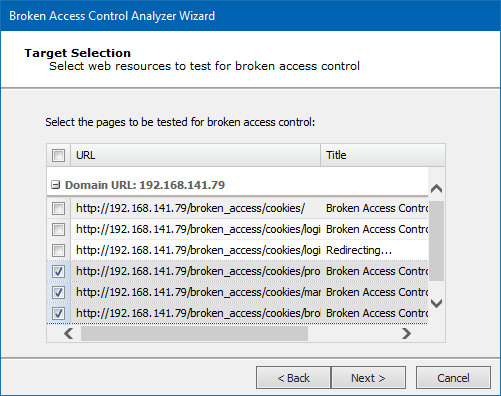
-
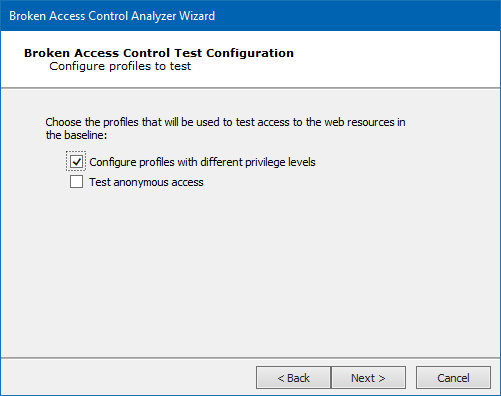
Select the type of profiles to be tested - the profile's test will be compared to the baseline's. Click the Next button.
-
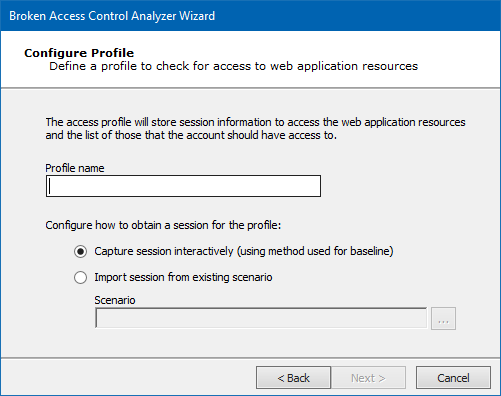
Enter a Profile Name and then configure how to obtain a session for the profile. You can capture the session interactively - as was done for the Baseline - or you can import the session from an existing scenario. Click the Next button.
-
Just as was done with the Baseline, navigate to your web app and log in with the new Profile's credentials. Click the Next button.

-
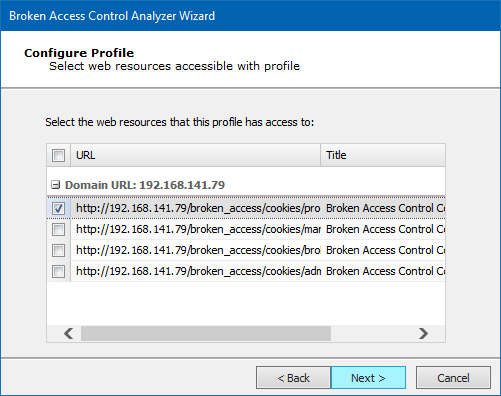
Select the pages that you would like Core Impact to test as the Profile user. Click the Next button.
-
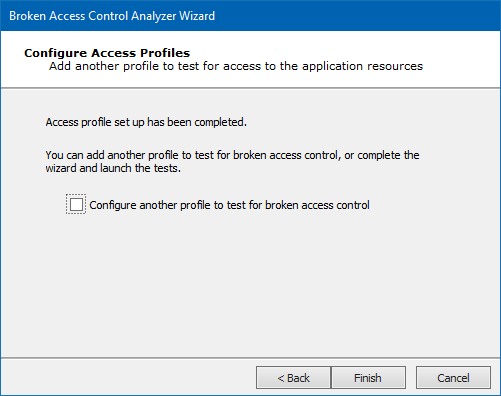
Click the Finish button to begin the tests.
If the WebApps Attack and Penetration is successful, then WebApps Agents will appear under vulnerable pages in the Entity View. See Interacting with WebApps Agents for information about how to leverage the WebApps Agents.
Return to WebApps Attack and Penetration.