WebApps Attack and Penetration
If the WebApps Information Gathering step identifies target pages and/or web services, the WebApps Attack and Penetration step can detect whether those pages will be vulnerable to a number of different attack types.
Use the following steps to begin the WebApps Attack and Penetration step:
-
Click WebApps Attack and Penetration in the RPT process panel. When the Wizard displays click the Next button.
-
On the Target Selection dialog, click the ellipsis (
 ) button to display a list of existing scenarios.
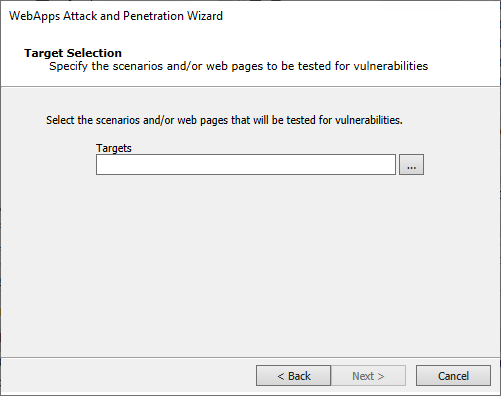
-
The Select TARGET dialog displays. Place a check next to each scenario that is to be tested for vulnerabilities. You can alternatively check individual pages within the scenario.

Click the OK button.
-
The Target Selection dialog of the wizard displays again with the selected scenario.
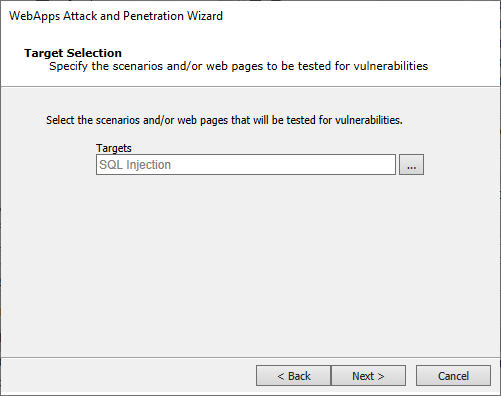
Click the Next button.
Available attacks are presented next on these two dialogs:

There are many options in the WebApps Attack and Penetration wizard and several combinations of attacks you can perform. For the sake of documenting the options, we will provide instructions on each attack path individually, but please understand that these options can be combined to undertake a complex and comprehensive test.
Core Impact is designed to make it easy for your organization to assess the OWASP Top 10 security risks for web applications (see http://www.owasp.org for details on OWASP). On the Risk Types dialogs of the Wizard, select any of the following options.
-
Click Next to continue.
-
The final Risk Types dialog displays after selecting any attack.

Select any of the Other items to add to the test.
Execute exploits for known vulnerabilities of checked risk types: - Check this option if you want Core Impact to attempt to execute exploits as a part of the test.
-
Click Next and continue to any selected attack(s) dialogs to review or configure their parameters.
-
At the end of all selected attacks and dialogs, click the Finish button and the WebApps Attack and Penetration step will commence. You will see module progress in the Executed Modules panel and specific output in the Module Log panel.
If the WebApps Attack and Penetration is successful, then WebApps Agents will appear under vulnerable pages in the Entity View. See Interacting with WebApps Agents for information about how to leverage the WebApps Agents. Additionally, if a vulnerability is found, it is assigned a Vulnerability ID which will allow Core Impact users to track reported vulnerabilities after testing. The Vulnerability ID will appear in the ''Information'' pane when the vulnerable web page is selected and also in the name of the agent that is deployed for the page.
You can extend Core Impact's functionality by writing your own custom modules. For more information about writing custom modules, please contact Customer Support (see Contact Support).