Creating a New Workspace
To create a workspace, use the following the steps:
-
Choose File -> New workspace [Type] from Core Impact's main menu or click the New Workspace button
 on the toolbar.
Alternatively you can select Workspaces on the Navigator panel and press the Create Workspace
 button.
 This opens a drop-down menu with several Workspace types. Select a specific Workspace type, depending on your testing goals, or select Blank Workspace.
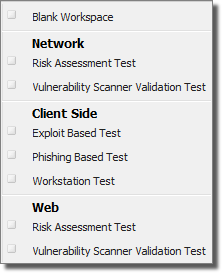
figure 7 - New Workspace Types
The workspace types are designed as an Assisted Start and will automatically launch a web browser with documentation specific to the type you select. The resulting workspace, however, will be capable of executing any kind of penetration test. For example, if you create an Exploit Based Client Side workspace, you will still be able to run Network tests within it.
-
Enter a Workspace name and passphrase for your new workspace and click Finish.
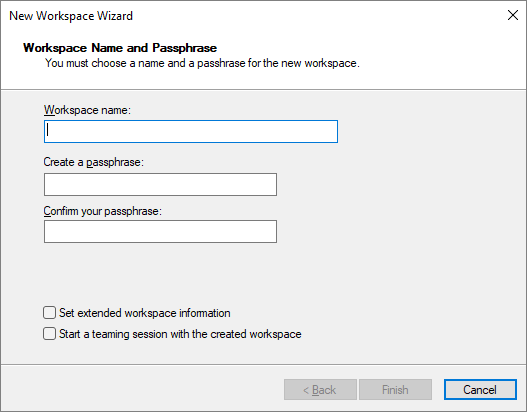
figure 8 - Workspace Name and Passphrase
Optionally, you can enter extended workspace details by checking the Set extended workspace information box, then clicking Next.
To create this workspace as a teaming session, check the Start a teaming session with the created workspace option. See Teaming for more on this option.
-
If you checked the Set extended workspace information box in the previous step, complete the form.
The data you enter is for informational purposes only and can be viewed or updated at any time by selecting -> from Core Impact's main menu.

Use these fields as needed:
Company/Test area name - The name of the company or test area where the penetration test is being conducted.
Contact name - The name of a contact inside the (client company) related to this particular engagement.
Contact phone number - The phone number of the client contact.
Contact email - The email address of the client contact.
Location - The location of the client.
Workspace comment - Any comments about the workspace and the tests to be performed within it.
Engagement start date and deadline -
Click Next after entering a name for the new workspace.
-
A Workspace key is generated every time a new workspace is created. This key is only used for communication with remote agents that perform client authentication. This means that different users of Core Impact use different workspace keys and will not be able to connect to the same agents. It is important to note that this key does not currently protect the information inside Core Impact's database, and that its sole purpose is to protect the workspace's deployed agents from being accessed by another Core Impact workspace.
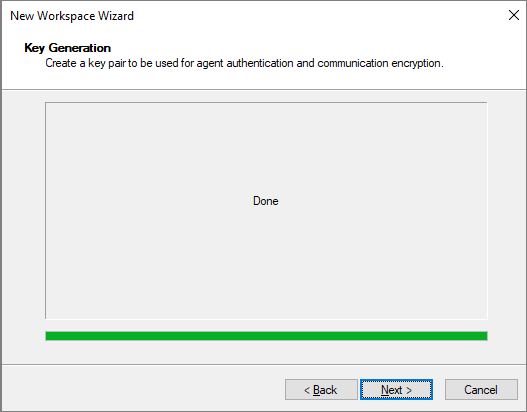
Move your mouse inside the rectangle to generate a new key pair, and click Next.
Refer to Crypto Channel for more information on how Core Impact uses this key pair.
-
After checking that all the information displayed in the Completing the New Workspace Wizard Dialog Box is correct, click Finish.
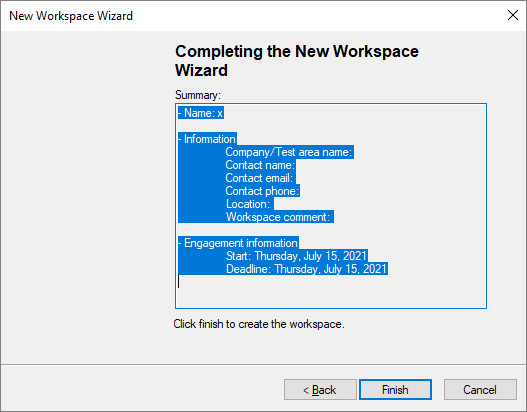
The new workspace is created and automatically opens.