Run a PCI Scan Using Scan Groups
PCI scans can be scheduled by utilizing a scan group. Scan groups utilize schedules to automatically run selected scans and simple report creation by pre-selecting the scans originating from the scan group. This prevents having to search for individual scans listed in the report creation screen. This scanning system is beneficial for any organization running a large amount of scans, or recurring scans with similar names. Fortra VM also allows for notifications pertaining to scan group activity to easily track PCI scans and report activity, when setup through a scan group.
Setup a scan group
-
From the Scan Groups page, select + New scan group.
-
Create a new scan group with the work-flow designation of PCI Assessment.
-
Complete the Name, Schedule, Email Notifications, and Reporting Options.
-
Complete the PCI Report Details and PCI Scope Details. This is required for automatic generation of the PCI-ASV attestation of compliance report. To generate PCI reports manually, see PCI Compliance Reporting.
IMPORTANT: If you would like WAS scans to be automatically generated from the VM scan targets, toggle Auto-Generate WAS Scans to ON.
-
-
Save the scan group.
-
Select + Add scan to attach individual scans to the scan group. This will allow all selected scans to run concurrently with the prescribed schedule for your scan group.
NOTE: If auto-generation of WAS scans is toggled to OFF, it is necessary to add both WAS and VM scans to the same scan group for PCI compliance scanning. Use the drop-down menu in the site header to toggle between WAS and VM interfaces and add each scan to the scan group you created.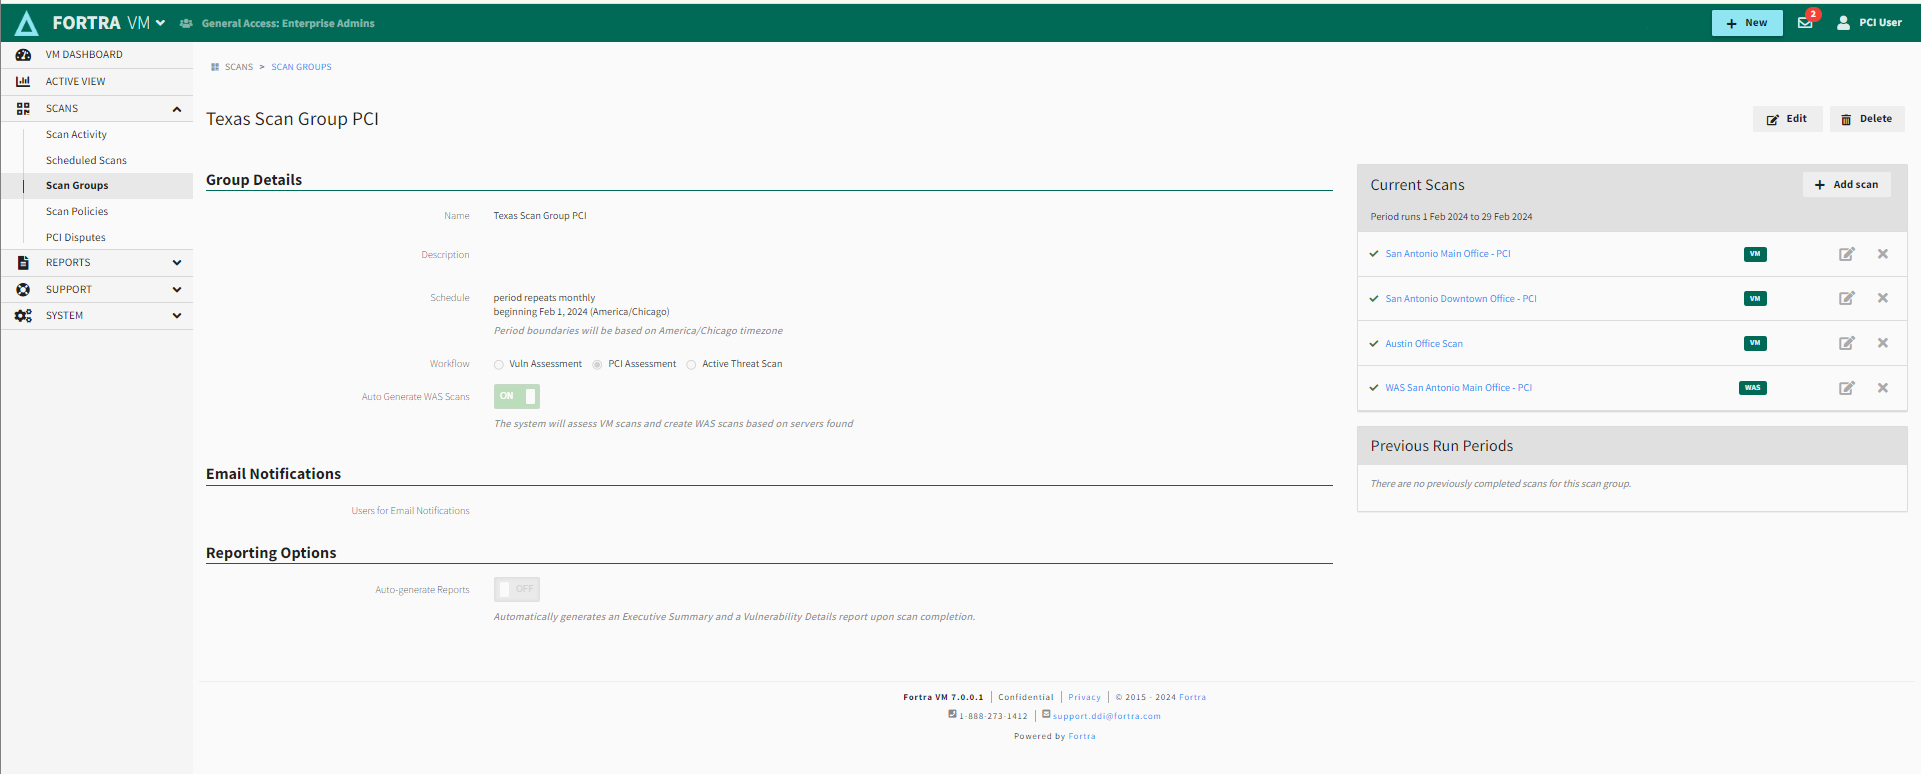
-
After adding your scans to the scan group, return to the group and fill out the PCI Scope Details to auto-generate compliance reports. Alternatively, after the scans are complete, navigate to Reports > History to start creating your PCI compliance report manually.