Scanners
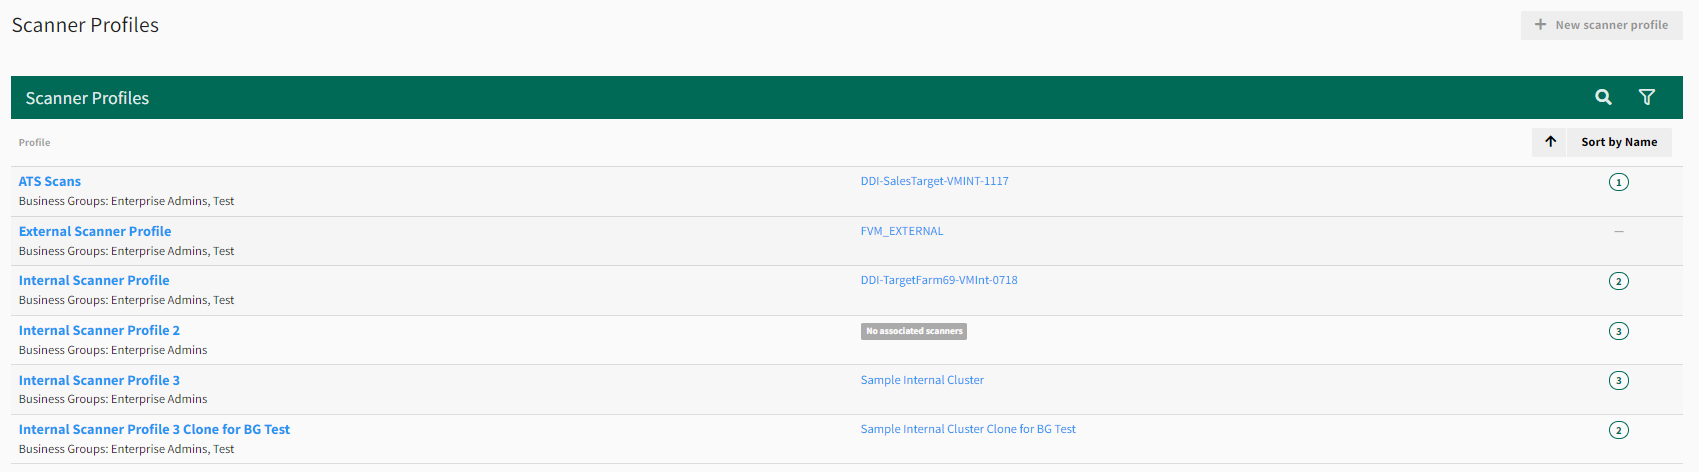
Scanner Profiles
A scanner profile determines whether scans are for an internal or external network, establishes blackout times when scans are not allowed, and provides rules for IP address and port ranges.
This section describes how to view and modify a scanner profile, which establishes the network boundaries for scanning your environment.
To view and modify scanner profiles
- From the , select Scan Settings > Scanner Profiles.
-
Select the scanner profile to modify.
- On the General Settings tab, change the Scanner profile name.
- Select Save profile.
- On the IPs & Ports tab, create rules for the scanner profile by doing the following:
- Select whether to Include or Exclude IP addresses and ports.
- Enter the IP addresses you want to include and exclude (use commas to separate addresses or enter a range).
Example IP range: 192.168.2.1-192.168.2.255
NOTE: If you have infrastructure in a hosted environment, you can add the IP addresses based on where your assets reside. For example, Amazon Web Services (AWS) provides CIDR notation of its IP ranges, which you could include in your scanner profile.
- Select Save profile. Your scanner profile rule is created and appears at the bottom of the screen.
- On the Blackout Times tab, select when you do not want scans to run and then select Save blackout times.
To change the associated scanner profile
If you set up a new scanner as a replacement for an existing scanner, associate the existing scanner profile with the new scanner to prevent the need to recreate any asset groups or change any scans that have scan targets in the scanner profile.
Method 1 - Use an extra scanner profile
This method is recommended if you are not ready to delete the previous scanner, but want to move the scanner profile to the new scanner.
-
From the , select Scan Settings > Scanner Profiles and then select +New scanner profile from the top-right of the page.
-
In the Scanner profile name box, enter a temporary name (for example, “Placeholder”).
-
Select Create to create a placeholder scanner profile.
-
Select Scan Settings > Scanners and then select the name of the previous scanner to view its settings.
-
In the Settings section, change Scanner profile to the placeholder scanner profile you created in step 3.
-
Select Save.
-
Return to the Scanners page and then select the new scanner’s name.
-
Change Scanner profile to the original scanner profile from the previous scanner, and then select Save. The new scanner is now ready for use with the original scanner profile.
-
Recommended: After a scan has successfully run on the new scanner, delete the old scanner and review and delete any unused scanner profiles.
Method 2 - Delete the previous scanner first
When you delete a scanner from the Scanners page, the scanner profile will become unassociated with that scanner, but remain in the Fortra VM account, making the scanner profile available for association with a new scanner.
-
From the , select Scan Settings > Scanners and then select the name of the previous scanner to view its settings.
-
Select Delete scanner. Review the warning and then select Continue.
-
Return to the Scanners page and select the new scanner’s name.
-
Change Scanner profile to the original scanner profile from the previous scanner, and then select Save. The new scanner is now ready for use with the original scanner profile.
-
Recommended: Review the Scanner Profiles page and delete any unused scanner profile.
Scanner Status
This section describes how to view and modify scanner settings.
To view and modify a scanner’s settings
-
From the , select Scan Settings > Scanner Profiles.
-
Select the name of the scanner to view. You are on the scanner’s page, which includes information about the scanner’s Settings, Node, Installed Software, DNS Settings, and Disk Partitions.
-
Modify at least one of the scanner’s settings:
-
Scanner name
-
Time zone
-
Scanner profile
-
-
Select Save.
RNA User Access
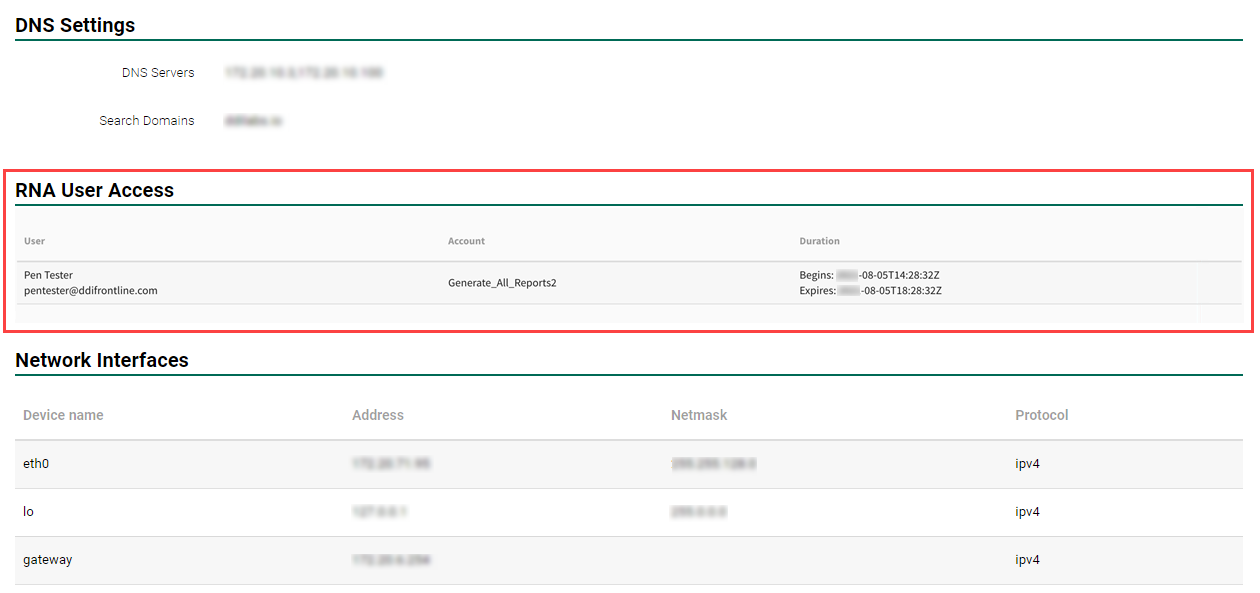
During a support session or Penetration Test, organizations may choose to grant temporary access to internal RNA's for testing purposes. As a user you can see what party or parties currently have access to your RNA. From the select Scan Settings > Scanners.
Displayed is a list of the scanners available to your account. Select the name of the scanner which you wish to inspect. Scroll through the information headers and details pertaining to the scanner until you reach RNA User Access. There are listed details of each user who has access to your RNA including their user name, email address, selected account, and duration of access.
RNA Scanner Appliance Installation
The Reconnaissance Network Appliance (RNA) is a virtual appliance installed on your network for the purpose of running vulnerability scans against your assets. The comprehensive data gathered by the RNA is presented to you on Fortra Vulnerability Management (Fortra VM), a web portal that helps you understand and manage your vulnerabilities.
This appliance is a virtual device running on a host computer in a virtual environment.
See related: Install RNA Virtual Scanner Appliance