When you install EFT Server, you also install the Administrator interface. After you have installed EFT Server, you can also install the Administrator interface on remote desktops. You do not need a separate license for each installation of the Administrator interface.
This procedure is for installing only the Administrator interface on a computer that is remote from EFT Server. To install EFT Server and the Administrator interface on the same computer, refer to Installing the Server, Administrator, and Modules.
To install the Administrator interface remotely
Close all unnecessary applications so that the installer can update system files without rebooting the computer.
Start the installer, then click Next. If this is a fresh installation, the Choose an installer page appears. (Illustrations below show EFT Server Enterprise installation; the procedure is the same for EFT Server basic edition.)
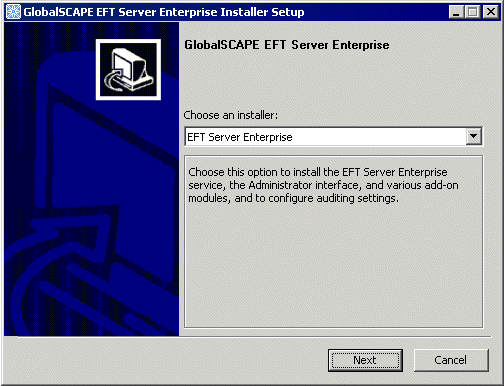
Click the list and then click GlobalSCAPE EFT Server or GlobalSCAPE EFT Server Enterprise. (This prepares the installer files--it will not install EFT Server.)
Click Next. After installation components are loaded, the Welcome page appears.
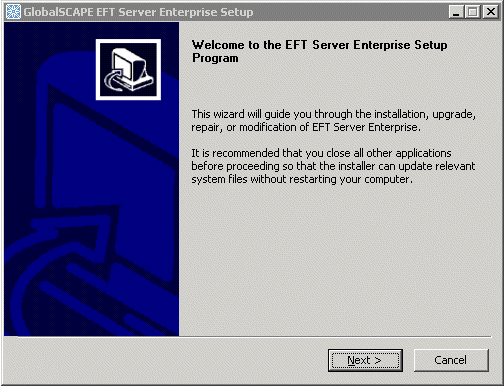
Read the Welcome page, then click Next. The License Agreement page appears.
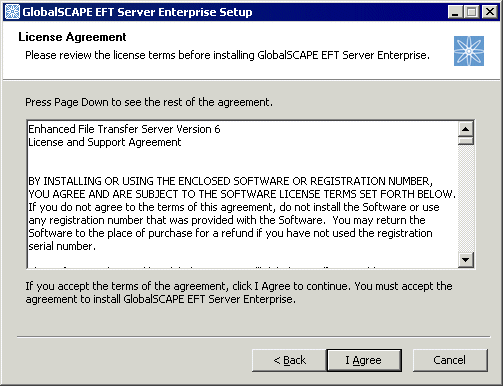
Read the license agreement, then click I agree to accept it. (Clicking Cancel aborts the installation.) The Choose Components page appears.
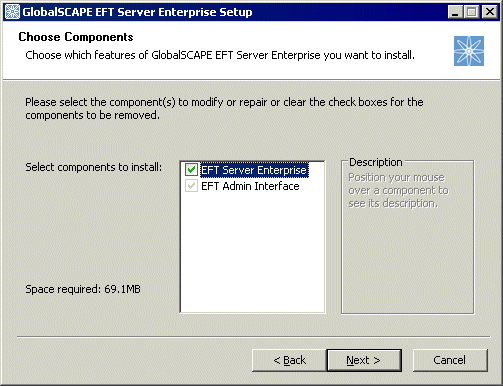
To install only the Administrator Interface, clear the EFT Server check box. The EFT Admin Interface check box will still be gray, but it will install.
Click Next. The Choose Install Location page appears.
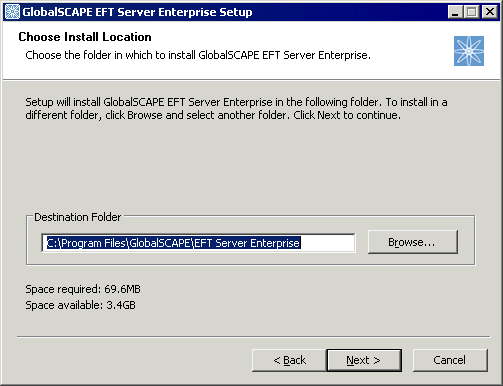
The default installation location appears in the Destination Folder box. Leave the default or click Browse to specify a different folder, then click Next. The Choose Start Menu Folder page appears.
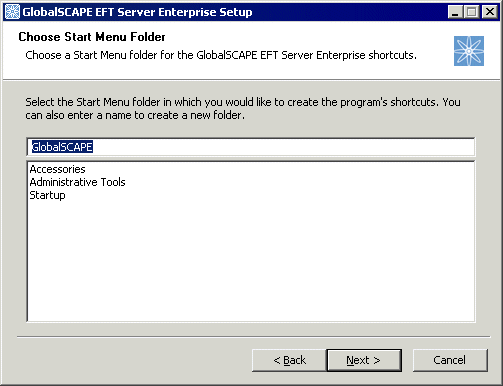
Keep the default shortcuts, specify an existing folder, or type a name for a new folder.
Click Next. The Administrator interface installs.
When installation is complete, click Next.
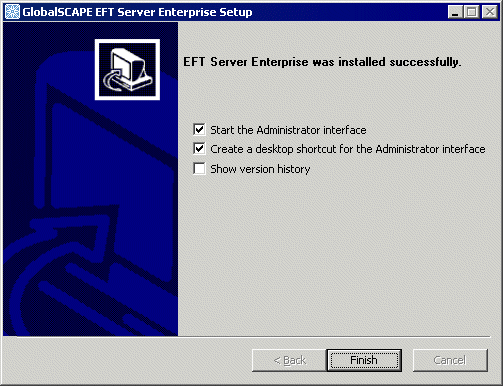
If you want to create a desktop shortcut for the Administrator interface leave the Create a desktop shortcut check box selected.
If you want to review the version history in your default text editor, select the Show version history check box.
Leave the Start the Administrator interface check box selected so that you can configure a connection to the remote EFT Server next.
Click Finish. The Administrator interface appears and the New Administrator Connection wizard starts.
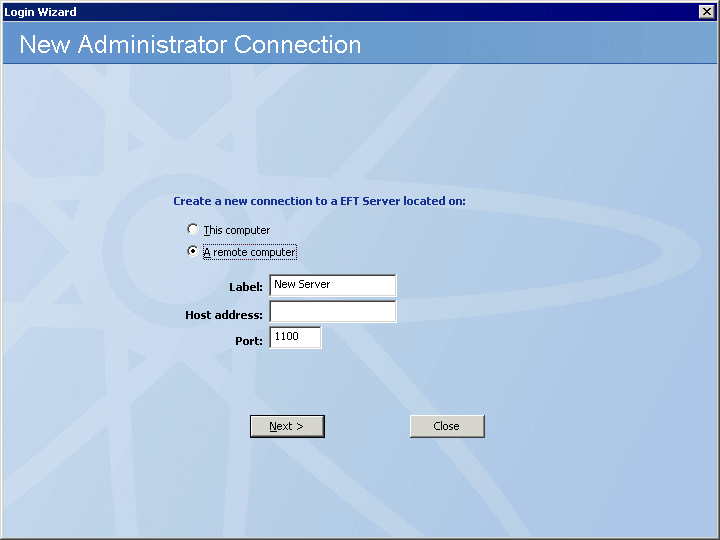
Click A remote computer, then specify the connection information for the remote EFT Server:
In the Label box, type the name of EFT Server to which you want to connect. You can call it anything you want; it has nothing to do with EFT Server's computer name. This name will appear in logs and reports.
In the Host address box, type the IP address of EFT Server computer.
In the Port box, type the port number used by EFT Server for remote connections.
Click Next. The EFT Server Administrator Login page appears.
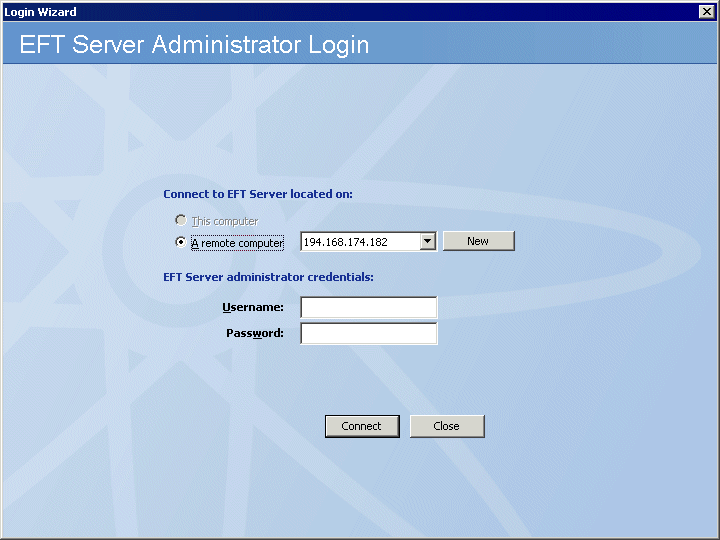
In the EFT Server administrator credentials area, provide the Username and Password required to connect to EFT Server, then click Connect.
If connection was not successful, verify the IP address and port on which EFT Server listens for connections, and be sure SSL is properly configured, if used, on EFT Server.
If connection was successful, the remote Server appears in the tree.