

Before installing the application, review the System Requirements, decide on a Deployment Method, review the Installation Prerequisites, then read the entire procedure below.
The Secure Ad Hoc Transfer (SAT) installation program automatically detects the presence of IIS, .NET Framework, previous versions of the SAT module, and EFT Server, and prompts for required information to configure the services. Install EFT Server before installing the SAT module, and make note of the EFT Server name, IP address, username, and password, because you will need to provide this information in the SAT installer.
If a previous version of the SAT module is installed on the computer, you must uninstall it before installing the newer version. Before installing the new version, verify that the Ad Hoc virtual directory in IIS (EFTAdHoc by default) and the Ad Hoc installation directory (C:\InetPub\EFTAdHoc) were removed. Installing EFT Server, Microsoft IIS, and .NET Framework on the same physical computer expedites the installation process, but it is not required.
If you are not installing SAT on the same computer as EFT Server:
Provide IIS a direct route and IP address to EFT Server.
Enable Remote Administration in EFT Server so that the installer can remotely configure EFT Server to use SAT.
HTTPS must be enabled at the Site level so that the SAT scripts running on IIS can communicate with EFT Server.
Before installing the SAT module, perform the steps below in the order listed. If you do not follow each of the steps below in the order listed, the SAT module might not function as you intend:
Review the System Requirements and decide on a Deployment Method.
Review the Installation Prerequisites.
On operating systems other than Windows 2008, ensure IIS is installed BEFORE ASP.NET is installed. If ASP.NET is installed before IIS is installed, you must provide the network service with write access to the framework directory (e.g., C:\WINDOWS\Microsoft.NET\Framework\v3.5). Ensure that ASP.NET is installed and registered. See AdHoc Properties Missing ASP.NET Tab for details of registering ASP.NET.
If you are installing SAT with IIS7, configure IIS using the instructions in BEFORE Installing the SAT Module with IIS7.
To install Secure Ad Hoc Transfer
Copy the installer to the IIS computer.
Double-click the installer. The Welcome page appears.
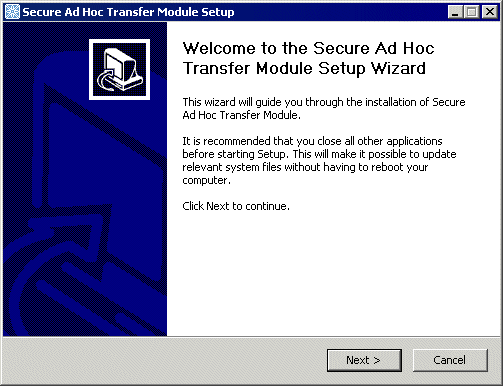
Click Next. The License Agreement appears.
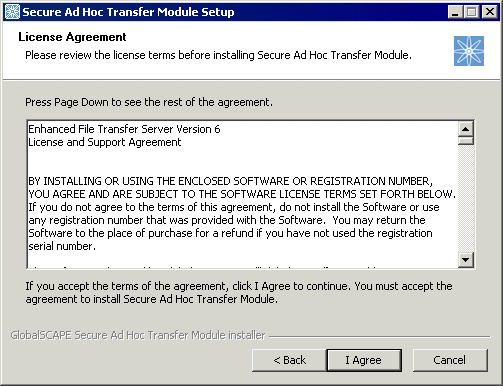
Read the license agreement and accept it by clicking Yes. (If you do not accept the license agreement, the installer exits.) The Choose Install Location page appears.
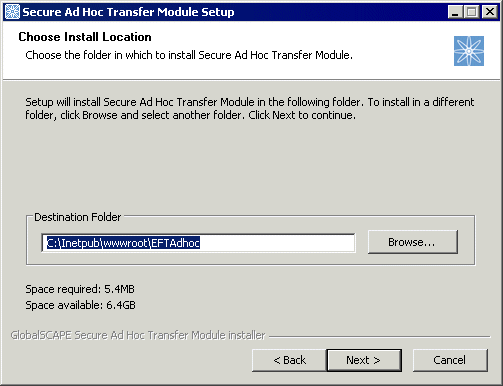
Specify the folder in which to install the SAT module (e.g., C:\Inetpub\wwwroot\EFTAdHoc), then click Next. The Install Trial or Full page appears.
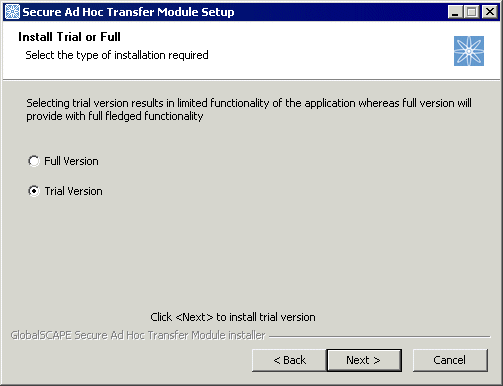
Do one of the following, then click Next:
If you are evaluating the SAT Module prior to purchase, click Trial Version, then skip to step 8.
|
|
The trial version of SAT is not time limited; however, it is limited to ten e-mails with one attachment each, per IIS session. |
If you have purchased the SAT Module, click Full Version. The Activation page appears.
If a message appears stating that the installer did not detect the correct version of the Microsoft .NET Framework, click Yes to exit the installer and open the Web browser to the .NET Framework Developer Center. If you know that .NET is installed, you can click No to continue with the installation, then resolve the error later. Refer to AdHoc Properties Missing ASP.NET Tab for details, if necessary.
If you selected Full
Version, type or paste the SAT Module activation serial number,
then click Next. The Configure
IIS page appears.
Specify a Web Site
and the Virtual Folder name
(the default is EFTAdHoc) to use
for the SAT components, then click Next. The EFT
configuration parameters page appears.
Provide the EFT Server
name/IP address, Server Port,
and EFT Server Administrator User Name
and Password, then click
Next. The EFT
Site Configuration Parameters page appears.
Specify the EFT Server Site Name and a new, unique User Settings Template name (the default is EFTAdHoc) that will be used only for SAT, and the External Domain Name for EFT Server. This is the external server address used to access EFT Server. IMPORTANT: If you are also using DMZ Gateway, then use that address instead. Because e-mail recipients can be on an external network, you should use a DNS instead of the actual IP address. For example, type myfileserver.com (which might map to https://10.0.0.100:444).
Click Next to
continue. The SMTP Mail Server Parameters
page appears.
Type the SMTP Server Name/IP address, Server Port, and Default Sender Address (e-mail). If mail server authentication is required, click Server Requires Authentication, then type the Administrator User Name and Administrator Password used to connect to the mail server, then click Next.
If you want to test the SMTP mail server configuration settings, you can click Test to send an e-mail to an accessible account. Provide the e-mail address for the test e-mail, then click Install.
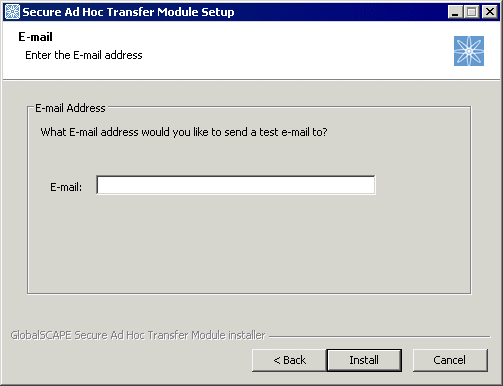
Click Yes if the e-mail was successful. Click No if the e-mail was not received, then verify your SMTP settings.
Installation of the SAT module is complete. A few additional steps are necessary:
Enable automatic notification of uploads and user clean-up events in EFT Server.
Verify that the Microsoft IIS settings are configured correctly, as described below.
|
|
The help file, adhoc.chm, is available from the Start menu and in C:\Inetpub\EFTAdHoc\Help. |
If EFT Server and IIS are NOT running on the same computer, copy to the EFT Server computer the EFTAdHoc folder (by default, C:\Inetpub\wwwroot\EFTAdHoc\) and all files and subfolders.
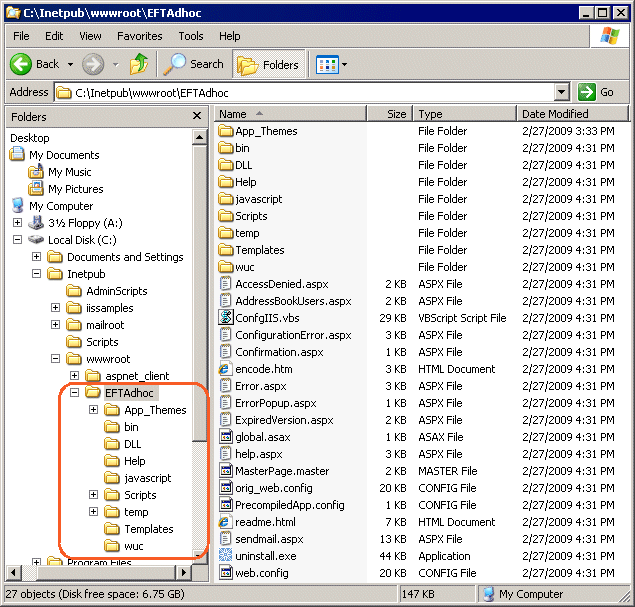
Note the web.config file at the bottom of the file list. If this file does not exist, the SAT module will not be able to connect to EFT Server. The web.config file provides the configuration for the EFTAdHoc properties in IIS.
To verify IIS settings
Open the IIS Manager, right-click the EFTAdHoc
virtual folder, then click Properties.
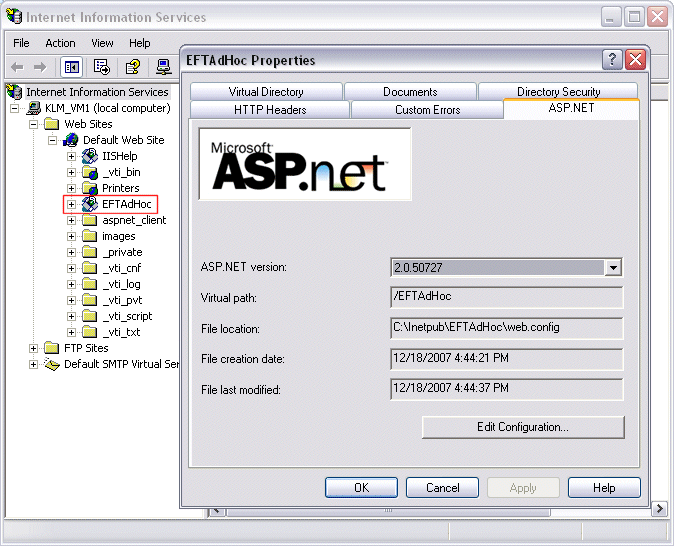
On the ASP.NET tab, make sure ASP.NET version 2.0.50727 (or newer) is selected. (If the ASP.NET tab is not displayed, refer to AdHoc Properties Missing ASP.NET Tab.)
Click Edit Configuration. Refer to Editing the Configuration File for details.