After you have downloaded the software, double-click the executable to start the installer. The Welcome page appears.
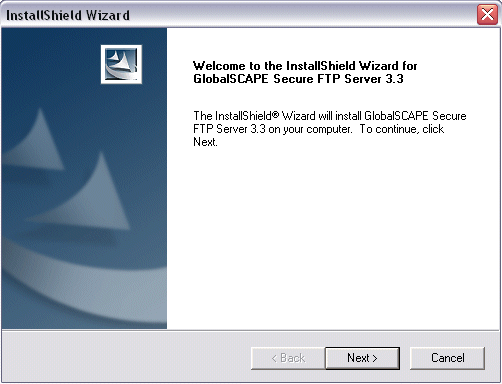
Click Next. The License Agreement appears.
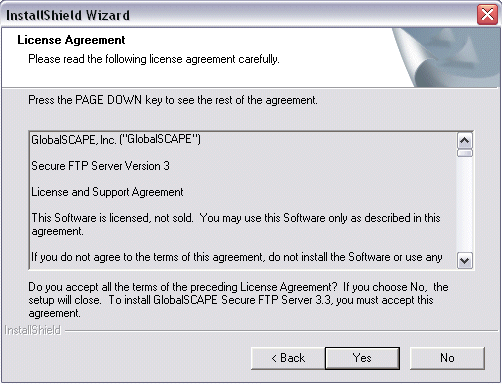
You must read and then accept the license agreement (click Yes) in order to continue.
Click Next. The Destination Location page appears.
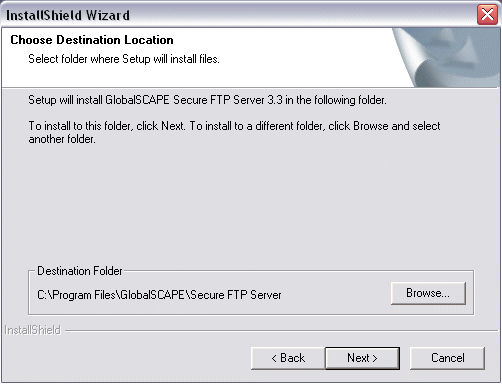
Specify the folder in which to install Secure FTP Server, then click Next. The Select Components page appears.
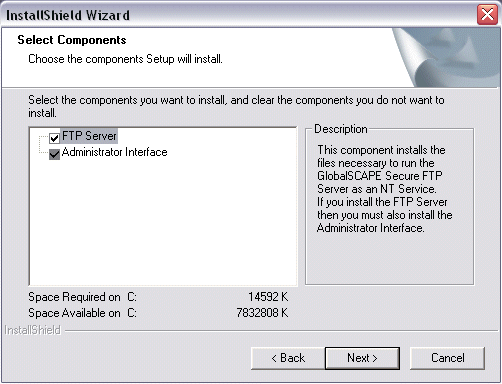
Select the check boxes of the components you want to install, then click Next.
FTP Server: This component installs the Server that runs as an NT Service.
Administrator Interface: This component is the administrative interface for the server. It must be installed on the server machine and it may be installed on a separate machine to provide remote administration over TCP/IP.
MSDE Database for Auditing and Reporting: This component is the database for Secure FTP Server's Auditing and Reporting Module. You do not need to install this component if you already have a SQL database or if you do not want to use it.
The Administrator Account Settings page appears.
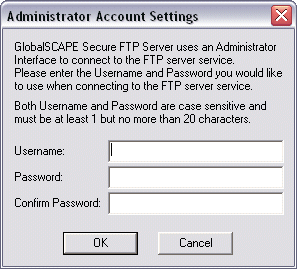
Create a username and password that you will use to connect to and administer Secure FTP Server, then click OK.
If you selected MSDE Database for Auditing and Reporting, the Database Login Details page appears. Provide a username and password for administering the Auditing and Reporting Module database.
|
|
If the administrator username or password is lost, you will not be able to administer the server. Resetting the administrator account is possible but will result in the loss of all user and group specific settings. Keep your administrator logon details safe and secure. |
The Server service and/or Administrator interface are installed and the Finished Setup page appears.
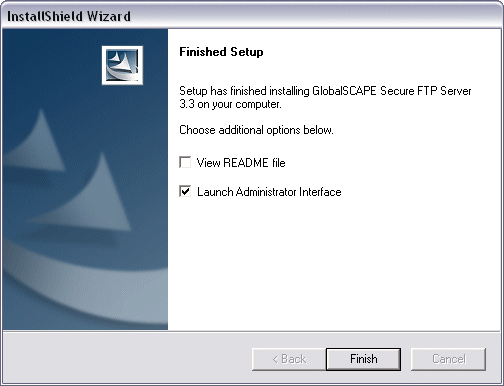
The Launch Administrator Interface, check box is selected by default. Select the View README file check box if you want to read the release notes, then click Finished. The Administrator and Connect to FTP Server dialog box appear.
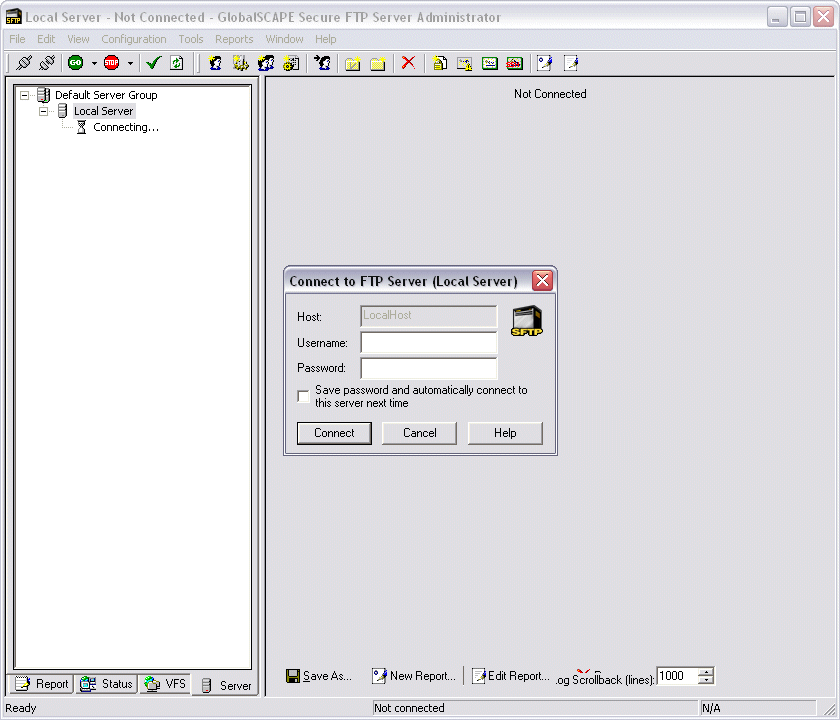
Provide the administrator Username and Password that you created during installation, then click Connect. The Welcome dialog box appears.
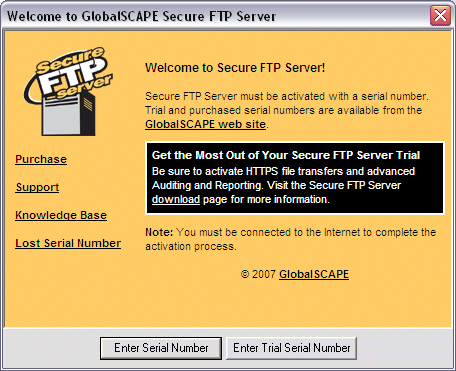
You are prompted to provide a serial number. To activate the software, you must be connected to the Internet and have administrator privileges on the Server computer.
If you are evaluating the software, a trial serial number is needed to continue. If you have not already received a trial serial number, you can request one on the GlobalSCAPE support pages. Click Enter Trial Serial Number and follow the instructions.
If you have already purchased the software, click Enter Serial Number and follow the instructions.
The Registration wizard appears.
Type or paste your serial number in the Serial Number box, then click Next. Page 2 of the wizard appears.
The information on this page can be used to verify your account if you need to contact Customer Support. Complete the personal details fields, then click Next. Registration of the Server is complete.
Click Finish. The Create New Site wizard appears.
Continue to Creating Sites.