Bulk Import/Export Users
This process allows Arcus Management Template administration user to create user accounts using a simple CSV file.
-
Create a CSV file (e.g., in Microsoft Excel) of the users that you want to install. You can copy and paste the table headers below into an Excel document, then save it as CSV. At a minimum, you must have SiteName, Username, HomeFolderIsRoot (TRUE), and TwoFactorAuthentication (FALSE).
-
Sitename - (Required) Name of the site the user account is defined on
-
SettingsTemplate - Name of the template the user account is defined on
-
Username - (Required) Username of the account
-
Password - Password for user account
-
PasswordType - A number that represents the type of the account, usually 0 for Regular. (For other types, refer to link.)
-
IsEnable - Set to 1 (Enable), 0 (Disable), or -2 (Inherit)
-
FullName - First and Last name of user account owner
-
ExpirationDate - Date at which to expire the account
-
Description - Description of the account
-
Phone, Fax, Pager - User's phone numbers
-
Email - Email account for user account
-
Custom1, Custom2, Custom3 - Miscellaneous information such as location of office, time zone, and so on
-
Comments - Comments about the account, such as created by
-
HomeFolderIsRoot - (Required) Set to 1 (Enable), 0 (Disable), or -2 (Inherit)
-
HomeFolder - such as /user/foldername
-
Permissions - Number from the User Permissions Tool
-
Group - User group such as All Users, Admin, Guest
-
TwoFactorAuthentication - (Required) Set to Set to 1 (Enable), 0 (Disable), or -2 (Inherit)
Refer to Creating a User Account for more information about the content for the columns.
(The columns are shown separately below to fit a printed page in the user guide PDF. In the CSV/Excel, keep them all on the same row.)
|
Sitename |
SettingsTemplate |
Username |
Password |
PasswordType |
IsEnabled |
FullName |
ExpirationDate |
|
MySite |
Default Settings |
jdoe |
P@a55Word! |
0 |
abTrue |
John Doe |
01/21/2017 |
|
Description |
Phone |
Fax |
Pager |
|
Custom1 |
Custom2 |
Custom3 |
|
John Doe's account |
(210)-999-9999 |
(210)-999-9999 |
(210)-999-9999 |
jdoe@company.com |
my custom field 1 |
my custom field 2 |
my custom field 3 |
|
Comments |
HomeFolderIsRoot |
HomeFolder |
Permissions |
Group |
TwoFactorAuthentication |
Errors | |
|
my comments |
-2 |
/usr/jdoe/ |
2047 |
All Users |
-2 |
-
Using your EFT Arcus Management Template administration user credentials, login to the EFT Arcus Web Transfer Client, e.g., https://company.arcusapp.globalscape.com/EFTClient/Account/Login.htm
-
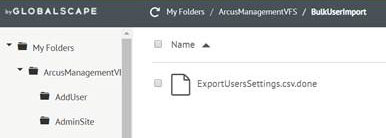
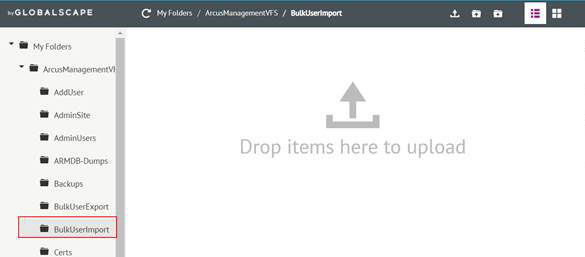
Open the /ArcusManagmentVFS/BulkUserImport folder:
-
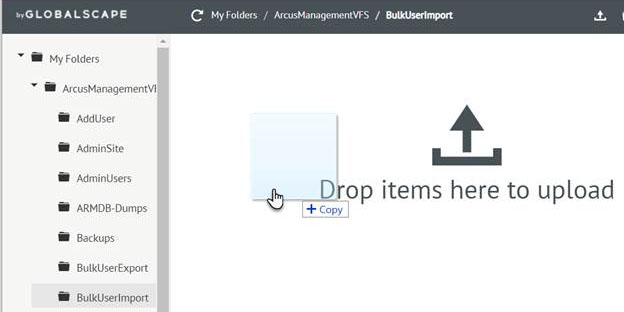
Upload <filename>.CSV containing the users to be imported (500 users max per CSV).
-
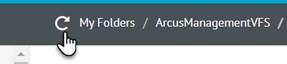
After the <filename>.CSV file is uploaded, click the refresh icon. A <filename>.progress file will be shown containing the current status of the import.
-
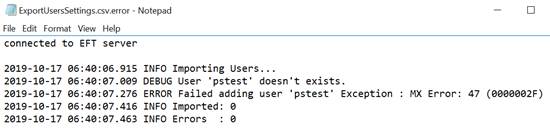
After the <filename>.CSV file is processed, the original CSV file will be deleted and then a <Filename>.done file, if the process was successful, or <Filename>.error file, if errors were found during the import process, will be created.
-
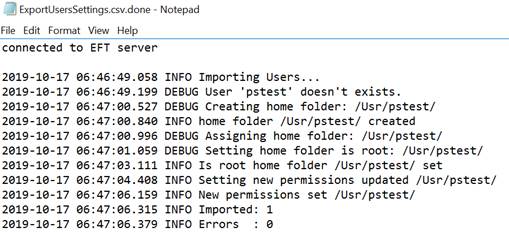
Open the <filename>.done file or <filename>.error file to view the full log of the import process.
-
An email notification will be sent only if errors are encountered.
EFT Arcus Bulk Export Users
This process exports all existing users (without passwords) into a CSV file.
-
Open a text file and create a JSON file to specify the name of the site from which users will be exported. All users from all sites will be exported if the EFTSiteName value (below) is empty.
-
Save the file as ExportUserSettings.JSON.
-
Using your EFT Arcus Management Template administration user credentials, log in to your EFT Arcus WTC, e.g., https://company.arcusapp.globalscape.com/EFTClient/Account/Login.htm
-
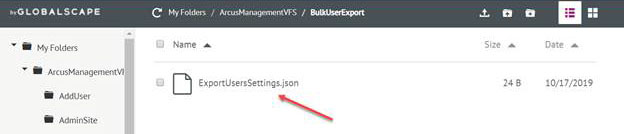
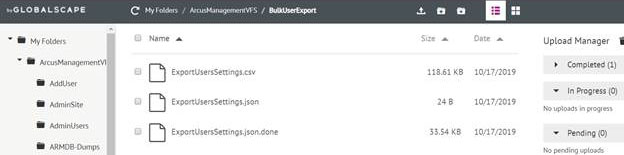
Navigate to the /ArcusManagmentVFS/BulkUserExport folder
-
Upload the JSON file to initiate the export.
-
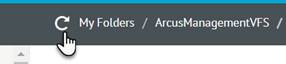
After the file is uploaded click the refresh icon
-
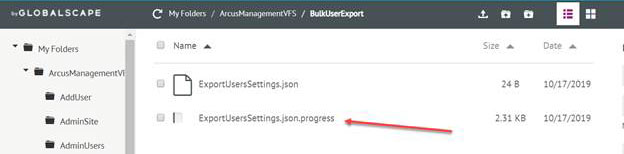
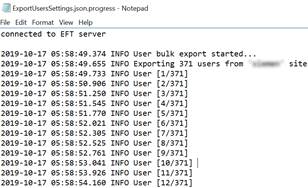
You should see a <filename>.progress file which contains the progress of the export process while the export is in progress. You can download this file and see details.
-
Once the Export process is completed, the <filename>.progress file will be renamed to <filename>.done or <filename>.error depending of the success or failure of the export
-
Download the <Filename>.csv to download the list of users exported.
{
 "EFTSiteName": ""
 }