Installing the EFT Outlook Add-In for EFT Arcus
To use the Workspaces with Outlook, you must first install the EFT Outlook Add-In. You can use the deployment script available on the Web > File send tab of the Site to deploy it to multiple computers at once in any deployment tool that you normally use, or you can install it with the EFT Outlook Add-In installer (request from Support, as it requires access to the EFT installation folder).
Before installing, refer to the system requirements.
When configuring Outlook to send files with Workspaces, ensure the following configuration is set:
-
The user account must have Allow Secure File Sending enabled on the user account's Connections tab.
-
Kerberos requires the administrator to set the SPN for the account EFT is using.
-
All user accounts need folder creation at their root folder enabled.
To install the EFT Outlook Add-In
-
Get the installers from Support:
-
EFTOutlookAddinInstaller.msi - This is the main installer.
-
EFTOutlookAddinSetup.exe - This executable contains files that are needed by the main installer.
-
-
Start the EFTOutlookAddinInstaller.msi installer and click Next on the Welcome page.
-
Click Next.
-
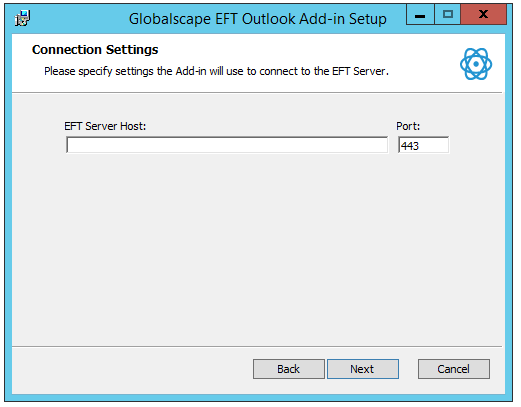
Specify the EFT Server Host (URL) and Port, then click Next.
-
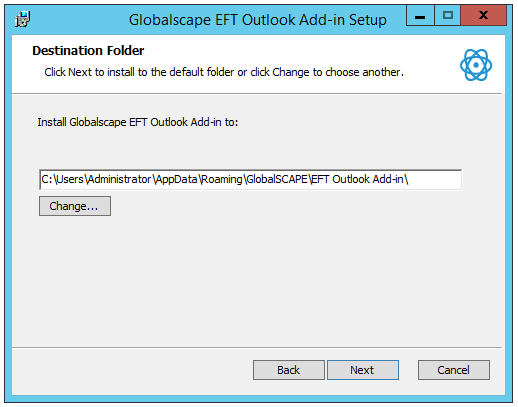
Specify the location in which to install the Add-In, then click Next.
-
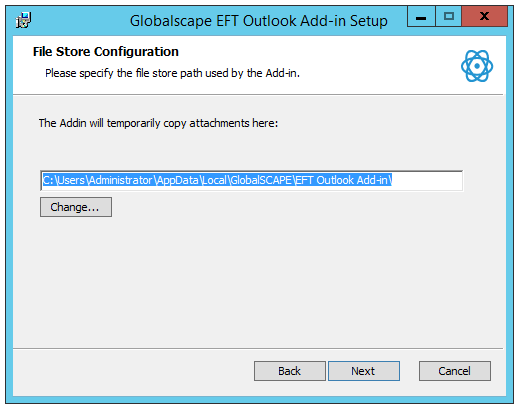
Specify the location to store temporary copies of attachments while they are processed, then click Next.
-
Click Install.
-
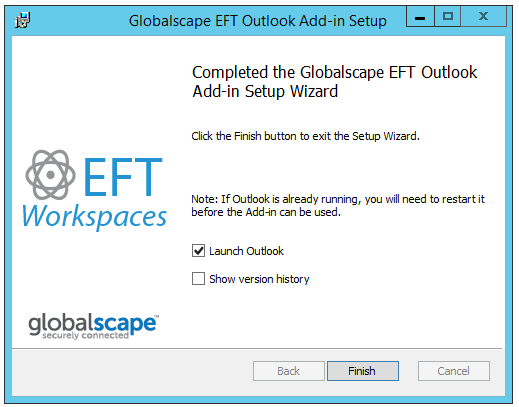
When installation is complete, click Finish. Outlook is launched.
-
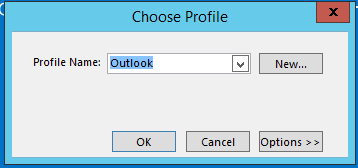
In Outlook 2013 and 2016, the Choose Profile dialog box appears.
-
Specify which profile you want to configure for use with the EFT Outlook Add-In, then click OK.
-
When Outlook opens, it will ask if you want to install the Add-In. Click Yes.
-
If there are issues with the EFT SSL certificate, you will be ask if you want to accept it. Click Yes. (Clicking No will disable the Add-In.)
The EFT Outlook Add-In options appear on the menu and in new emails.
Related Topic