Regions |
A region is a uniquely named section of a task that can be collapsed in order to hide its contents. It can be used to separate segments of a task, thus, making it less cluttered and more manageable. Regions have no effect on task execution. They are mainly used to modify visual aspects of a task during construction. When a task runs from Task Builder, regions expand automatically so the developer can view each step as it executes. Upon completion, regions are re-collapsed to their former state.
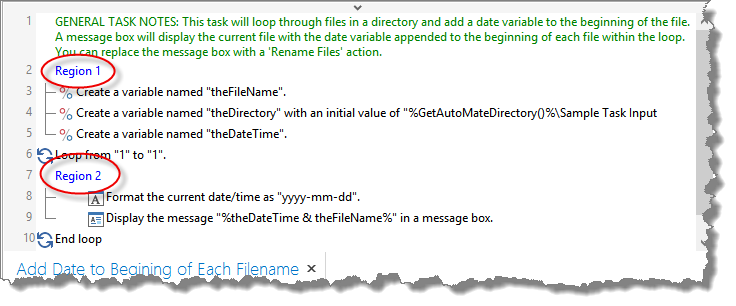
Regions can be created to categorize blocks of steps in a task based on common functionality or actions. When a region is collapsed, their contents are hidden from view and they appear as a single line in the task. A unique name can be entered for a region as a way to ascertain its contents when it is collapsed. If a particular step needs to be viewed or modified, simply expand the region that contains that step while the rest of the regions stay collapsed and hidden from view. supports nested regions (region within a region) to further expand their capabilities.
You can create an empty region and later add steps to it or create one pre-populated with selected steps. When creating a new region, its default name is always 'New Region.' It is important that you provide a unique name for newly created regions in order to avoid confusion. When you are finished constructing your task, you can opt to remove all existing regions with the Clear Regions command. All regions are ignored when the task is triggered or ran manually outside the Task Builder.
To create a region
Highlight the step(s) in the Steps panel you wish to place in a region. To select multiple steps, hold down CTRL during selection (selected steps must be sequential).
Click the Create Region button located in the ribbon's Step command group or right-click and select Region -> Create Region. A new region is added to the Steps panel populated with the step(s) you initially selected.
Left-click the newly created region to rename it.
To add a new action/activity to an existing region
Expand the region you wish to add an action to by double-clicking the region name or clicking the expand symbol to the left of the region name.
Drag the desired action/activity from the Available Actions pane onto a selected part of the region. A red line will appear signifying the section of the region in which the action will be placed.
To add existing steps to a region
Expand the region you wish to add steps to by double-clicking the region name or clicking the expand symbol to the left of the region name.
Select one or more existing steps from the Steps pane (selected steps must be sequential in order).
Drag the step(s) to the desired part of the region. A red line will appear signifying the section of the region in which the step(s) will be placed.
To create a nested region (region within a region)
Expand the region you wish to add a sub-region to.
Highlight the steps within that region that you would like to place in the sub-region.
Click the Create Region button from the Task Builder Ribbon's Step command group or right-click and select Create Region. A new sub-region is added inside the parent region.
Click the newly created sub-region to rename it.
To expand all regions simultaneously
Select Expand All Regions from the Ribbon's Step command group.
Or
Press SHIFT + E
To collapse all regions simultaneously
Select Collapse All Regions from the Ribbon's Step command group.
Or
Press SHIFT + C
To clear one or more regions
Select the region you wish to remove. To select multiple regions, hold down CTRL during selection.
Right-click and select Clear Regions.
To clear all existing regions, right-click and select Clear All Regions.