Installing Remote Agents
-
Requirements:Visual C++ and Redistributable for Visual Studio 2010 and 2015 (for installation).
-
Operating systems supported: Windows Server 2019, Windows Server 2016, Windows 10.
The following installers are provided:
-
EFTRemoteAgentBundle.exe is a bootstrapper package that contains the MSI, which verifies/installs the prerequisites and the application. You can run the EFTRemoteAgentBundle.exe and manually input the host, port, and template ID. The EXE file has an installer wizard in which you input the host, port, and Template ID. You can still use the EFTRemoteAgentBundle.exe if the prerequisites are installed.
-
EFTRemoteAgent.msi does not contain the prerequisites. You would use this one if the prerequisites are already installed. The MSI is mainly used for System Center Configuration Manager (SCCM), group policy deployment, if you want a silent installation.
To install the Remote Agent
-
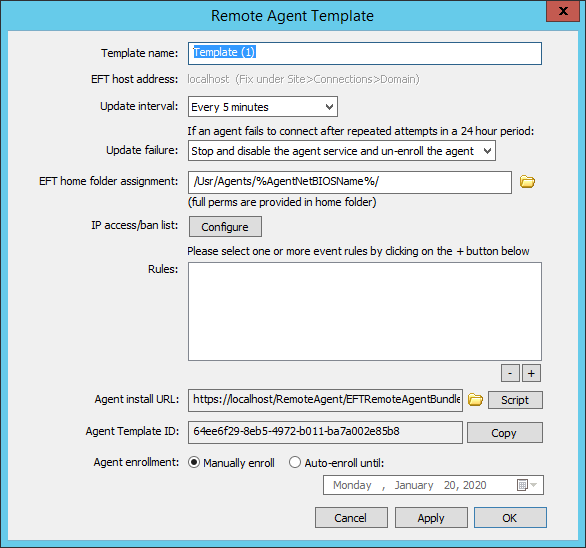
The EFT administrator should make the EXE available to download via WTC or a shared Workspace by creating a Remote Agent Template.
The URL for downloading the Remote Agent installer can be found in the Remote Agent Template in EFT. -
On the Remote computer, log in to the WTC and download EFTRemoteAgentBundle.exe.
-
The Remote Agent can be installed at command line using the default script in the folder in which you downloaded the EXE. Ensure that the EXE is in the same directory as you run the script.
-
After the Agent is installed, you will need to create at least one Agent rule.
EFTRemoteAgentBundle.exe /i acceptEula="yes" host="192.168.100.101" port=443 tid="075a9515-7861-4ecc-b56a-02d1e6c0cd25"
The script completes the host, port, and template ID (tid) fields (as shown in the script and in the Remote Agent Template in EFT).
For manual installations (below), the EFT administrator will have to provide the EFT host address, port, and Template ID so that you can enter the information manually.
USE THE PROCEDURE BELOW FOR MANUAL INSTALLATION IF YOU CAN'T USE THE SCRIPT DESCRIBED ABOVE
To install the Remote Agent Bundle
-
Before beginning installation, be sure you have the host address, port number, and template ID shown in the Remote Agent Template in EFT.
-
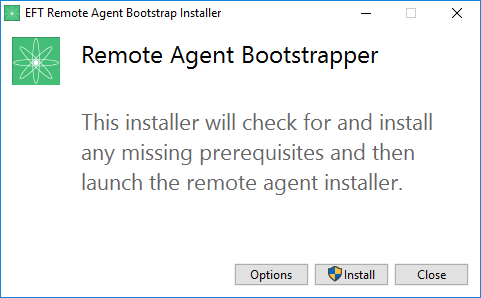
On the computer on which the Remote Agent is to be installed, execute the installer. The Remote Agent Bootstrapper installer wizard appears.
-
The bootstrapper checks for and installs prerequisites, if not already installed, then launches the Remote Agent installer wizard.
-
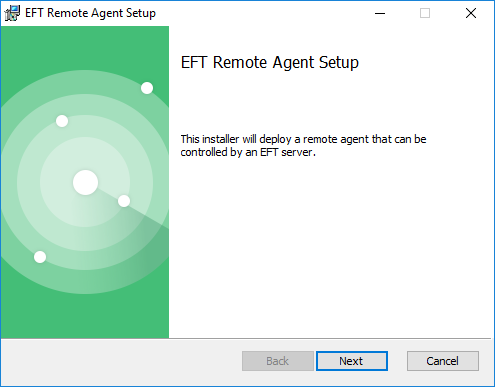
Click Install. The installer appears.
-
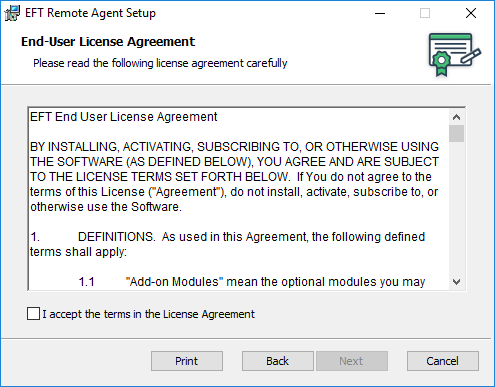
Click Next. The End-User License Agreement appears.
-
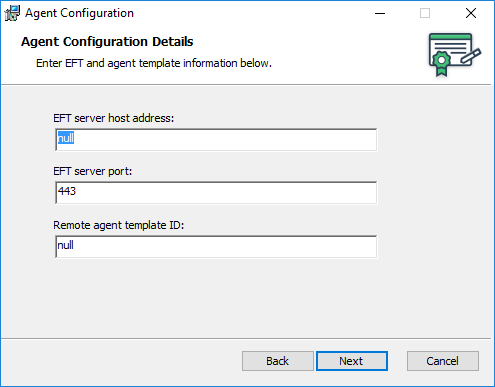
Select the check box, then click Next. The Configuration screen appears.
-
If you are running the installer manually (not from a script) you must provide the EFT server host address, EFT server port, and Remote agent template ID. The EFT administrator can provide you these from the Remote Agent Template as show in the script procedure above.
-
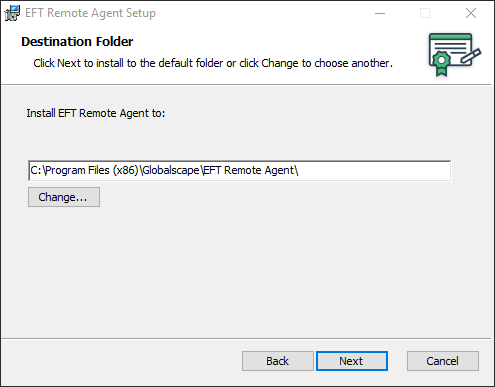
Click Next. The Destination Folder screen appears.
-
By default, the Remote Agent is installed in C:\Program Files (x86)\Globalscape\EFT Remote Agent. If you want to install in a different location, click Change.
-
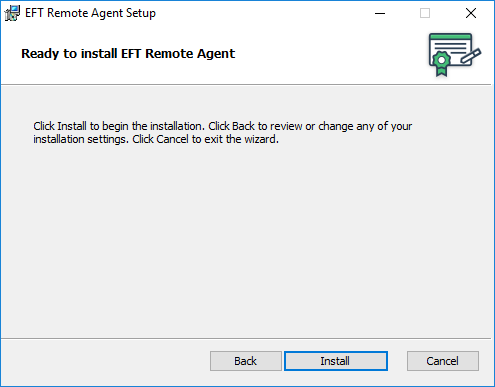
Click Next. The Ready to install screen appears.
-
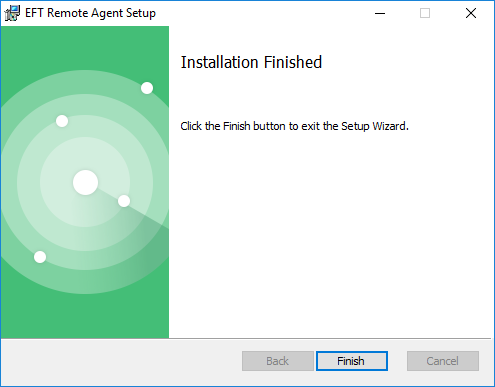
Click Install. The Finished screen appears.
-
Click Finish.
-
Click Close to exit the installer.
On the EFT computer, under the Remote Agents node, you will see the Remote Agent connect to EFT. If manual enrollment is specified, you will need to click the Remote Agent in the list, then click Approve. You may have to wait for the next update to see a change in status.
Next steps: