Sharing Folders (Creating a Workspace)
You can invite internal and external users to share your folders, if the EFT administrator enables and configures Workspaces to do so. To share folders, the administrator has to have enabled Workspaces in the EFT administration interface on the Web tab of the Site. Workspace participants who were invited to share a Workspace cannot add participants to that folder, however, they can create new folders.
When the Workspace owner invites someone to join the workspace, EFT sends them the invitation via email. The invitation recipient clicks the link embedded in the email and then signs in to EFT (if an account has previously been created), or creates an account on EFT.
-
Administrators can see and manage invited (guest) accounts in the administration interface on the VFS tab.
If the Workspace invitation has expired before the invitee attempts to register, a prompt appears that says the invitation cannot be found.
To share a folder
-
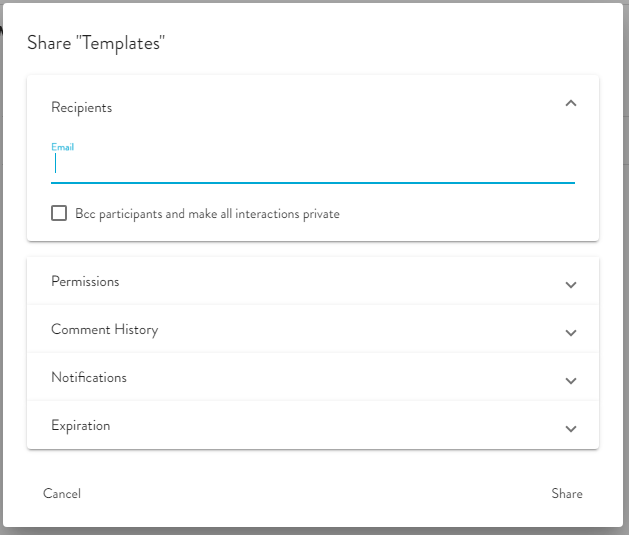
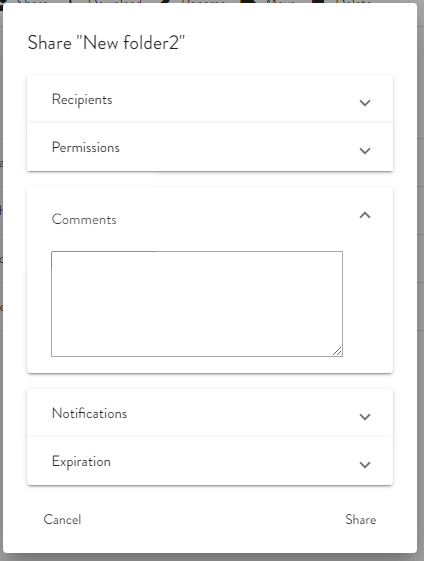
Select the check box of the folder that you want to share, then click the Share icon. The Share dialog box appears.
-
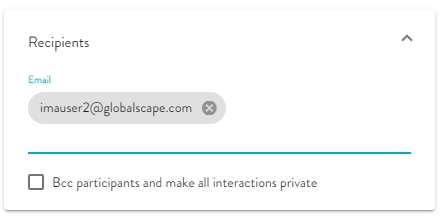
Provide email addresses of users with whom you want to share the folder. (You can later add or remove participants.) The email address appears in a gray box. (If it doesn't, press ENTER at the end of the email.)
-
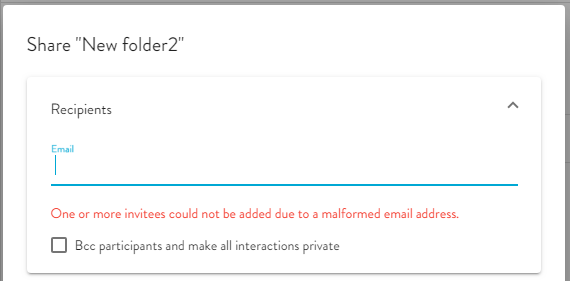
If the email is not properly formed (username@domain.com) an error message appears.
-
To create a private workspace, select the BCC check box. When a Workspace is private, the Alerts/Notification icon, the Workspace participants icon, and the comments icon are hidden from the recipient.
-
Assign permissions by clearing or selecting the check box next to that permission. By default, all permissions are selected (enabled). Clear the check boxes of the permissions that you do not want to assign to the users.
-
(Optional) In the Comments box, you can type comments. When you create a Workspace, the comment that you type in the Comments box appears in the invitation email.
-
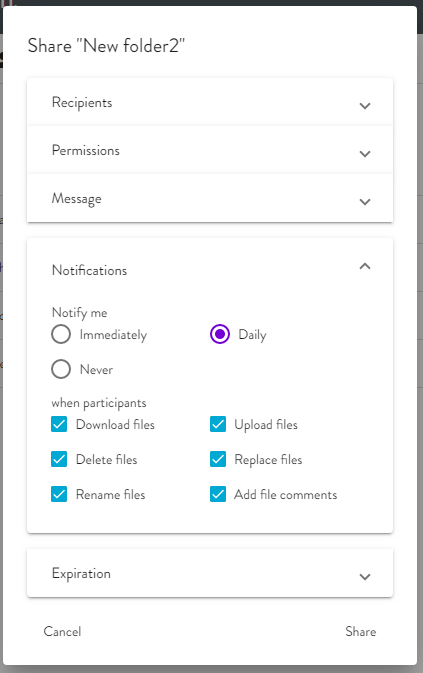
In the Notifications box, you can specify the type and frequency of email notifications about this Workspace.
-
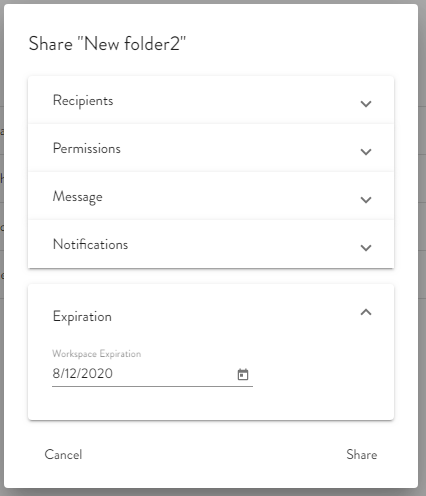
(Optional) To expire the Workspace, click Expiration, and then specify the expiration date. The limit is specified in the administration interface in the Workspaces - Share dialog box on the Site > Web tab. (Alternatively, there is a Stop Sharing icon in the WTC toolbar.) The default expiration date appears, when defined in the administration interface.
-
Click Share. The Activity pane updates to indicate you've shared a folder. The users with whom you have shared the folder will see the shared folder in their Shared with Me tree. The username of the account that is sharing the Workspace appears in parentheses after the name of the folder (for example, New Folder 2 (Imauser1)).
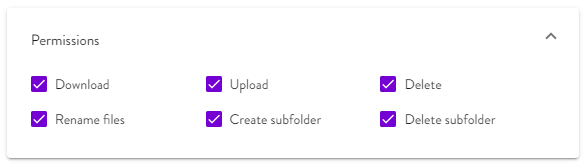
The administrator can specify which permissions check boxes are selected by default, if any. The sharing user can still select the check box to enable the permission. Refer to Edit-Remove Workspace Permission for details. Permissions that the administrator assigns to folders override any permissions that you assign. That is, if the folder that you are sharing does not have rename permission, you cannot assign that permission to the folder.

Related topics