Create a Gmail/ Google Cloud Service Account
The procedure below describes how to create a Gmail service account in the Google Client Platform. A service account represents a Google Cloud service identity, such as Compute Engine VMs, App Engine apps, or systems running outside of Google. After you have created the service account, you can use the JSON file and your Google service account credentials in the Server > SMTP tab as described in Email Server Settings.
To create a Gmail service account
-
Navigate to Google Cloud Platform (GCP) console: https://console.cloud.google.com/.
-
Login with your Google administrator account.
-
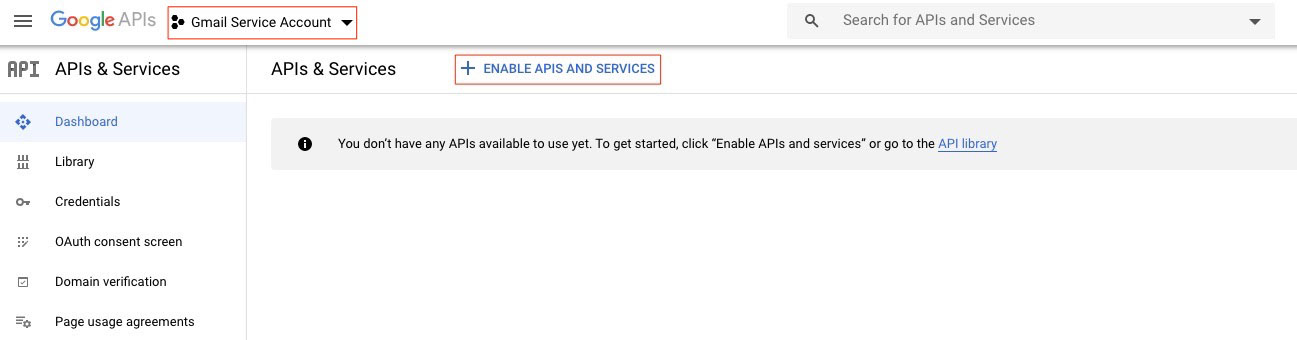
To create a new project, click APIS AND SERVICES.
-
Click + ENABLEAPISANDSERVICES.
-
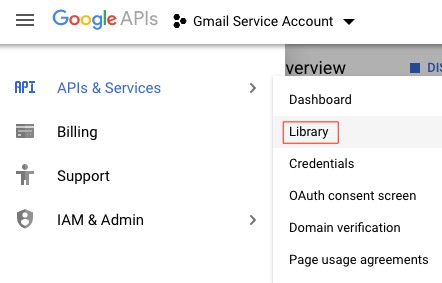
In the API library, search for the following API sets. Click each set and then click Enable.
-
Gmail API
-
Google Calendar API
-
Contacts API
-
People API
-
-
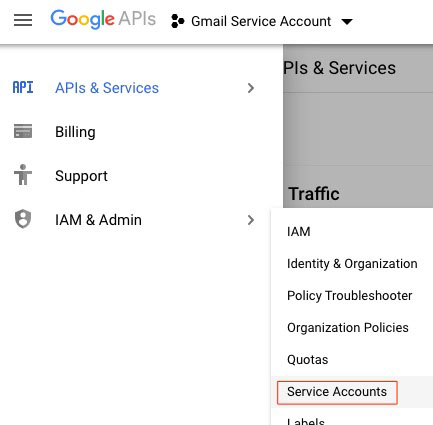
In the API & Services > Library, click IAM & Admin > Service Accounts.
-
At the top of the IAM & ADMIN page, next to Service accounts, click CREATE SERVICE ACCOUNT.
-
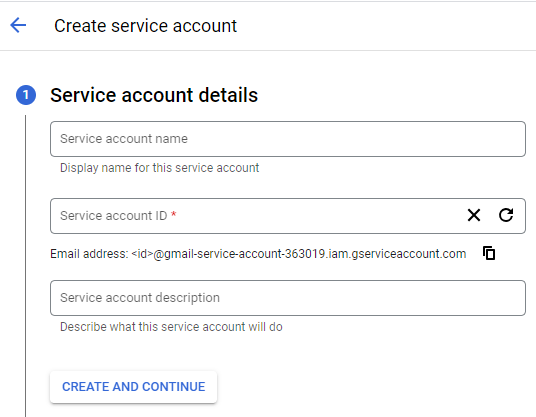
Fill in the details of the account and then click CREATE AND CONTINUE.
-
Click Done.
-
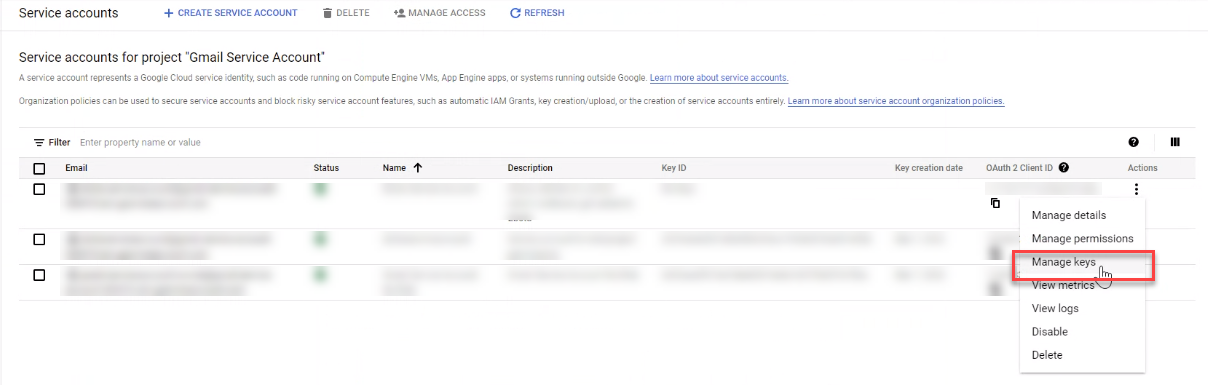
On the Service accounts page, under the Actions column, select the recently created service account then click Manage keys.
-
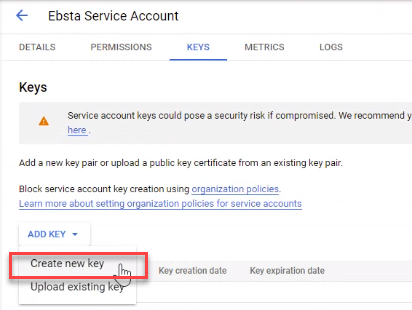
On the account page, click Create new key.
-
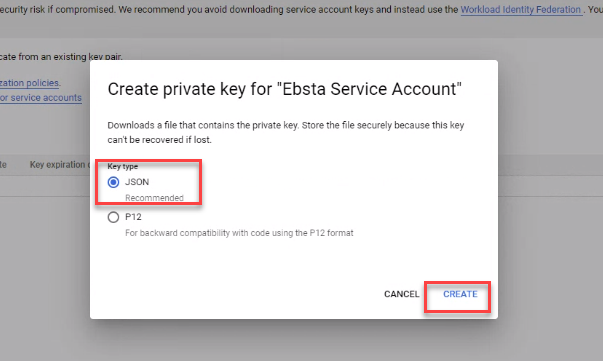
In the dialog box that appears, under key type click JSON then click CREATE.
-
The JSON file should be downloaded to your computer. You must store this securely as it provides access to your resources. Click Close.
The next steps will enable the service account with Gmail.
-
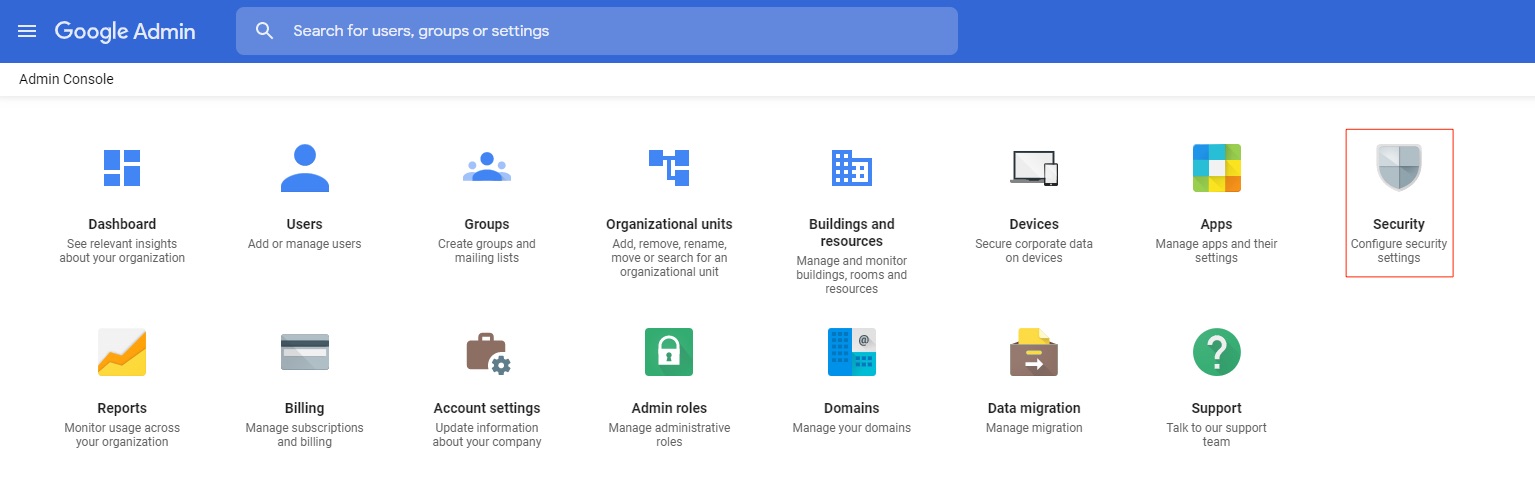
Login to the Gsuite Admin Console: https://admin.google.com, and then click the Security icon.
-
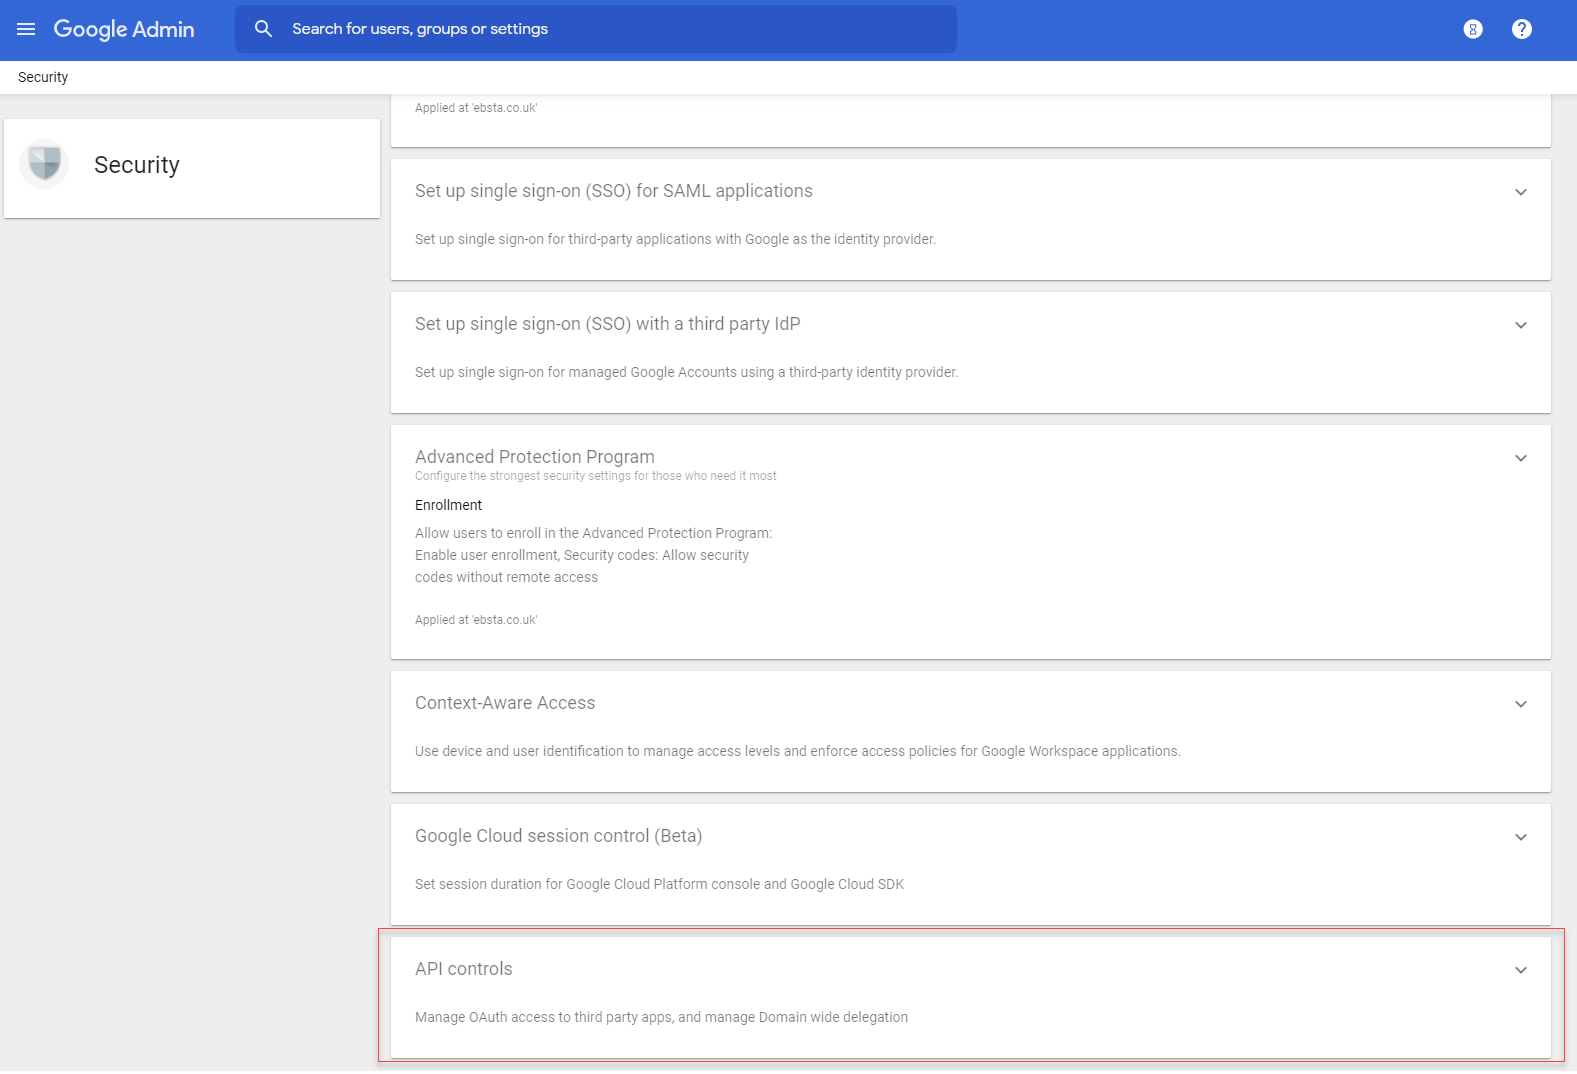
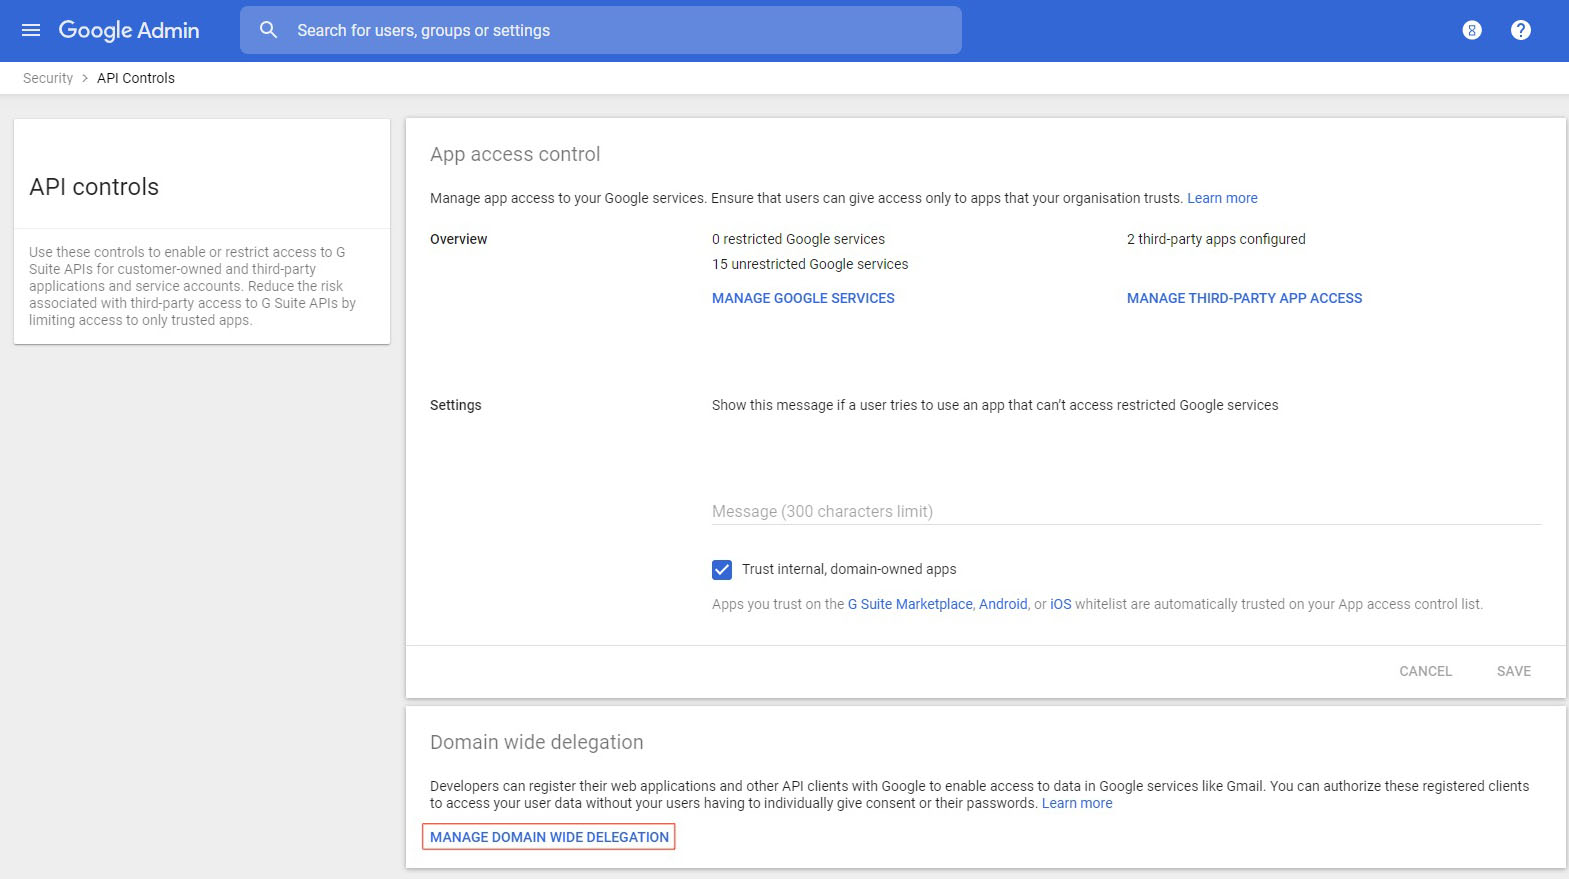
Under Access and data control, click API controls.
-
Click Manage Domain Wide Delegation.
-
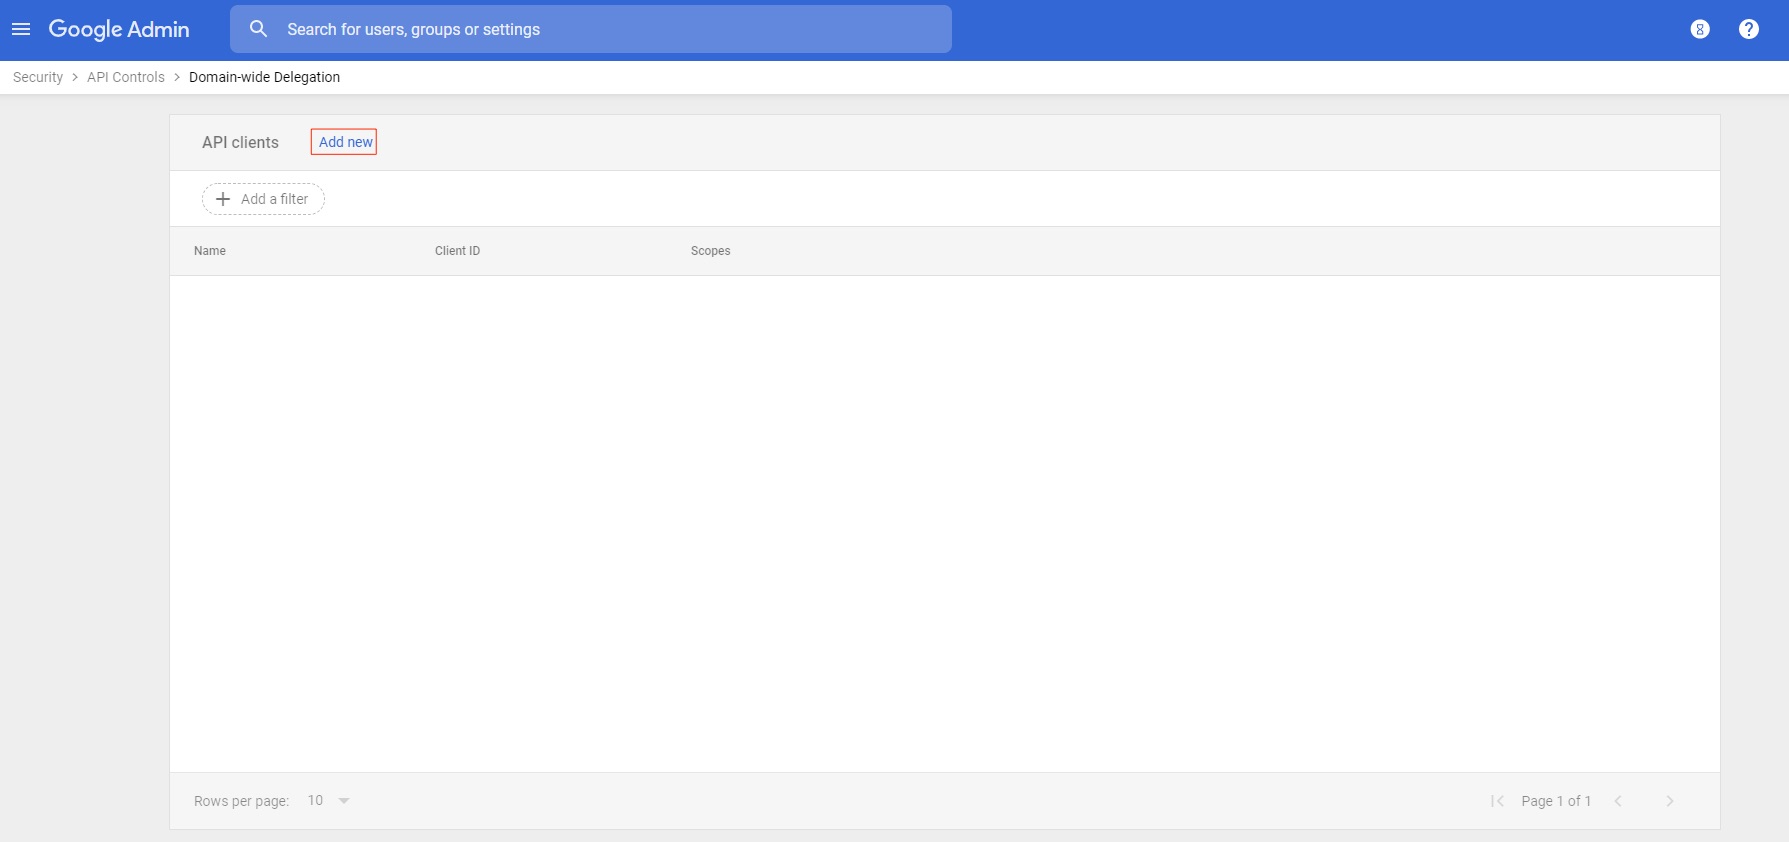
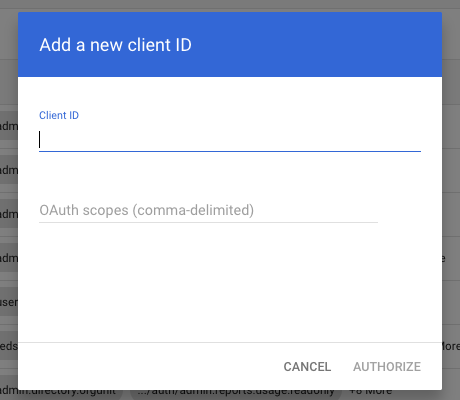
Click Add New.
-
Add the following scopes to the service account previously created:
-
https://www.googleapis.com/auth/gmail.readonly
-
https://www.googleapis.com/auth/calendar
-
https://www.googleapis.com/auth/gmail.send
-
https://mail.google.com/
-
-
Provide the Client ID, and then click Authorize.
-
Enter the Client ID from the previous configuration. (Later, you can use the procedure below to find your Client ID).
-
Click Save.
-
Wait 5 minutes for the account to propagate correctly.
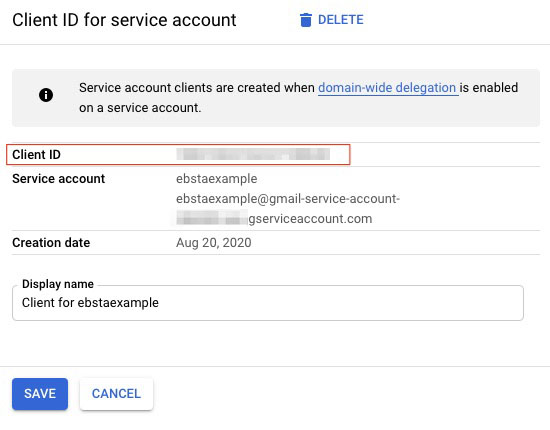
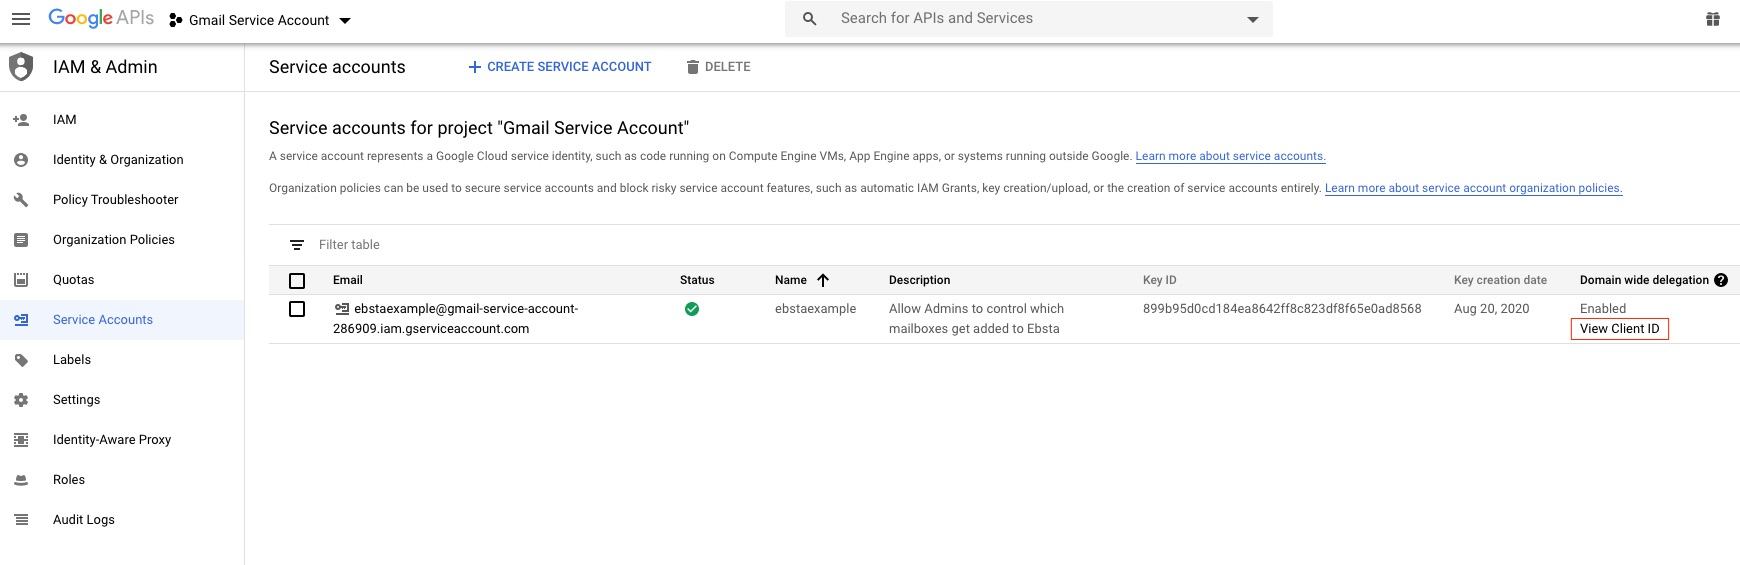
To find your Client ID
Client ID is the unique ID of the Service account client (not the Key ID). It can be found by clicking the ![]() menu in the GCP console and selecting IAM & Admin > Service accounts. Click View Client ID and then copy it onto your clipboard.
menu in the GCP console and selecting IAM & Admin > Service accounts. Click View Client ID and then copy it onto your clipboard.