Configuring Email Server Settings
The SMTP Server Settings on EFT's SMTP tab are completed automatically when you define them in the Server Setup Wizard during installation. You must configure the mail server settings for the EFT to send email notifications when Events occur, including the address for the outgoing mail server, an address for the administrator, and other details described below.
To configure EFT to send email notifications
-
Click the Server tab in the administration interface and select the Server that you want to configure.
-
In the right pane, click the SMTP tab.
-
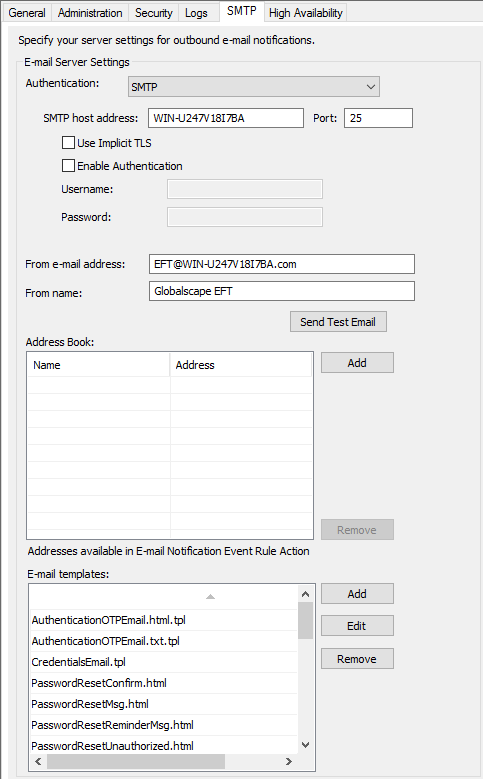
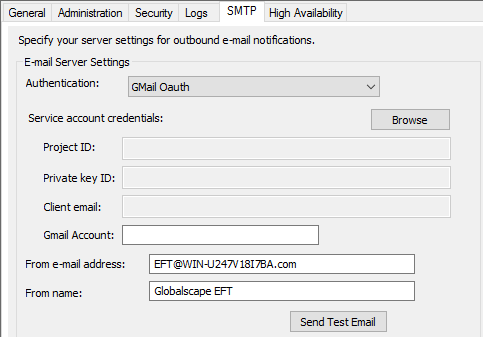
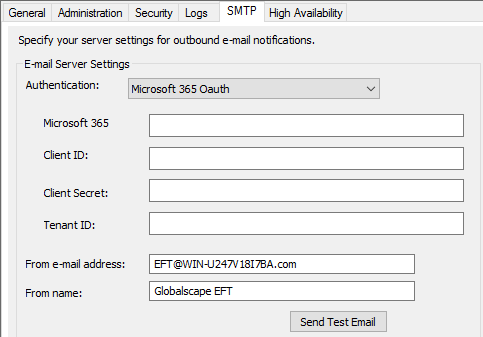
Under Email Server Settings, in the Authentication drop-down list, select the email server type to which you want to connect: SMTP, Gmail OAuth, or Microsoft 365 OAuth.
-
In the SMTP host address box, specify the address of the mail server EFT will use to send outgoing messages. (If you have any trailing spaces in the host address, the address will not resolve. Be sure if you are copying and pasting an address into the dialog box that you are not including any spaces.)
-
In the Port box, specify the port number at which the mail server accepts messages. The standard is 25.
-
Select the Use Implicit TLS check box, if required by your SMTP server.
-
Click the Enable Authentication check box if the SMTP server requires that EFT login to connect, then provide the Username and Password.
- In Service account credentials, click Browse and select the file that contains the Service account key json path file. The fields will be completed with the information from the JSON file.
- Complete the fields to connect to the Microsoft 365 mail server:
- Microsoft 365 - Email address used when you created the Client Secret.
- Client ID - The application (client) ID that's assigned to your app.
- Client Secret - Refer to Create Admin Account for OAuth -Office 365. If you did not record the secret when you created it, refer to Create a New Secret for OAuth.
- Tenent ID - The directory tenant the application plans to operate against, in GUID or domain-name format.
-
Provide the From email address and the From name that will appear in email notifications sent from EFT. An error message appears if the email address is not properly formatted.
-
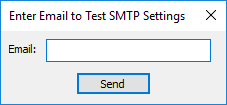
To verify your SMTP configuration, click Send Test Email. The Enter Email dialog box appears.
-
Enter an email address to send a test email to, then click Send. A confirmation message appears.
-
Click OK to dismiss the message. The Send Test Email button sends the email directly (synchronously). If you receive the test email, the SMTP configuration is correct.
-
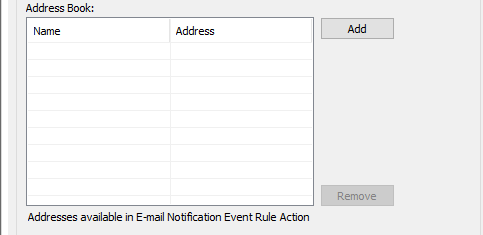
In the Address Book area, click Add to add names and email addresses of recipients of EFT Event notifications. Add only the addresses that you want to receive email notifications. The email addresses will be added automatically to the To box in the Send notification email Action in Event Rules.
-
To edit a name or address, click once to select the box, and then click again to activate the box.
-
The email addresses added to the Address Book are validated for format when you click OK. If the email address contains invalid characters or does not contain @, an error message appears. Click OK to dismiss the error message, then correct the address.
-
To remove an email address, select the address, then click Remove.
-
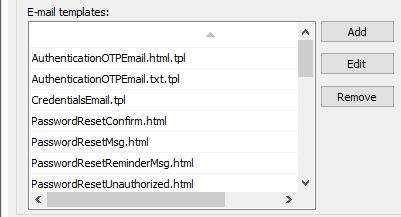
In the Email templates area, you can add, edit, and remove email templates used by EFT and Workspaces to send notifications regarding authentication, credentials, passwords, and PGP key expiration errors. (Refer to EFT Messages and Templates for details of the templates.)
-
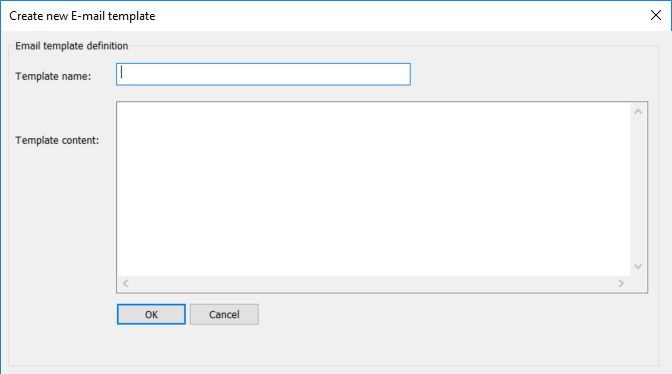
Click Add. The Create New Email Template dialog box appears.
-
Provide a Template name, then add the Template content. You can create an HTML version with HTML tags (<html> <body> <p> and so on) and variables, such as %USER.FULLNAME%, or a TXT version without the HTML tags, and using variables.
-
Click OK.
-
On the Server > SMTP tab, in the Email Templates area, click to select a template, then click Edit. The Edit Email Template dialog box appears.
-
The Template name cannot be edited.
-
In the Template content area, make your edits, then click OK.
-
On the Server > SMTP tab, in the Email Templates area, click Remove.
A message appears saying that the selected template will be removed. (There is no "undo.") -
Click Apply to save the settings on EFT.
For SMTP
For details of using Microsoft 365 OAuth, refer to Create a new Secret for OAuth and Create Admin Accoutn for OAuth - Microsoft 365.
To add a template
To edit a template
To remove a template