The procedure below describes the installation of Insight. Before starting
the installation, review the System
Requirements to ensure the system is ready for installation.
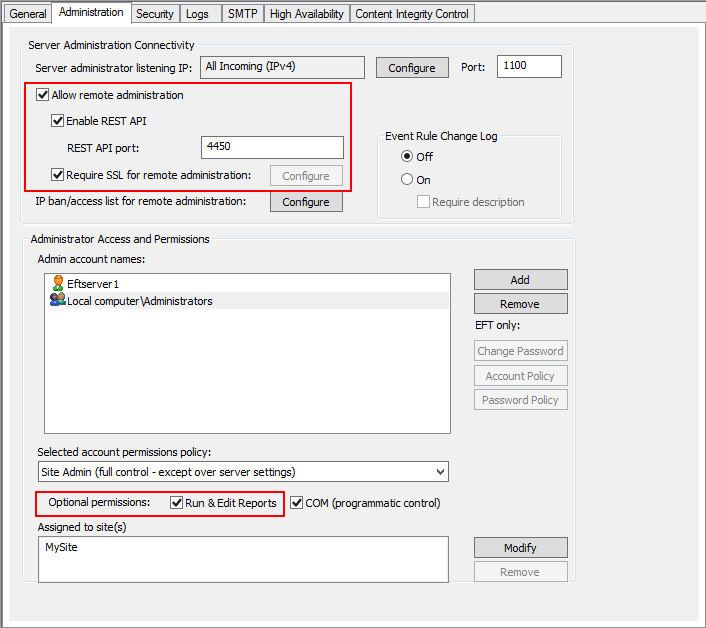
During installation, the following settings must be
enabled in the EFT administration interface Administration tab:
Double-click the Insight installer icon to start the installer
wizard. The Welcome to Insight Setup
page of the wizard appears.
Click Next. The License Agreement appears.
Review the terms and then click Next.
The Select service installation folder page appears.
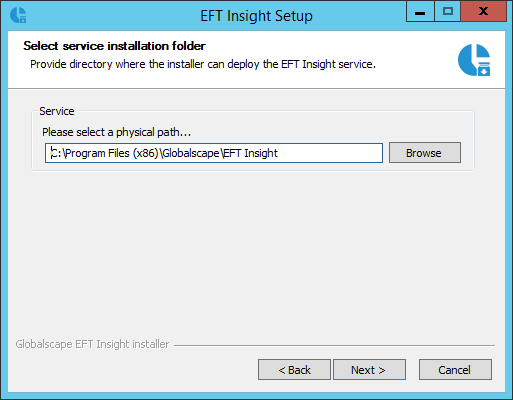
Click Browse
to specify a different location or keep the default location, then
click Next. The IIS
Configuration page appears.

Specify the location and connection information for the EFT
Insight web site:
Specify the Hostname
URL you will use to access the EFT Insight web service.
Port 443 is set
by default, or enter any port you would like to use for the site.
Specify the physical path
for the web site where the site’s files will be stored; leave
the default or browse to a location of your choosing.
Specify a certificate
to use for the site. The installer is set to
Create a self-signed certificate by default. Use of a self-signed
certificate will result in a warning from your browser, so a CA-signed
certificate is preferred. Browse to a certificate that you would
like to use, making sure your Insight hostname matches. You can
preview the certificate details by clicking View
or refresh the listing by clicking Refresh.
Additional help steps for creating a
DNS entry or changing out certificates are available by clicking the
question mark icons at the bottom of the window. A DNS entry is necessary
to reach the site’s URL from other devices.
Click Next when ready
to proceed. If you selected Create
a self-signed certificate, the Create
SSL Certificate page of the wizard appears (otherwise skip
to the next step).
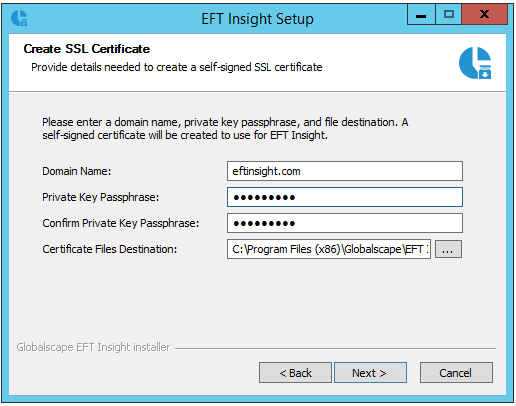
Provide the details to create a self-signed certificate:
A Domain Name matching
your selected hostname will be entered by default.
Provide a Private Key Passphrase
of your choosing. Record or remember this value for future reference.
Specify a Destination
for the certificate files or accept the default location.
Click Next. The EFT
connection settings screen appears.
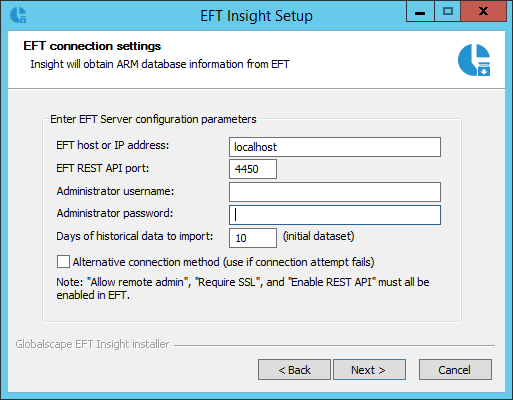
Provide the EFT host address,
REST API port, Administrator
username, and Administrator
password for an EFT "Server Admin" account with "Run
and Edit Reports" permission. If you are installing for an HA
cluster, any one of the servers will suffice for connection. (Refer
to the EFT help documentation
You can also
specify the number of Days of historical
data to import from the EFT ARM database. Please allow for
longer syncing time on initial setup when importing large amounts
of data.
Large ARM data sets can take considerable time if loading months
of data. The import currently loads 1000 records at a time. If an
EventRule table has over a million records, the import could take
hours. A work around is importing '0' days. This keeps past data from
being imported and only new information is analyzed. When importing
data from a large ARM database, to help improve import performance,
you may want to rebuild ALL indexes on the following tables: Authentication,
EventRule, Transfer, Action, and AweTasks.
(added in v1.0.7) Select the
Use alternative connection method
check box to connect to EFT, if Insight fails to connect to EFT. (Requires
.NET, which is an EFT Insight requirement.)
Click Next. If connection
is successful, the database type
page appears.
Now you need to set up the EFT Insight database. This is separate
from the EFT Auditing and Reporting (ARM) database. All reporting
displayed in EFT Insight is done against its own database. When
EFT Insight is installed, it synchronizes with an initial dataset
of the ARM data (based on the Days
of historical data to import setting above). After that,
the BI process (EFT Insight Service) continually extracts information
from the ARM database and inserts it into the EFT insight database. This
is the data appears in the EFT Insight dashboard.
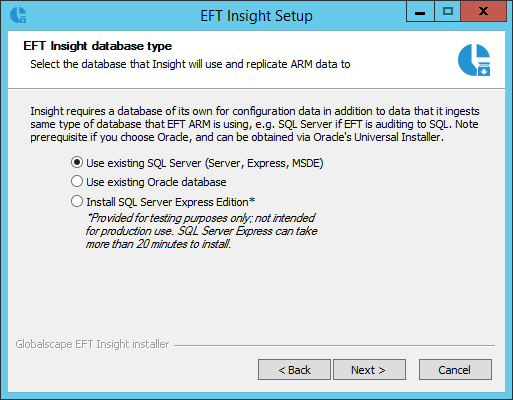
Select existing SQL Server,
existing
Oracle database (v1.0.7),
or Install SQL Server Express Edition.
Then click Next.
Configure the database:
If you are connection a SQL
Server database, provide connection
details for a SQL Server that
you have already installed:
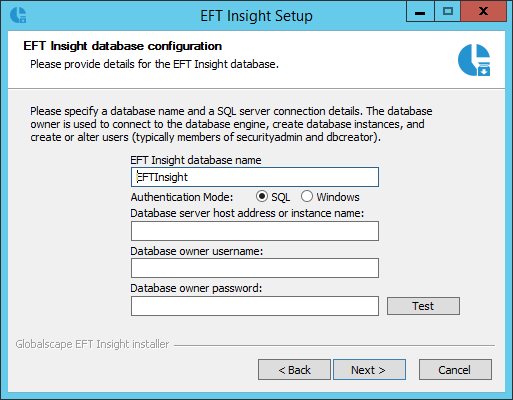
Insight database name—A
database name is entered by default, but you can change the name
if you'd like—unless you are using SQL Express; changing the name
is only available when you are using SQL Server.
The name cannot have any spaces.
Authentication mode—Specify
the SQL account to connect to or click Windows
to connect with the current logged-in Windows user. (See the warning below regarding Windows authentication.)
Database server host address
or instance name—Provide the host address or instance name
of the Insight database.
Database owner username
and password—If you are using SQL authentication, provide
the SQL database credentials. This account needs permission to
create and edit databases for setup to complete successfully.
(If you later need to remove Insight, but not the database, you
can reinstall Insight and connect to the Insight database with
the same credentials.)
(in v1.0.7) If you are connecting to an Oracle data
base:

|
Connecting to Oracle should be looked
at from these two perspectives:
The ARM database connection from EFT Insight is read-only;
the EFT Insight database is a read-write connection. |
Provide connection details for
an Oracle database that you already have installed:
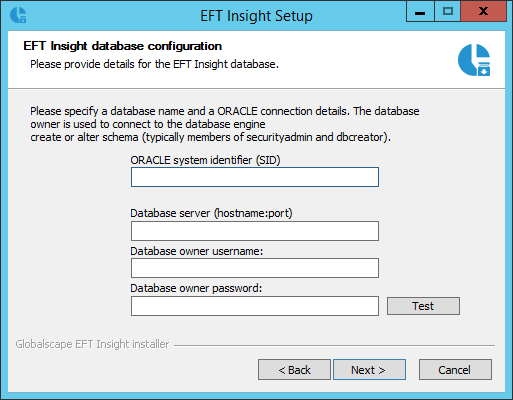
ORACLE
system identifier (SID) - this is where the Oracle System
Identifier information is placed. The name cannot have any
spaces.
Database
server - this is where the IP address or server name is
placed along with the TCP Port information in the format hostname:port
to allow the connection to Oracle. The default TCP port for Oracle
is 1521.
Database
owner name and password - This is the Oracle system administration
account. This account needs permission to create and edit databases
for setup to complete successfully. This user will create the
EFT Insight schema. (If you later need to remove Insight, but
not the database, you can reinstall Insight and connect to the
Insight database with the same credentials.)
Click Test to test your
connection to a valid database.
Click Next. The EFT Insight database schema page
appears in which you create a schema within the database for creating
and updating tables and for inserting and reading data to/from the
database.
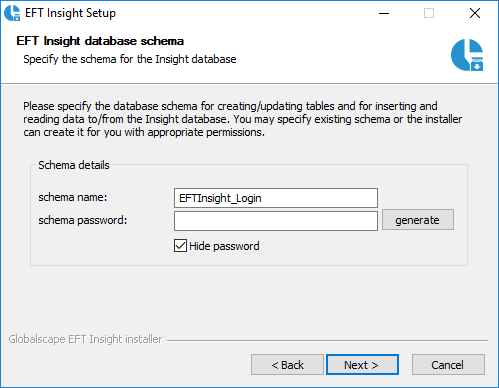
Under Schema
details, create a schema name
and schema password for creating
and updating tables and for inserting and reading data to/from the
Insight database. You can click generate
to create a password for you that meets the operating system password
policy (i.e., number/type of characters, etc.). If you already have
a database account that you want to use, you can enter that here,
provided it meets the password complexity requirements.
Click Next. When installation
continues, the Installing
page appears.
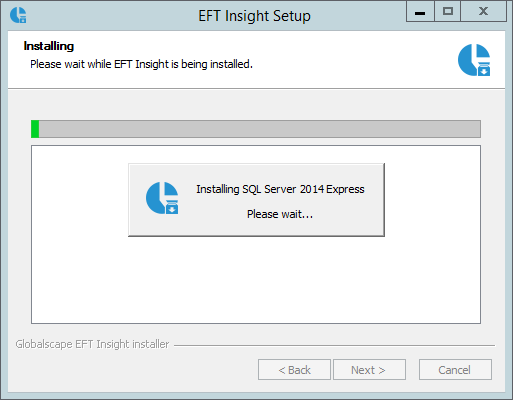
Once installation completes, click Next.
The Installation Complete
page appears.
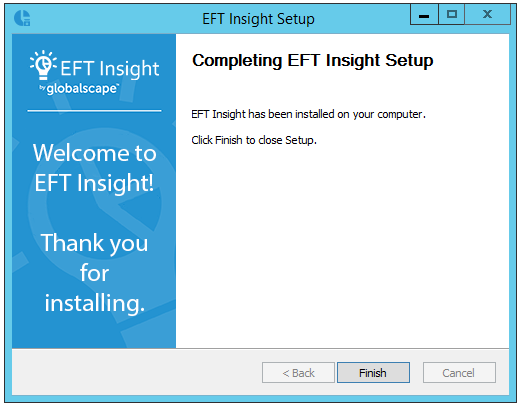
Click Finish to close
setup.
Launch EFT Insight in your browser at the address and port specified
during installation (e.g., https://eftinsight.com:4439/#/login).
After you click Finish,
EFT Insight will synchronize with the EFT Auditing and Reporting (ARM)
database. Insight will import the historical data from ARM, based
on the number of days you specified
during installation. Once ARM and Insight are synchronized, going
forward, data will import in real time.
Next: Refer to Logging
in to Insight