Set Probe Window
Use the Set Probe command, available from the Monitor menu, the device's context menu, or by clicking Choose from the Add Device(s) window, to view the Select Probe window. From this window you can select and configure the probe for selected devices.
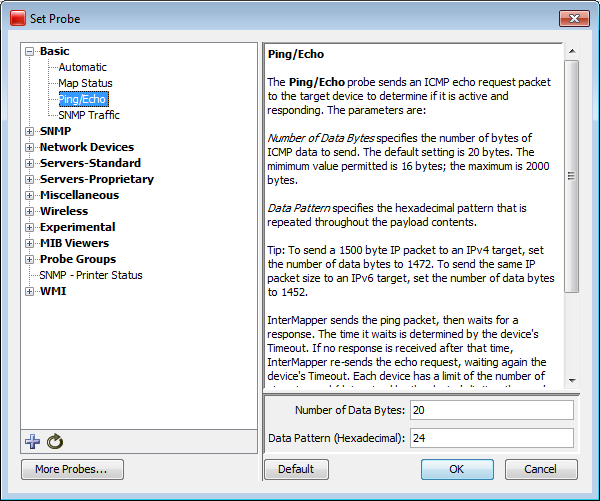
- The left pane contains a hierarchical list of probes, divided into sections and subsections.
- The right pane shows the description and configuration options for the selected
probe.
For a comprehensive list of probes with descriptions, see the Probe Reference.
To choose and configure a probe:
- Choose a section - In the left pane, click the plus sign (+) to expand the section and subsections to view the probes. Click minus sign (-) to collapse an expanded section or subsection.
- Choose a probe - In the left pane, click a probe within a section or subsection to select it. The description and options for the probe are displayed in the right pane.
- Set the probe's options - In the right pane, enter or select the options you want to use with the selected probe. These options vary, depending on the probe. Click Default to reset the probe options to the default settings.
- Click OK to select the probe.
Additional Set Probe Window Actions

|
Import a probe - Click this button and select from a standard file dialog to import a probe file. |

|
Reload probe list - Click this button to reload the list of probes found in the Intermapper Settings/Probes folder. |
| More Probes... | Click this button to launch your browser and view a list of probes contributed by Intermapper users. |