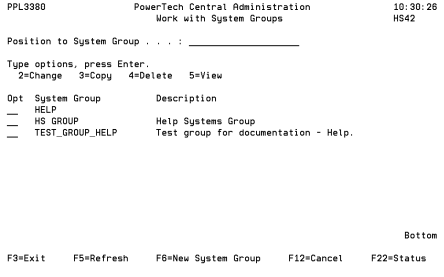
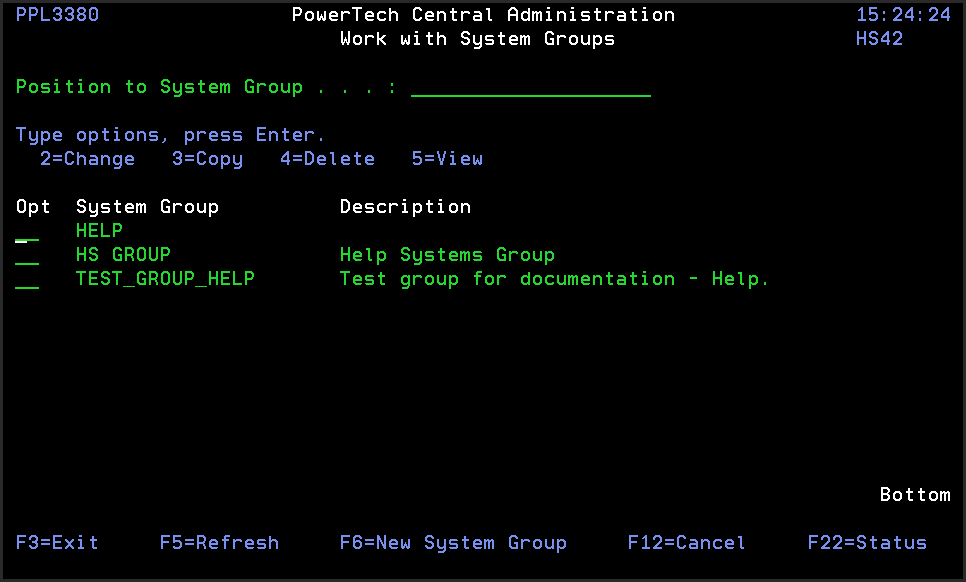
Work with System Groups panel
The Work with System Groups panel allows you to create, modify, delete and perform other operations upon a System Group. A System Group represents a group of Systems.

How to Get There
From the Auditing Menu, choose option 80, Work with System Groups.
Field Descriptions
Position to System Group: The list will be positioned such that names beginning with the characters you type here will be listed first.
Options
2=Change: Displays the Change System Group panel, which allows you to change the name and description of the group.
3=Copy: Displays the Copy System Group panel, which allows you to copy the selected system group. Enter a description and name for the new group. The group settings from the original group are copied to the new group, which you then can modify as needed.
4=Delete: Allows you to delete the selected group. A confirmation panel displays so you can confirm the deletion.
5=View: Displays the View System Group panel, which displays the name and description of the selected group. You cannot make any changes on this panel.
Column Descriptions
System Group: The name you assign to a System Group.
Description: A short description of the System Group.
Command Keys
F3=Exit:Exit the program.
F5=Refresh:Refreshes the panel with the most current data.
F6=New System: Creates a new role.
F12=Cancel: Discards changes and returns to the prior panel.
F22=Status: Displays the Operational Resources popup window containing the status of several operation aspects of Powertech products.
