Installing or Updating Powertech Antivirus for HelpSystems One
The following steps describe how to install or update the PTAV Server (used in conjunction with HelpSystems One) to manage Powertech Antivirus on your network. For instructions on installing or updating Powertech Antivirus on Endpoints, see the Installing or Updating Powertech Antivirus on Endpoints section in this document.
The PTAV Server requires a running HelpSystems One installation. See the HelpSystems One Installation Guide for details on installing HelpSystems One prior to installing the PTAV Server.
HelpSystems One and the PTAV Server must be installed on separate systems.
- Verify the required packages exist. To do so, run:
- rpm -qa | grep perl-LWP-Protocol-https
- If the package does not exist, install it with: sudo yum install perl-LWP-Protocol-https
- Verify the "urw-fonts" package has been installed. To do so:
- Login as root
- Run yum install urw-fonts
- Verify that perl-Crypt-SSLeay has been installed. To do so, run the command:
sudo yum install perl-Crypt-SSLeay
Download and Extract the Installer
- Download the appropriate Powertech Antivirus for HelpSystems One installer file for your system from the Fortra Support Portal.
- ptavserver_rhel7_6.30.tgz
- ptavserver_rhel8_6.30.tgz
- Move the installation file to the Linux system you would like to use to manage Powertech Antivirus. You can save the installation file to the /tmp directory.
-
Extract the file using the following command:
tar -xvf ptavserver_xxxxx_n.nn.tgz(where xxxxx represents the Red Hat Enterprise version and n.nn represents the Powertech Antivirus Server version number).
New Installations Only: Register the PTAV Server
Complete this step only for new installations. If you are updating an existing installation of PTAV Server, skip to section 'Run the installer'.
- Open HelpSystems One.
- From the main menu, click Product Registration.
-
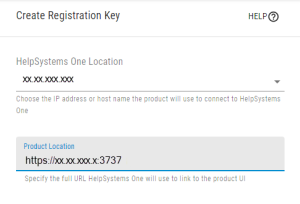
Click Create Registration Key. The Create Registration Key pane appears on the right.
-
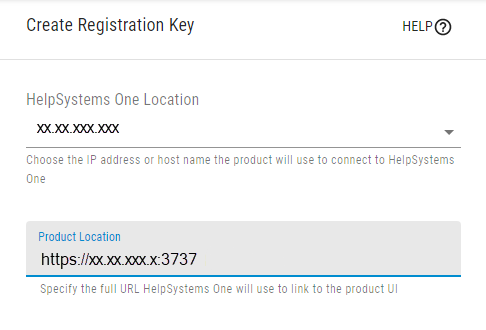
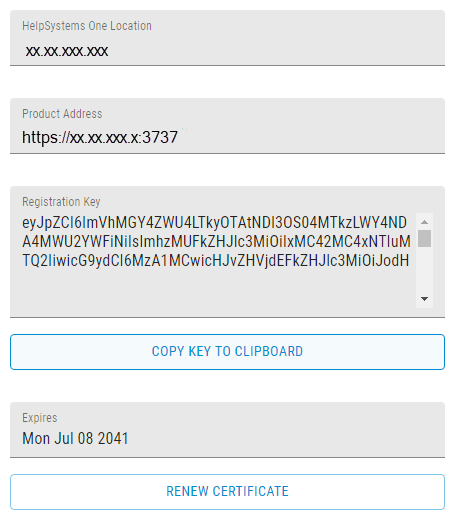
For HelpSystems One Location, click the drop-down menu and select the fully qualified Domain Name or IP address of the HelpSystems One system.
-
For Product Location, enter the full URL of the Powertech Antivirus system, "https://xxx.xxx.xxx.xxx:3737" where xxx.xxx.xxx.xxx is the IP address of the Linux server being used for this installation.
-
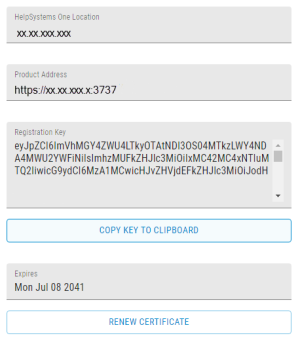
Click Generate Key. HelpSystems One generates the key.
-
Click Copy Key to Clipboard.
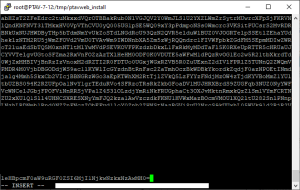
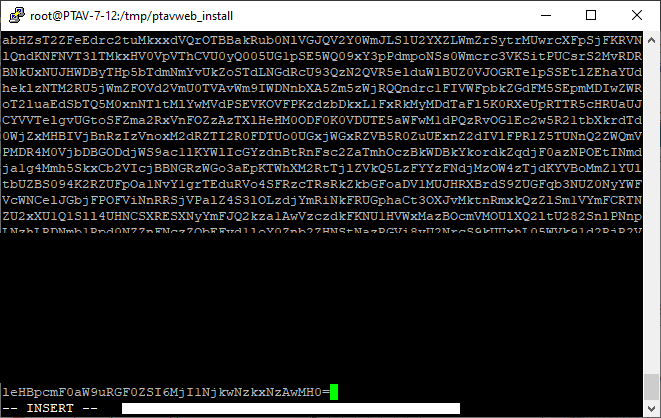
- Return to the Linux command line, navigate to the ptavweb_install directory, and create the registration file. To do so:
- Enter the following:
- Press i to move to INSERT mode.
- Press SHIFT+INSERT to paste the key.
Press ESCAPE.
Type :x and press ENTER.
The key has been added to the registrationKey.txt file. You are now ready to run the installation procedure.
NOTE: You can submit cat registrationKey.txt to verify the file has been created and the registration key is correct.
cd ptavweb_install/
vi registrationKey.txt
Run the Installer
Perform these actions for both new installations and updating an existing installation.
-
If you are updating an existing installation run the cd ptavweb_install command before continuing.
-
Type the following command to begin the installation:
./serverInstall -v
where:
-v is for verbose (optional)For automated install you can run this command:
./serverInstall --unattended [-v] --skipbackuperrors <backup_value> --hostname <hostname_value>
where:
--unattended flag is for indicating unattended mode (required)-v is for verbose (optional)--skipbackuperrors is for skipping backup errors (required)--hostname is for host name (required)WARNING: If, at this point, the following error is reported:BEGIN failed--compilation aborted at include/determineInstall.p1 line 14
Run the following command:
yum install perl-IO-Compress-Base
When prompted to install the package, press Enter to accept the default of 'y.'
When complete, submit ./serverInstall again.WARNING: If, at this point, the following error is reported:Can't locate JSON.pm in @INC
Run the following command:
sudo yum install perl-JSON
When complete, submit ./serverInstall again.
-
When prompted to 'Please review the following license agreement carefully', press Enter to display the license agreement.
TIP: Press 'h' to see how to move forward through the text. -
When prompted to 'Do you accept the terms in the License Agreement (Y/N)?' press Y to begin the installation process (or N to terminate it).
-
If prompted to select the Fully Qualified Domain name, enter 1 to choose the default, or 2 to customize.
IMPORTANT: Only the server host name can be entered, and you must ensure that the exact server name as specified in the configuration is resolvable against the endpoints. The value entered here MUST be used in any future scripts or command that reference the PTAV Server. See Important Considerations.
To check the configuration:
Open client.toml (in /opt/sgav/integration/config on Linux/Unix, or /StandGuard/webclient/integration/config on PASE) and ensure the server fully qualified domain name that has been written to the brokers key in the [hsconnect.config] section is resolvable at the endpoints. DO NOT EDIT THIS FILE as the name is also used as an alias to locate the local certificate.
It is also critical that avinsite be (re)started after any registration and allow procedure.
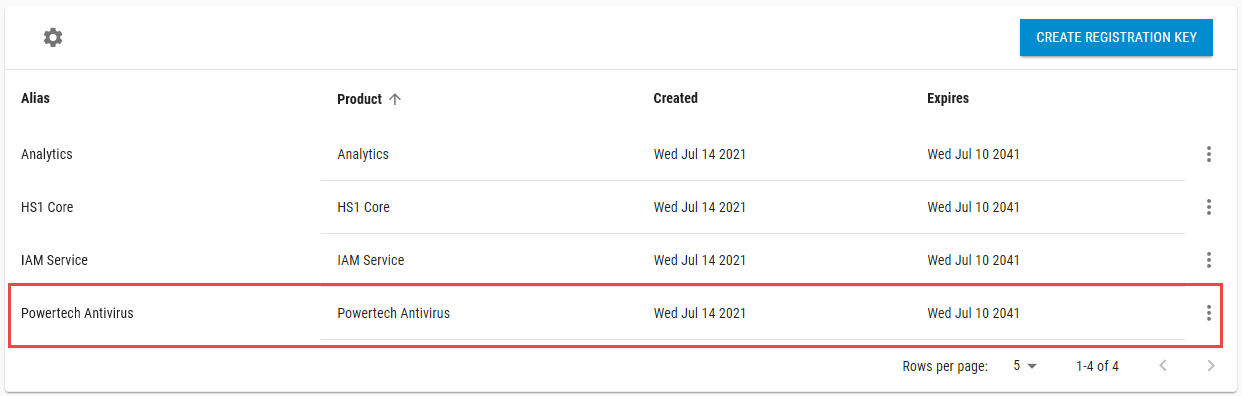
NOTE: There may be a delay populating the Alias and Product fields while Powertech Antivirus connects to HelpSystems One.
-
Click
 in the banner at the top left of the screen to return to HelpSystems One Home.
 -
Under Available Products, click Powertech Antivirus to access the product.

NOTE: If you are using a self-signed certificate (default), you will see a warning message. You can click Proceed to advance, and will need to accept the risk in your browser to open Powertech Antivirus.