Creating Tasks Without Add Managed Task Wizard |
Overview
The Add Managed Task Wizard helps guide you through the steps of creating a task. However, once you have become more familiar with Automate and better experienced with the task creation process, you may wish to opt out of using the Add Managed Task Wizard, and instead, utilize the manual approach.
To Disable the Add Managed Task Wizard
Do one of the following:
-
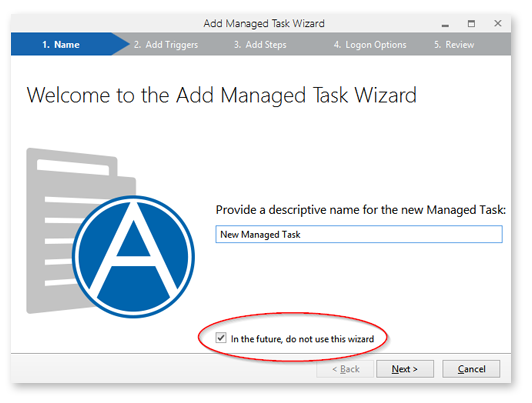
From Task Administrator, navigate to the Tasks section, and then click the New button located on the top panel, or right-click anywhere inside the main panel, and then select New > Managed Task from the context menu. This should display the Welcome screen of the Add Managed Task Wizard.
-
Add a check to the option In the future, do not use this wizard (circled below), and then click Cancel to save changes and close the Wizard.
OR
-
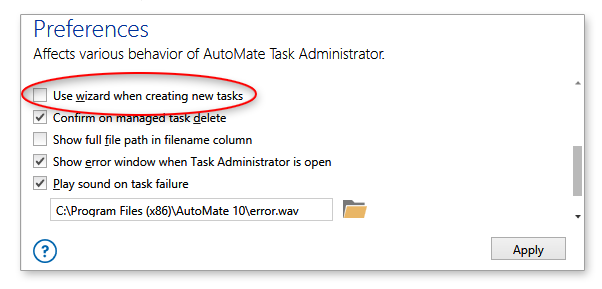
From the Task Administrator, navigate to Options -> Preferences.
-
Disable Use wizard when creating new tasks (enabled by default, shown below), and then click Apply to save changes.
To Create a Task Without the Add Managed Task Wizard
-
Select Tasks from the Navigation bar.
-
Select which Automate client you wish to create a new task on. Automate supports creation of tasks that reside on a remote client (or Runtime), however, there are limitations. For more details, see Managing Remote Tasks.
-
Select the folder you wish to create the new task in. To create a new folder, see Organizing Tasks & Folders.
-
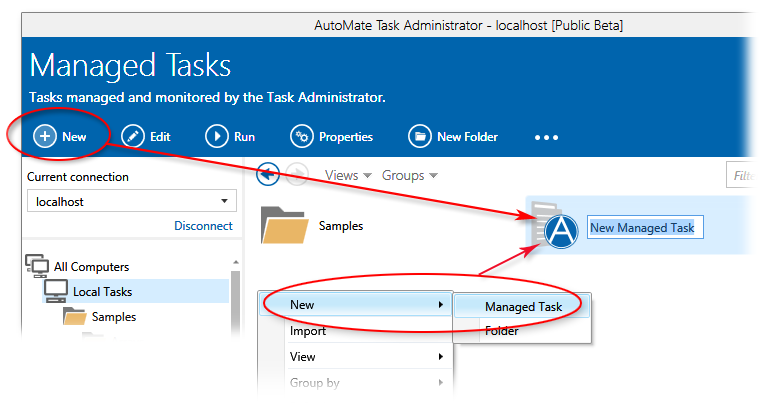
Click the New button from the Top panel or right-click an empty section in the Main panel, and then select New > Managed Task from the context menu. A new task icon appears in the Main panel (as shown below).
-
Type a unique name for the task.
-
To assign one or more triggers, right-click the new task, and then select Edit Triggers.
-
To edit specific properties, right-click the new task, and then select Go to > [Property Name] where Property Name is the name of the property you wish to edit.
-
To add steps, right-click the new task, and then select Edit Steps. The Task Builder appears where you can add the steps of the task.
-
Upon completion, click Update and Close.
-
Click OK to close the Task Properties dialog box.