One-Step Network RPT
The Network RPT includes the following One-Step tests that can be run in a single step, providing detailed reports of the test's findings.
- One-Step Network Risk Assessment
- One-Step Remediation Validator
- One-Step Vulnerability Scanner Validator
One-Step Network Risk Assessment
Core Impact's One-Step Network Risk Assessment allows you to target one or more computers to evaluate their vulnerability to known exploits. When the test runs, Core Impact will access the computers and report back any vulnerabilities that are exploitable. Advanced options for One Step RPT actions are available in the One-step RPT Options, accessible via the Tools dropdown menu.
Before running the One-Step Network Vulnerabilities test, you will need to know the IP address(es) or address range of the computer(s) you want to test.
Starting the One-Step Network Risk Assessment
The below steps illustrate how to run a One-Step Network Risk Assessment manually. You can also execute this test using the Scheduler - see Using the Scheduler for more details.
To manually run a One-Step Network Risk Assessment:
- Make sure the One-Step RPT is active.
- Click Network Risk Assessment under the One-Step heading.
- The Network Risk Assessment Wizard appears. Click the Next button to proceed with the Wizard.
-
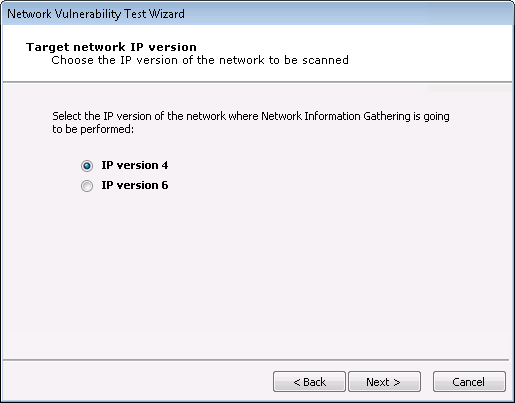
In the Target network IP version step, select whether your targets use IP version 4 or IP version 6. Then click Next.
-
If you select IP version 4: you will then need to enter the IP address(es) that you want to test In the Network Range field. Use a comma to separate IP addresses and an asterisk (*) as a wildcard - sample shown below.
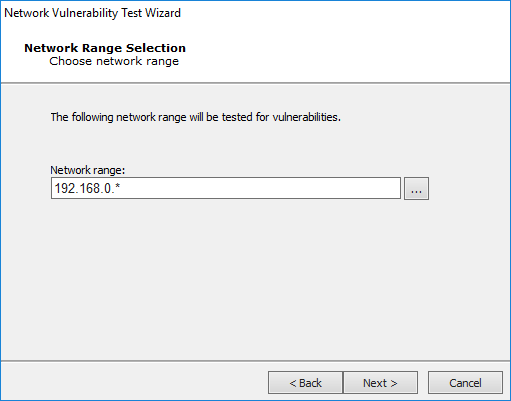
Press Next to continue.
-
If you select IP version 6: you will then need to select how Core Impact should perform network discovery. It can either do a Passive network discovery, or you can manually provide IPv6 addresses.
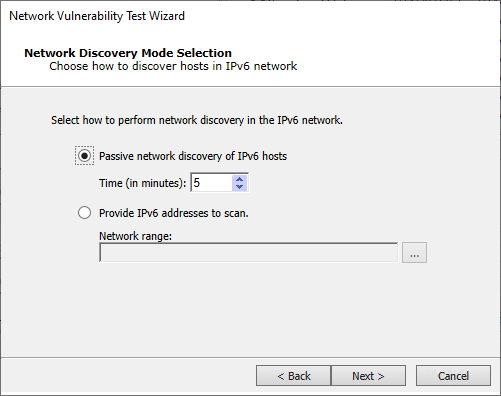
Press Next to continue.
-
-
Define the running time for this module. Choose to Allow the module to run until it completes all activities or define a time frame (in hours) when the module execution should time out.
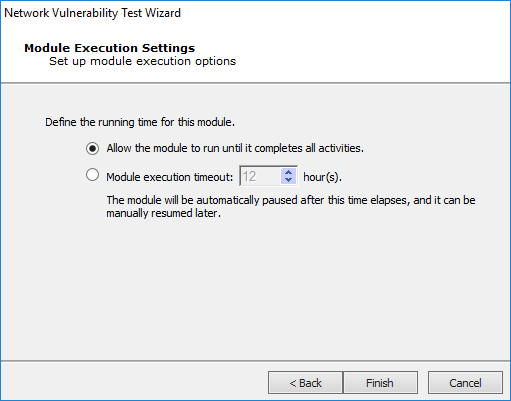
- Click the Finish button to begin the test.
To check on the status of your test, click the Module Output tab.
One-Step Remediation Validator
Core Impact's Remediation Validator test allows you to target one or more hosts in order to evaluate the success of remediation actions. If you identify vulnerabilities in a host, and those vulnerabilities are addressed, you can run the Remediation Validator to make sure that the remediation was successful.
Before running the One-Step Remediation Validator test, you will need to know the IP address(es) or address range of the computer(s) you want to test.
Starting the Remediation Validator
The below steps illustrate how to run a One-Step Remediation Validator manually. You can also execute this test using the Scheduler - see Using the Scheduler for more details.
To manually run a One-Step Remediation Validator test:
- Make sure the One-Step RPT is active.
- Click Remediation Validator under the One-Step heading.
- The Remediation Validator Wizard appears. Click the Next button to proceed with the Wizard.
-
In the Target Selection step, click on the ellipsis (
 ) button to the right of the Targets field and select the target(s) against which you want to run the Remediation Validator.
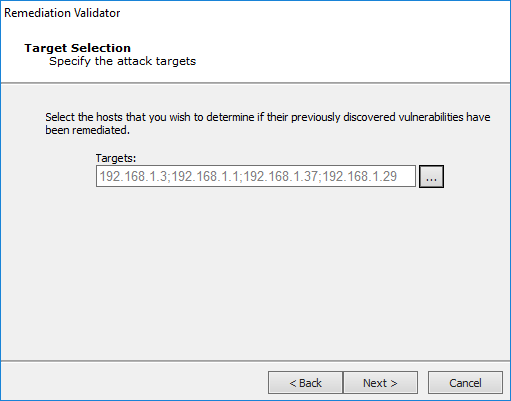
Press Next to continue.
-
In the Remediation Validation Options step, check the Consider vulnerabilities as solved if original attack path cannot be reproduced option if you want the test to mark vulnerabilities as "solved" (and not "indeterminate") if the original attack path cannot be used.
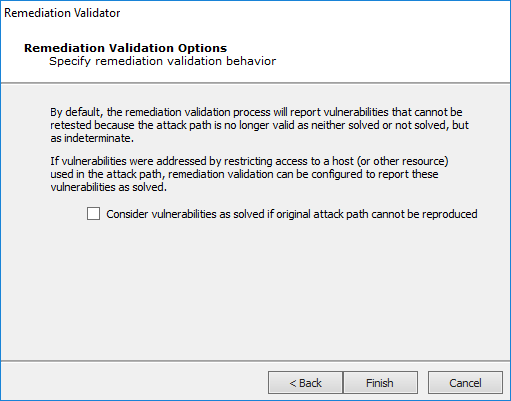
-
Click the Finish button to begin the test.
To check on the status of your test, click the Module Output tab. You can view the resulting report by using the RPT Reports function at any time
One-Step Vulnerability Scanner Validator
If you use a third-party tool to run vulnerability scans against your information systems, you can feed the output from that tool into Core Impact's Vulnerability Scanner Validator. Core Impact will evaluate the scan's output and provide you with a prioritized validation of your system's weaknesses.
Before running a Vulnerability Scanner Validator, you will need to have the output file from a supported third-party vulnerability scanner. A list of supported scanners is shown as you begin the test.
Starting a Vulnerability Scanner Validator
The below steps illustrate how to run a One-Step Vulnerability Scanner Validator test manually. You can also execute this test using the Scheduler - see Using the Scheduler for more details.
To manually run a One-Step Vulnerability Scanner Validator test:
- Make sure the One-Step RPT is active. The available one-step tests will appear.
- Click Vulnerability Scanner Validator under the One Step heading.
- The Vulnerability Scanner Validator Wizard appears. Click the Next button to proceed with the Wizard.
-
Select the third-party scanner from which you have an output file: Frontline, beSECURE or Other.
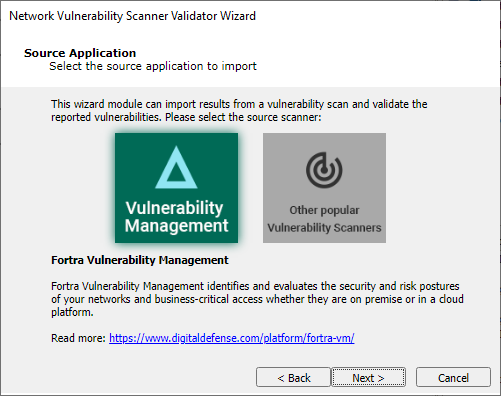
Select one of the two options shown and press Next to continue.
-
Vulnerability Management will prompt for an API Token
Visit https://digitaldefense.com/platform/frontline-vm/ for more information related to FrontlineVM.
-
Other will present the following panel:
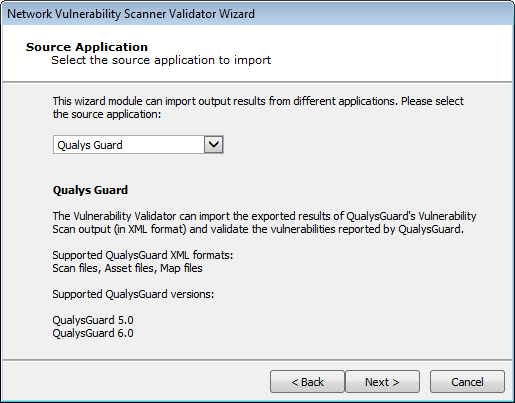
Select an item from the drop-down list, and click Next to continue.
-
-
Enter the details of the scanner's output. The output format you are importing is dependent on the Vulnerability Scanner you selected in the previous step. Some scanners export their results to a file while others require you to access their data directly from the scanner's database.
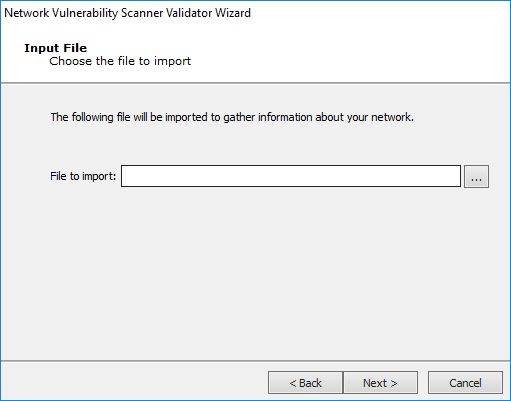
Press Next to continue.
-
Define the running time for this module. Choose to Allow the module to run until it completes all activities or define a time frame (in hours) when the module execution should time out.
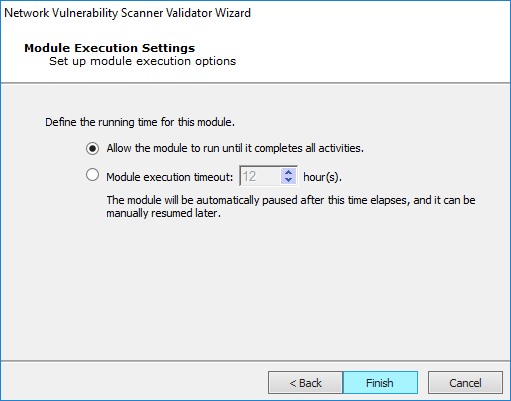
- Click the Finish button to begin the test.
To check on the status of your test, click the Module Output tab.