Scheduled Tasks
Core Impact allows you to run certain tests on an automated schedule, giving you a lights-out approach to your penetration tests. When you schedule a test, the test creates and runs in its own Workspace.
With the Scheduler you can run the following tests:
- Vulnerability Scanner Validator
- Network Risk Assessment
- Client-side Risk Assessment
- WebApps Vulnerability Scanner Validator
- WebApps Risk Assessment
Using the Scheduler, you can perform the following tasks:
- Create new scheduled tests
- Manage existing scheduled tests
- View executed scheduled tests
Create a New Scheduled Task
-
From the Overview screen, click the Scheduled Tasks link in the navigation pane.
-
Press the Add New Task
 button.
A drop-down menu opens, showing the available tests.
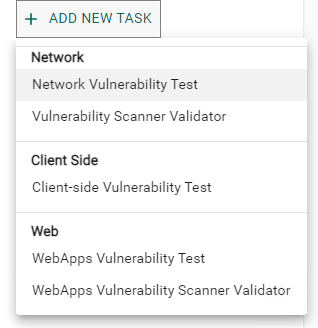
- Select from the drop-down of available tests (Network Vulnerability is shown in the steps below). When the selected RPT wizard opens, press Next to continue..
-
Enter a Task Name for your Scheduled test, then complete the wizard.
-
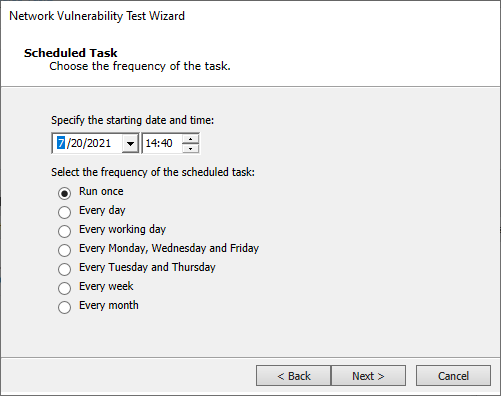
The next form of the wizard contains schedule frequency. Select the date and time that the test should first run. Then select how often the test should run.
-
Press Next to continue.
- The next form of the wizard contains Task Execution Settings.
- Define the running time for the scheduled task:
- Allow the scheduled task to run until it completes all activities.
- Set the task execution timeout in hours.
- Generate report and send it by Email.
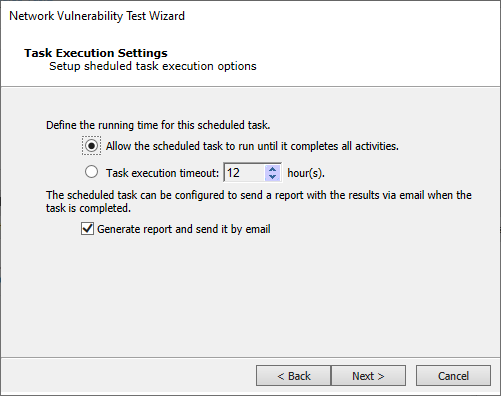
Press Next to continue. If you have un-checked the Generate report and send it by Email option, press Finish.
- Define the running time for the scheduled task:
-
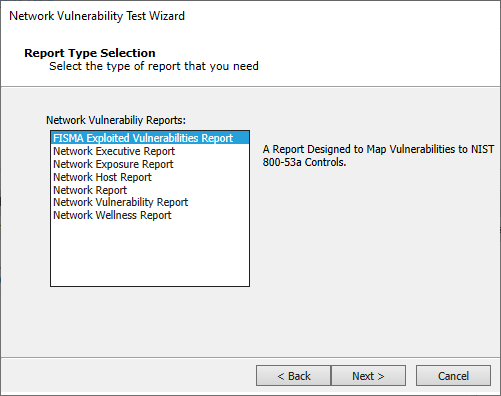
If you opted to Generate report and send it by Email in the previous step, select the report you would like in this page of the wizard.
Press Next to continue.
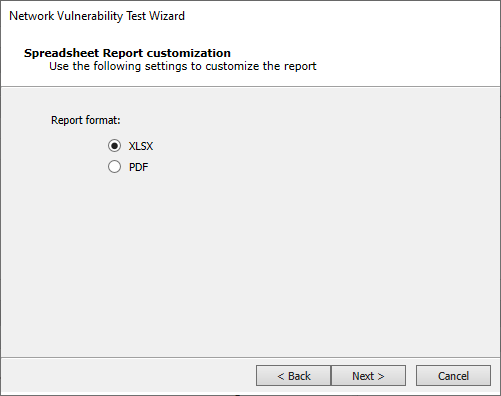
-
Choose from the available Report Customizations. Settings will vary depending on the type of report you selected in the previous step.
Press Next to continue.
-
Enter Email Delivery Settings for delivery of the report:
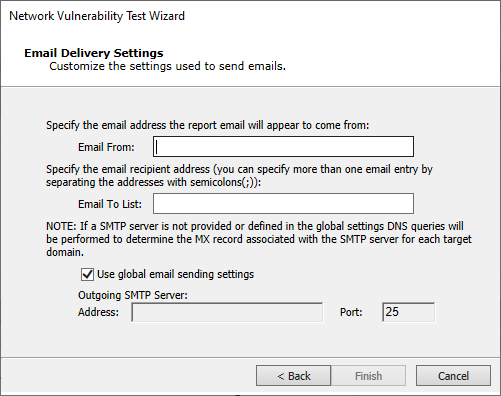
Enter the following and press Finish.
Email From: Specify the email address he report will appear to come from
Email To List: Specify the email recipient address(es)
Use global email sending settings: Check this option if the SMTP settings have been defined in the Options for One Step RPT (the global SMTP settings on this panel allow further customization). If not, uncheck this option and enter the Outgoing SMTP Address and Port number.
The newly-scheduled test will appear in the Scheduled Tasks list.
- To remove a task from the scheduler, simply right-click on the task in the Scheduled Tasks list and select Delete.
- To start a task immediately, right-click on the task and select Start now.
Only three scheduled tasks can be running concurrently. If a fourth task begins, it will fail and will need to be run again manually or according to its next scheduled run. For this reason, be sure your scheduled tasks are set to run at appropriate intervals.
You can also see a list of tests that have run via the Scheduler in the Executed Scheduled Tasks pane.
- Click on a task to view its details and output in the Task Details pane.
- To stop a task, right-click the task and select Stop.
- Once a scheduled task has completed, it is listed in the Executed Scheduled Tasks pane. Each scheduled task runs in its own workspace. To view the task running in its own workspace, click the blue button
 to the left of the scheduled task or right-click on the task and select Open.