General Scan Issues
This topic covers issues that you may encounter with your scans. If your scan returned an ERROR status, see ERRORED for more information on the various error types and how to resolve them.
Ghost Hosts
Host discovery scans may return results for IP addresses that do not have a live asset. By default, the scanner sends ICMP along with TCP/UDP probes, to several commonly accessible ports, to determine if there is a live asset at an IP address. By using TCP/UDP probes in addition to ICMP, the scanner can detect a live asset that may have ICMP disabled. However, there may be a device on the network that responds to the TCP probes for IP addresses that do not have live assets which results in the detection of ghost assets.
Solutions
-
To prevent the detection of ghost assets, you need to modify the scan policy and toggle ICMP only asset detection to ON. See To modify or create a scan policy for more information.
-
To find ghost hosts that have been previously picked up, set the following filter in Active View:
-
Asset: Detected with scanner type = internal
-
Asset: Rating = A
-
Asset: Threat Rank < 1
-
Asset: CVSS Rating < 1
-
Asset: OS = "unknown"
The remaining results are IP addresses with no DNS or NetBios name and no vulnerabilities, aside from the FVM Scanner informational vulnerability. These can be considered non-existent hosts and thus can be excluded from device counts.
-
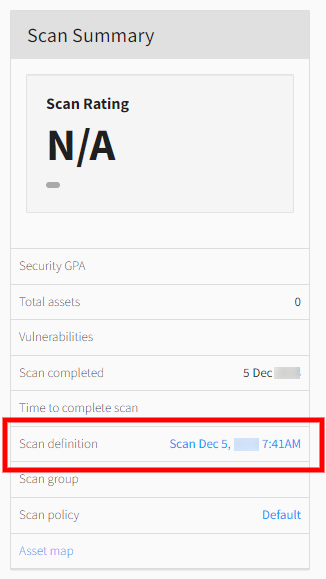
Scan returns zero assets
If your scan completed in a matter of seconds and found no assets
-
Select the scan in the Scan Activity page.
-
Under the Scan Summary > Scan definition section, select the link provided.
-
Confirm the correct scan targets (IPs & Ports, DNS Hostnames, or Asset Groups) were included in the scan.
-
Confirm the scan targets are included in the Scanner Profile.
-
For ad-hoc IP targets, check the IPs & Ports tab. There should be a green check mark indicating "full" next to IP addresses.
-
For asset groups, select Scan Settings > Asset Groups and then select the target asset group. Under IPs & Ports, there should be a green check mark indicating "full" next to IP addresses.

-
If there is a red x indicating "none," the target is missing from the scanner profile. Add the target by selecting Scan Settings > Scanner Profiles and select the desired scanner profile. Under the IPs & Ports tab, add the targets to the list. See Scanner Profiles for more information.
TIP: When adding IPs to asset groups or scans, you can select the Auto-add IPs checkbox to automatically add the target to the scanner profile.
-
If the scan completed in minutes or longer and no assets were found
The most common cause for this is the scanner being blocked at either the host or network level.
Solution: Ensure that traffic from the scanner is allowed to the network and host. For a list of source IPs, see Virtual RNA Troubleshooting.
Scan not returning the expected number of assets
Something is blocking the scanner within your environment. Often a form security software can auto-block the scanner because it incorrectly identified the port scan as an attack.
Solution: Allow the RNA on any software that may be causing the block. You can also scan the target from a different RNA, but this a temporary solution until the same security device blocks the new RNA.