![]()
You cannot create a Job within a Job, also known as nested or nesting Jobs. If you want to make it easier for users to access subfolders, you can make several separate Jobs pointing to each folder instead of one big Job.
Create a new WAFS or backup (CDP) Job on the computer on which the source or master data is stored. If none of the computers has the data yet, it does not matter where you start. Once you create the new Job, you can add other computers and their Agents (link) to the Job. You do not have to do this for backup configurations. An Agent should be installed on each computer/Vault from which the data will be accessed, usually with one Vault per site.
|
You cannot create a Job within a Job, also known as nested or nesting Jobs. If you want to make it easier for users to access subfolders, you can make several separate Jobs pointing to each folder instead of one big Job. |
Using the procedure below, create the Job or link to the existing Job using the Agent on the computer that contains the data.
To create a new Job or link to an existing Job
If you are linking to an existing Job, specify the folder that you will link to the existing Job (the folder must be empty).
Do one of the following:
If this is a new Agent installation with no Jobs, in the There are no Jobs to view prompt, click Create or Link to.
On the WAFS Agent main menu, click Service > Create New Job or Link to an Existing Job.
Press CTRL+N (New Job) or CTRL+L (Link to Job).
The Create a New Job wizard appears.
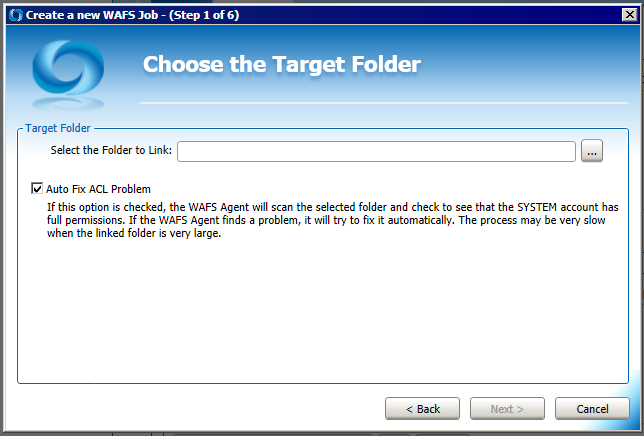
To specify the folder that you will link to the Job,
type or paste a path, or click the browse icon ![]() to find the folder. The WAFS Job can be created using an existing
data folder or a newly created empty folder.
to find the folder. The WAFS Job can be created using an existing
data folder or a newly created empty folder.
For a new Job, specify the folder that you will link to the Job. This folder does not have to be empty.
If you are joining an existing Job, specify the folder that you will link to the existing Job (the folder must be empty). If you select or type a path to a folder that is not empty, a red asterisk appears to the left of the text box.
|
The Vault operates under the credentials of the SYSTEM account, and therefore every file and subfolder must allow full control to SYSTEM. Before selecting a folder with data, you may want to ensure that all files and subfolders have ACL security allowing full access to SYSTEM. The Vault runs a check on a sample of files to see if the files have full SYSTEM rights. If they do not, it offers to add SYSTEM access to every file and folder. |
The Auto Fix ACL Problem check box is selected by default. The WAFS Agent will scan the selected folder to verify that the SYSTEM account has full permissions. If the WAFS Agent finds a problem, it will try to fix it automatically. The process may be very slow when a linked folder is very large. Clear the check box if you do not want the Agent to perform this check.
Click Next. (The Next button is disabled if you have typed an invalid location.) The Scan the Target Folder page appears. A progress bar and the Detailed Information area display progress of the scan, if selected.
When the scan is finished, click Next. The Specify Job Parameters page appears.
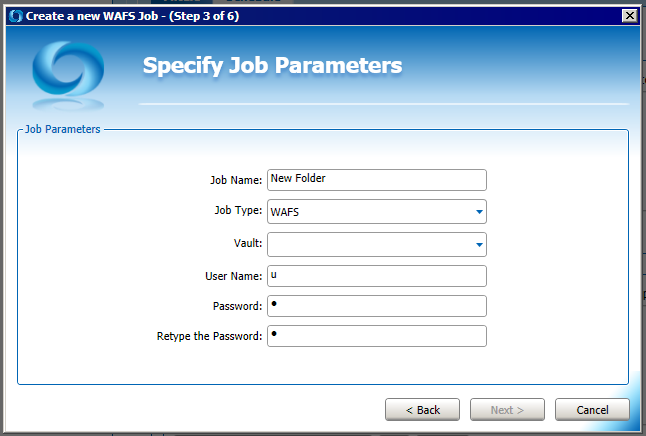
The Job Name box displays the name of the specified folder. You can rename it if you want.
In the Job Type box, specify whether this is to be a WAFS (two-way sync) or a CDP (backup) Job.
In the Vault box, select the Vault for this Job. Previously-used Vault URLs appear in the drop-down list after the first Job is created. For your initial Job, you must provide the IP address and port number of the Vault. If you created a Job in a clustered Vault configuration, use the shared IP address of the clustered Vaults.
In the User Name box, provide a username for this Job. The default is u.
In the Password and Retype the Password boxes, provide a password for this Job. The default is p. The password field cannot be more than 20 characters.
Click Next. The Define Data Access Options page appears.
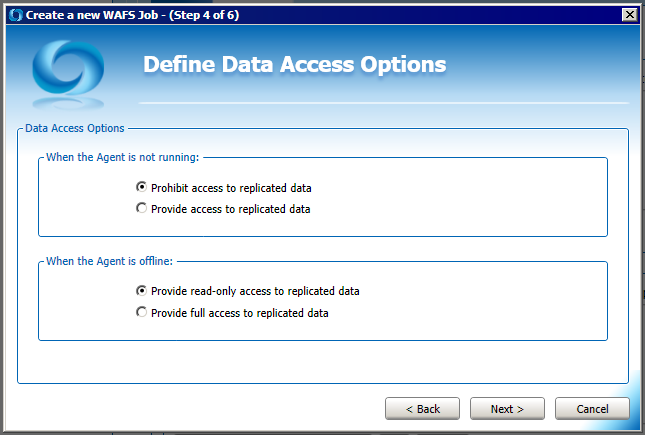
Specify whether to Prohibit or Provide access to the replicated data when the Agent service is not running. Prohibit is recommended and is selected by default.
Specify whether to Provide read-only access to the replicated data or Provide full access to the replicated data when the Agent is offline (i.e., not connected to the Vault). Provide read-only access is recommended and is the default.
Click Next. The Choose Local Sync Options page appears.
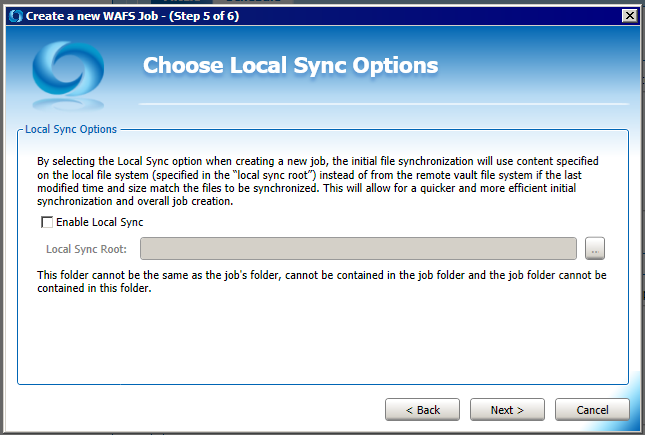
To enable Local Sync, select the Enable Local Sync check box, and then specify the Local Sync Root folder. Enabling Local Sync allows for faster, more efficient synchronization and Job creation. Refer to Introduction to Local Sync for more information.
Click Next. The Finalize Job Creation page appears.

The Agent will attempt to connect to the Vault to synchronize the folders. (If the Agent cannot connect to the Vault, an error message appears.)
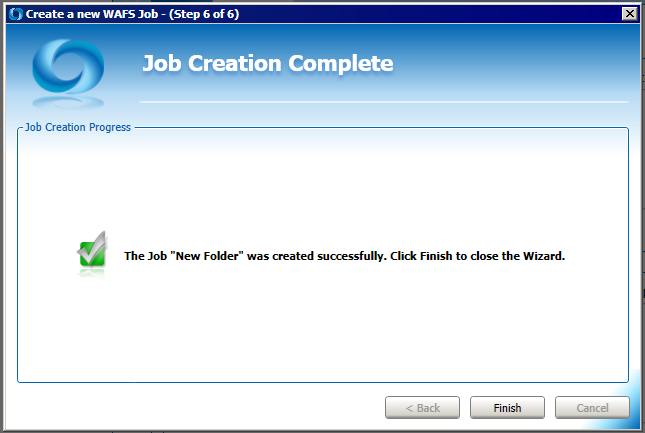
Click Finish. The new Job appears in the Jobs tree under the Agent and Vault nodes. If the Job contains data, the Uploading Files and Changes to Vault area displays the progress.
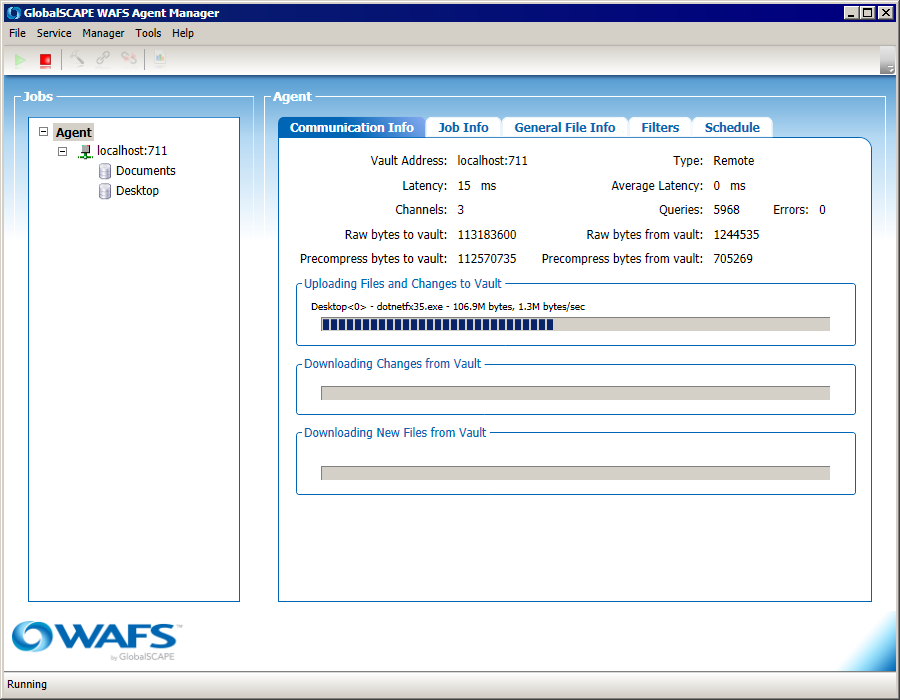
After the Job appears in the tree, it is more expedient for data recognition to perform a Count Now so that the Agent does a complete scan of the data introduced or linked to. Refer to Counting the Files and Folders in a Job for details.